Using roof melt correctly can help homeowners manage dangerous ice dams without damaging their shingles or gutters. During winter emergencies, many homeowners turn to chemical melting products to relieve water backup along roof edges. However, improper application can cause more harm than good, leading to corrosion, staining, or even structural damage.
- Quick relief: Roof melt can create drainage channels through ice dams.
- Proper application matters: Incorrect products may harm roofing materials.
- Safety first: Ground-based application reduces fall risks.
For homeowners in West Chester and surrounding areas, understanding how to use roof melt safely is essential during Ohio’s frequent freeze-thaw cycles.
What Is Roof Melt and How Does It Work?
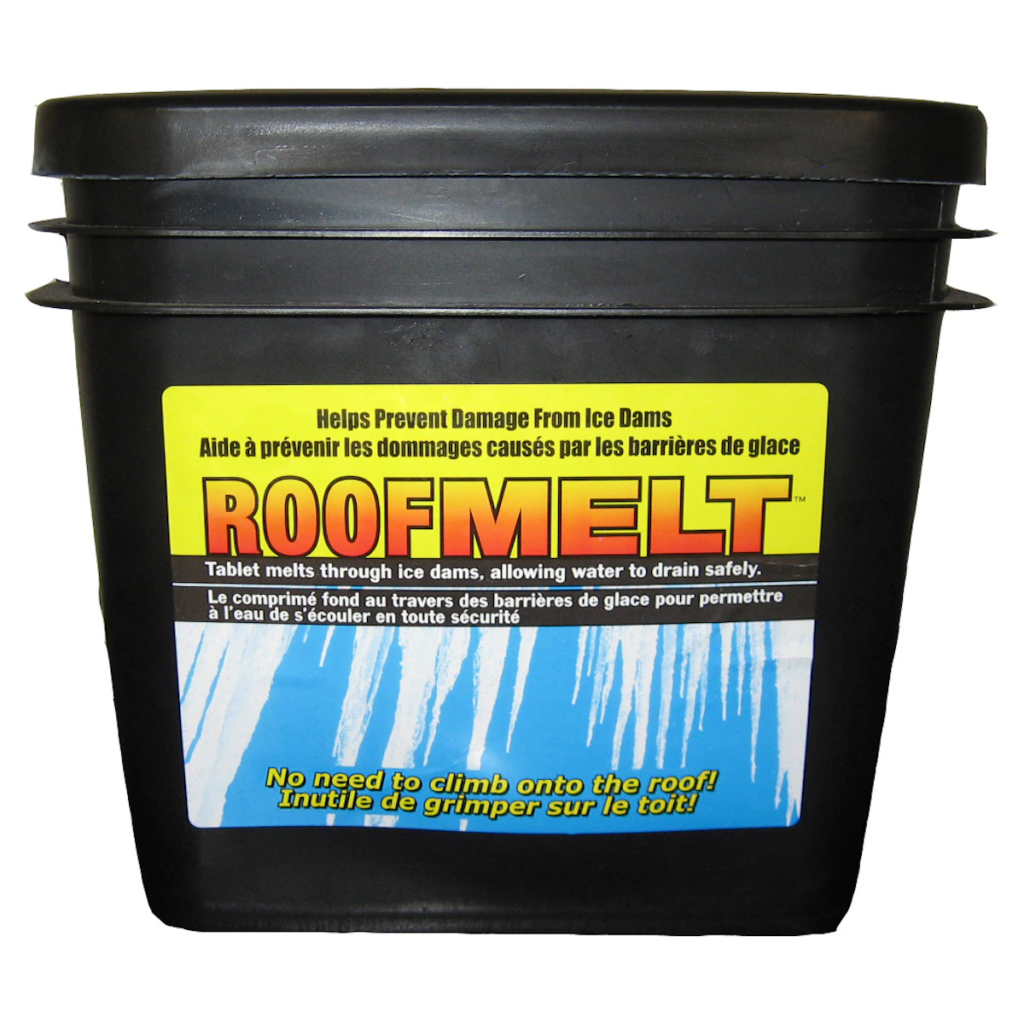
Roof melt is typically a calcium chloride-based product designed to lower the freezing point of ice. When applied properly, it helps break down ice dams and create channels that allow trapped water to drain off the roof.
Unlike rock salt, which can corrode metal and damage shingles, roof melt products are formulated to be safer for roofing materials. Even so, they must be used carefully to prevent unintended side effects on siding, landscaping, or gutters.
Why Safe Application Is So Important
Ice dam emergencies often create urgency, but rushing the process can lead to roof damage or personal injury. Climbing onto an icy roof or using improper tools increases the risk of falls and shingle breakage.
Safe roof melt application focuses on controlled melting from ground level whenever possible. The goal is to relieve water pressure without compromising the integrity of the roofing system.
8 Tips for Using Roof Melt Safely During an Ice Dam Emergency
When an ice dam threatens your home, follow these eight safety-focused strategies to minimize risk and maximize effectiveness.
1. Choose the Right Product
Not all ice-melting products are safe for roofs. Always select a calcium chloride-based roof melt rather than rock salt or sodium chloride.
- Avoid rock salt: It can corrode flashing, gutters, and metal roofing components.
- Check labeling: Ensure the product is labeled safe for roof use.
Using the proper material protects both your roof and surrounding landscaping.
2. Apply From the Ground
Whenever possible, avoid climbing onto your roof during icy conditions. Use tools that allow you to apply roof melt from the ground.
- Use extension tools: Long-handled applicators or roof rakes reduce fall risk.
- Never walk on ice: Slippery surfaces can cause serious injuries.
Ground-level application keeps you safe while addressing the problem effectively.
3. Create Drainage Channels, Not Full Removal
The goal of roof melt is not to remove all ice instantly. Instead, focus on creating narrow channels that allow trapped water to escape.
- Vertical placement: Position roof melt in lines running down the slope.
- Target key areas: Focus on thickest ice buildup near eaves and valleys.
Once water can drain properly, additional ice buildup often slows naturally.
4. Use Roof Melt Socks
A common and safe method involves filling old pantyhose or fabric tubes with calcium chloride and placing them across the ice dam.
- Controlled melting: Socks allow gradual melting without overapplication.
- Stable placement: Lay them perpendicular to the roof edge for best drainage.
This method limits runoff and reduces the risk of chemical staining.
5. Protect Landscaping and Exterior Surfaces
Although roof melt is safer than rock salt, runoff can still affect plants, paint, and concrete. Be mindful of where melted ice will flow.
- Rinse plants: Spray down landscaping after application if runoff occurs.
- Avoid heavy piles: Excess product increases chemical concentration below.
Protecting your exterior prevents unnecessary property damage.
6. Monitor the Roof After Application
Once roof melt has been applied, observe how the ice responds. You should see small drainage channels forming within several hours.
- Watch for leaks: Check ceilings and attic spaces for signs of moisture.
- Repeat carefully: Reapply only if necessary and in moderate amounts.
Monitoring ensures the problem is improving without introducing new risks.
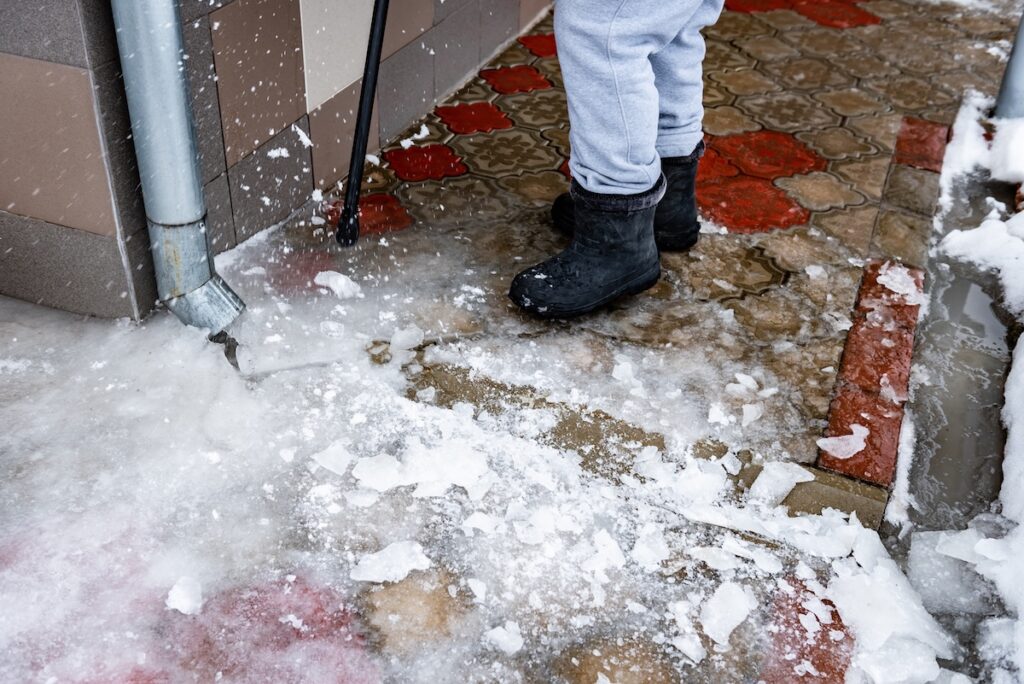
7. Avoid Chipping or Hammering Ice
Using metal tools to chip away ice may seem efficient, but it can severely damage shingles and flashing.
- No sharp tools: Avoid axes, hammers, or screwdrivers on roofing surfaces.
- Preserve materials: Gentle melting is safer than forceful removal.
Physical removal should only be handled by trained professionals using specialized equipment.
8. Call a Professional for Severe Ice Dams
If ice buildup is extensive or interior leaks are already occurring, professional removal is the safest solution. Roofing contractors use steam equipment that melts ice without harming roofing materials.
- Steam removal: Safely clears large ice dams without scraping.
- Expert assessment: Identifies underlying ventilation or insulation issues.
Professional intervention ensures long-term protection beyond emergency relief.
Common Mistakes to Avoid During Ice Dam Emergencies
Even well-intentioned homeowners can make costly mistakes during winter roof issues.
- Overusing chemicals: Excess roof melt can stain siding or corrode metal.
- Ignoring attic ventilation: Ice dams will likely return without addressing airflow issues.
- Skipping inspections: Damage beneath shingles may go unnoticed.
- Waiting too long: Delays can allow water intrusion to worsen.
- DIY roof climbing: Falls are one of the most common winter home injuries.
Avoiding these errors helps preserve both your roof and your safety.
Preventing Future Ice Dam Emergencies
While roof melt provides short-term relief, long-term prevention is essential. Improving attic insulation and sealing air leaks reduces uneven roof temperatures that cause snowmelt.
Proper ventilation also keeps attic spaces cold in winter, minimizing ice formation along roof edges. Homeowners in West Chester and surrounding areas benefit from annual roof inspections to identify weaknesses before severe weather arrives.
Why Ohio Winters Demand Proactive Roof Care
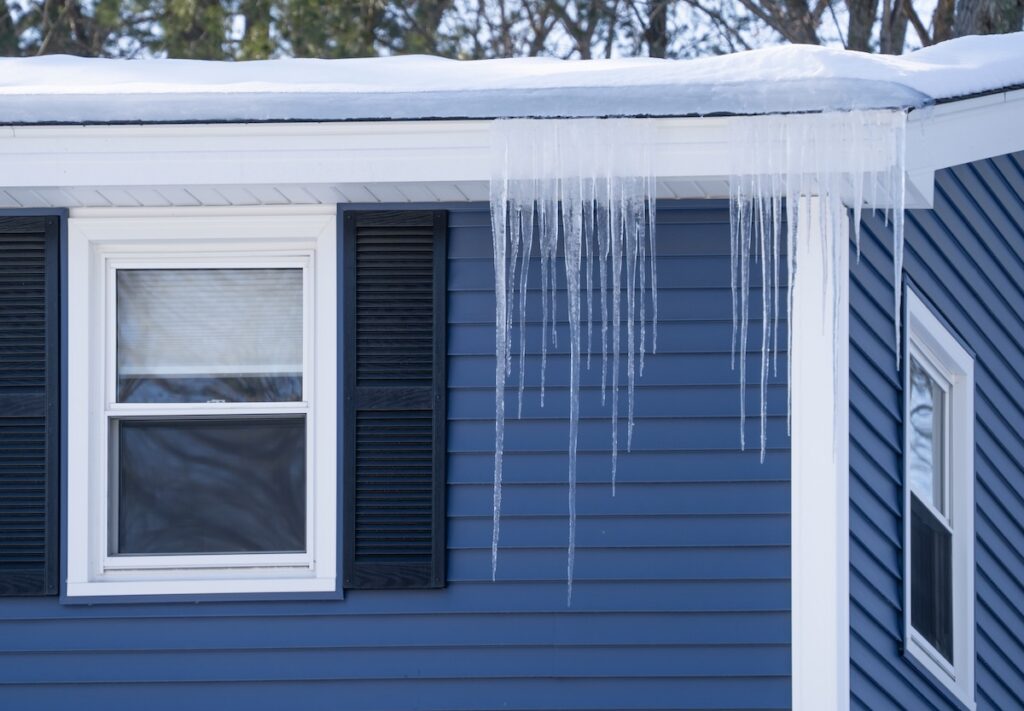
Ohio’s winter climate often shifts between freezing nights and thawing afternoons. These rapid changes create the perfect conditions for ice dam formation.
Homes in West Chester and surrounding areas are especially vulnerable if insulation or ventilation systems are outdated. Taking preventative action before heavy snowfall reduces the likelihood of emergency roof melt use altogether.
Protect Your Roof With Johnson Restoration
At Johnson Restoration, we help homeowners navigate winter roof emergencies safely and effectively. Our team proudly serves West Chester and surrounding areas with professional inspections, ice dam mitigation, and long-term prevention strategies tailored to Ohio’s climate.
As a trusted local roofing company, we combine quality craftsmanship with practical winter solutions that protect your home year after year. If you’re dealing with an ice dam emergency or want to prepare your roof before the next storm, contact Johnson Restoration today. We’re here to provide expert guidance and dependable service when you need it most.