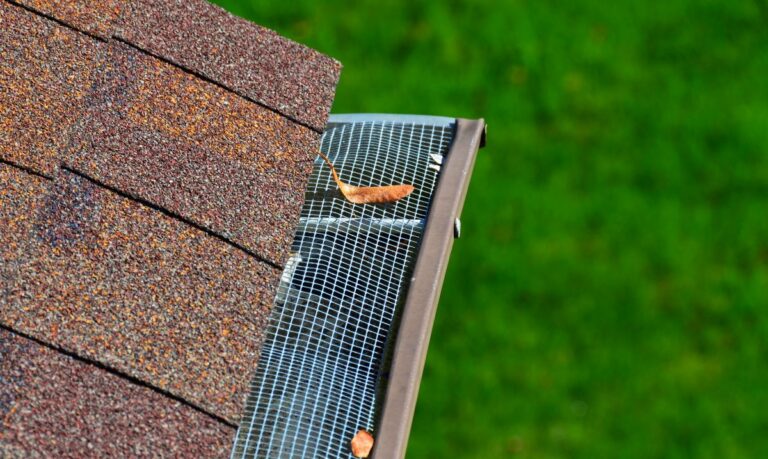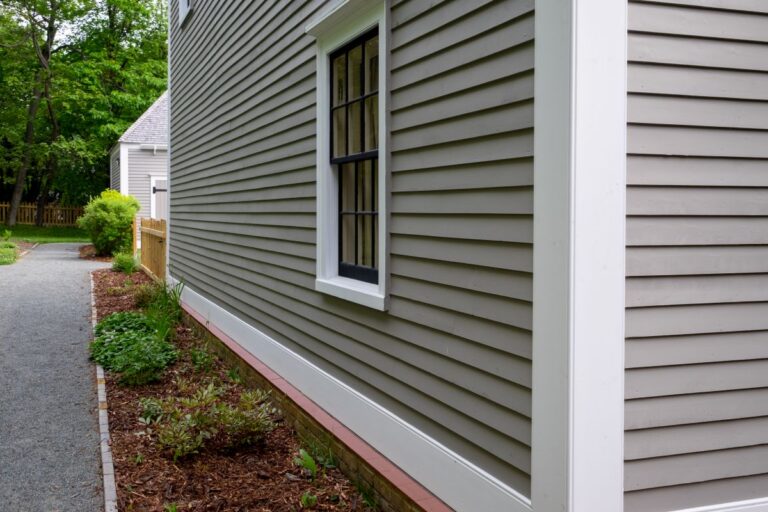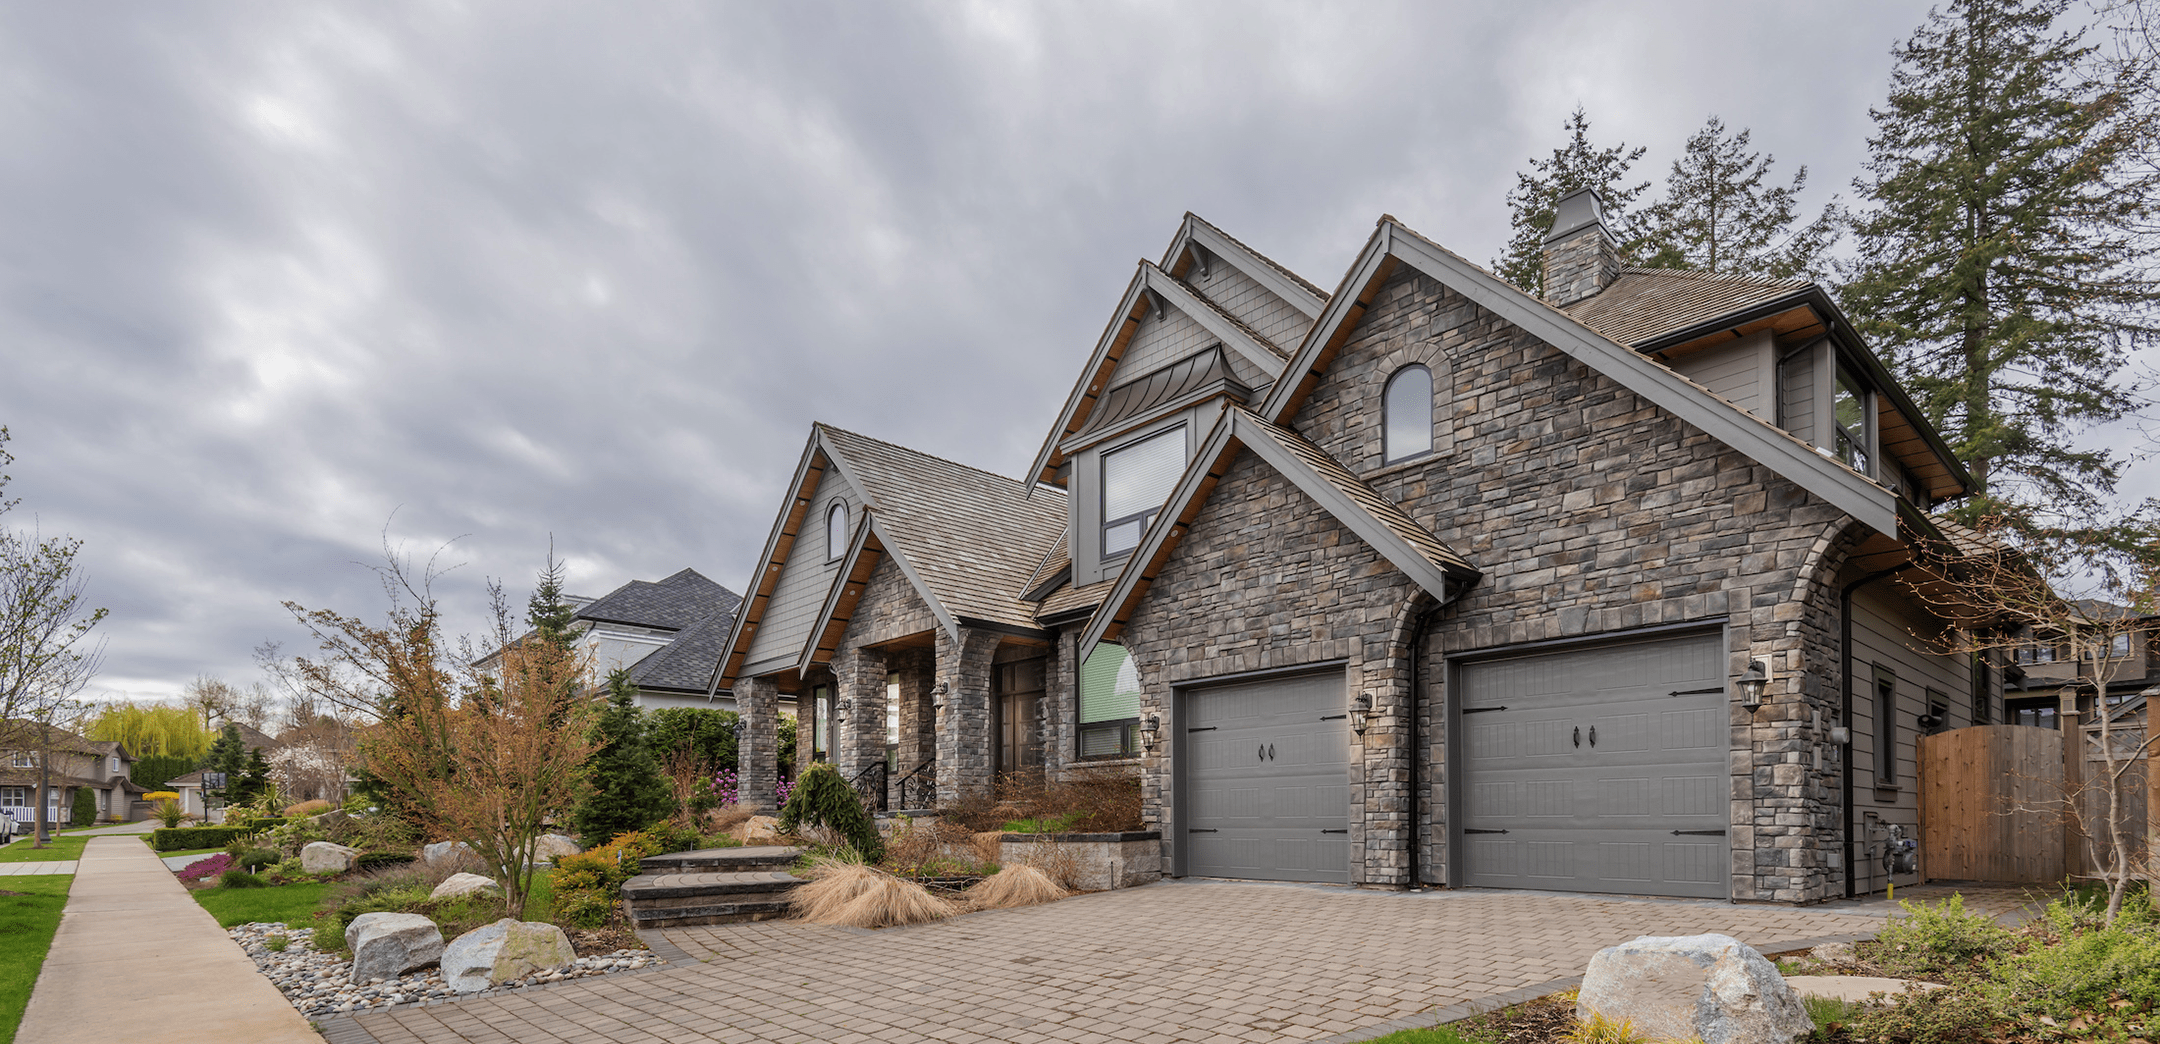
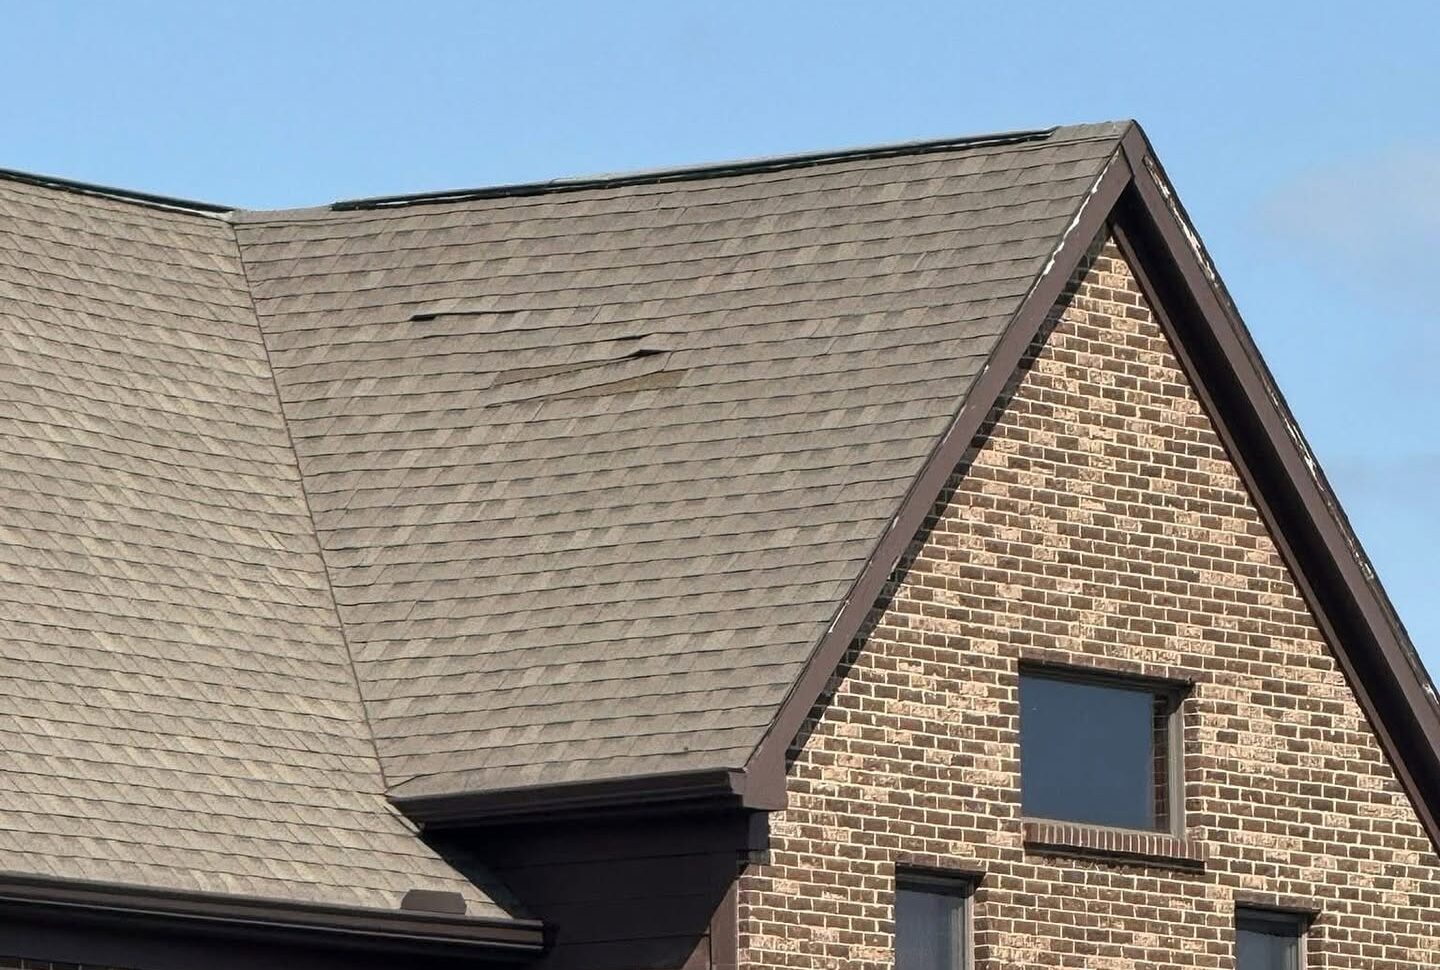

What is the rake of a roof and why does it matter? This is a question many homeowners run into when planning a roof replacement, discussing storm damage with a contractor, or trying to make sense of an inspection report that references terms like rake, eave, fascia, and drip edge as if everyone should already know what each one means. In simple terms, the rake of a roof is the sloped edge of a gable roof that runs from the ridge (the peak) down to the eave (the bottom horizontal edge), forming the two angled sides of the triangular gable end. Unlike the eave (which runs horizontally along the bottom of the roof and typically has gutters), the rake follows the slope of the roof up the gable end and rarely has gutters attached. Understanding what the rake is, what components make it up, and why it matters for wind resistance helps homeowners in Springboro and surrounding areas have more informed conversations with roofing contractors and better protect one of the most exposed parts of their roof.
- What the rake actually is: The sloped edge of a gable roof running from ridge to eave.
- Why it matters: Roof edges (including rakes) face the highest wind pressures on a roof.
- What you will learn: 4 key facts including definition, components, wind resistance, and maintenance.
Why the Rake Edge Deserves More Attention Than It Gets
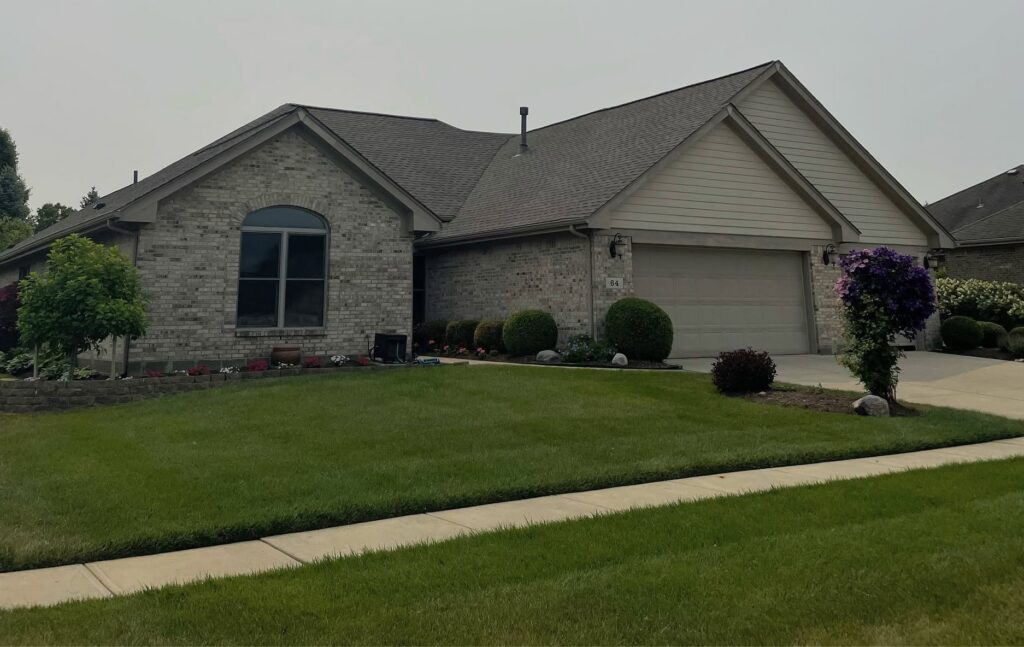
Why the rake edge deserves more attention than it gets comes down to the fact that most homeowners think about their roof in terms of shingles or the visible surface, without realizing that the edges of the roof are where the vast majority of storm damage actually starts. Understanding this changes how homeowners evaluate contractors, spot damage, and plan maintenance.
How Wind Damage Actually Starts at Roof Edges
Wind damage actually starts at roof edges because of the physics of how wind flows over a sloped surface. According to the U.S. Department of Energy’s Building America Solution Center, the greatest stress roof assemblies experience in high wind zones is at roof edges, where high localized areas of negative pressure (“suction”) occur above the edges due to the development of vortices, and most roof covering “blow-off” occurs at roof edges for these reasons. This physics applies whether the roof is in a hurricane zone or an Ohio thunderstorm zone: wind flowing over the roof creates suction at the edges, and any weakness at the rake or eave becomes the entry point for damage that then spreads across the field of the roof. Homes in Springboro and surrounding areas that lost sections of shingles during severe thunderstorm winds almost always show damage starting from a rake or eave edge and progressing inward. Understanding this makes rake construction quality a top priority when evaluating a roofing project.
- Vortex physics: Wind creates localized suction at edges.
- Blow-off starts at edges: Most shingle loss begins at rakes and eaves.
- Spread pattern: Damage moves inward from failed edges.
- Ohio relevance: Same physics apply to severe thunderstorm winds.
What the Rake Does for Water Management
The rake does critical work for water management on a gable roof, directing water that flows down the sloped roof plane cleanly off the roof edge instead of allowing it to wrap around behind the shingles and infiltrate the fascia, siding, or wall assembly below. A properly finished rake edge with drip edge flashing pushes water outward and away from the roof deck, while rake trim (also called rake board or bargeboard) covers the exposed edge of the roof structure to prevent water infiltration from wind-driven rain. When the rake is poorly finished (missing drip edge, deteriorating rake board, or improperly sealed), water finds its way behind the shingles and into the structural framing, often causing rot that can go undetected for years until major damage becomes visible.
- Water direction: Drip edge pushes water outward off the roof.
- Rake trim: Covers the exposed edge to block wind-driven rain.
- Poor finish consequences: Water infiltrates fascia and framing.
- Hidden rot: Rake water damage often develops for years unseen.
4 Key Facts About Roof Rakes Every Homeowner Should Know
Four essential facts about roof rakes help homeowners understand what they are, how they work, and how to spot quality installation or emerging problems. Working through each of these makes conversations with roofing contractors much more productive.
1. The Rake Is the Sloped Edge on a Gable Roof (Not the Same as the Eave)
The rake is the sloped edge on a gable roof, running from the ridge (peak) down to the eave (lower edge), and it is not the same thing as the eave despite the two often being confused. Gable roofs have two rakes (one on each end of the roof) and two eaves (one on each side); the rakes are the diagonal edges that form the triangular gable end walls, while the eaves are the horizontal edges where gutters typically attach. Hip roofs, in contrast, do not have true rakes because all four edges slope down to the walls (though the term is sometimes used loosely). Flat and low-slope roofs also don’t have rakes in the traditional sense. Understanding this distinction matters because different edges have different components, different code requirements, and different vulnerabilities to weather.
- Rake location: Diagonal edges on gable ends of a roof.
- Eave location: Horizontal edges at the bottom of the roof slope.
- Number: Gable roofs have two rakes (one per gable end).
- Not on hip or flat roofs: Rakes are specific to gable and pitched designs.
2. The Rake Has Several Components Working Together
The rake has several components working together to seal, direct water, protect the framing, and provide the finished appearance homeowners see from the ground. The main components include the rake board (a trim board that covers the exposed edge of the roof structure, typically made of wood, PVC, or fiber cement composite), the rake fascia (sometimes considered part of the rake board, providing the flat finished surface), the drip edge flashing (a metal L-shaped flashing installed along the rake edge to direct water away and seal the roof deck), the starter strip shingles (installed at the rake edge under the field shingles to bond them against wind uplift), and any decorative elements like bargeboard or corbel details on more elaborate architectural styles. Each component has a specific function, and skipping or shortcutting any one of them creates a weak point that can lead to premature failure.
- Rake board: Trim covering the exposed edge.
- Drip edge flashing: Metal directing water off the roof.
- Starter strip: Bonds field shingles against wind uplift.
- Bargeboard: Decorative element on some architectural styles.
3. Quality Rake Installation Requires Attention to Detail
Quality rake installation requires attention to detail that separates professional roofing work from corner-cutting installations, and it directly affects how the roof performs in wind and rain events over the coming decades. Best practices include installing metal drip edge over the underlayment at the rake (the sequence is different from eaves, where drip edge goes under the underlayment), overlapping drip edge sections by at least 2 inches (with 3-inch overlaps recommended for high wind zones), fastening drip edge at 12 inches or less on center (4 inches on center for high wind areas), installing starter strip shingles bonded to the drip edge along the rake with matching adhesive orientation, and using flashing cement to seal shingles set at the rake edge in an 8-inch-wide strip where recommended for wind resistance. Homeowners should ask their contractor to explain each of these details and confirm them in the written contract.
- Drip edge sequence: Over the underlayment at rakes.
- Overlap: Minimum 2 inches; 3 inches for high wind.
- Fastener spacing: 12 inches or less on center.
- Starter strip: Bonded to drip edge at rake for wind resistance.
4. Rakes Need Regular Maintenance and Inspection
Rakes need regular maintenance and inspection because they are exposed to constant wind, rain, sun, and freeze-thaw stress that gradually degrade every component. Twice-yearly visual inspections from the ground (with binoculars) can catch most problems before they become serious: look for peeling paint or splitting on the rake board, gaps between the rake board and the roof edge, missing or damaged drip edge, lifted shingles at the rake, water stains on the rake fascia or the siding below, and any signs of pest entry (birds, squirrels, or insects can exploit gaps at the rake edge). Any of these signs warrants a professional roofing inspection before minor issues become major repairs. In the Springboro and surrounding areas market, expect rake components to need touch-up painting every 7 to 12 years and rake board replacement every 20 to 30 years depending on material.
- Twice yearly inspection: From the ground with binoculars.
- Watch for: Peeling paint, gaps, missing drip edge, lifted shingles.
- Pest signs: Birds, squirrels, or insects at the rake edge.
- Component lifespan: Paint 7-12 years; rake board 20-30 years.
How to Evaluate the Rake on Your Own Roof
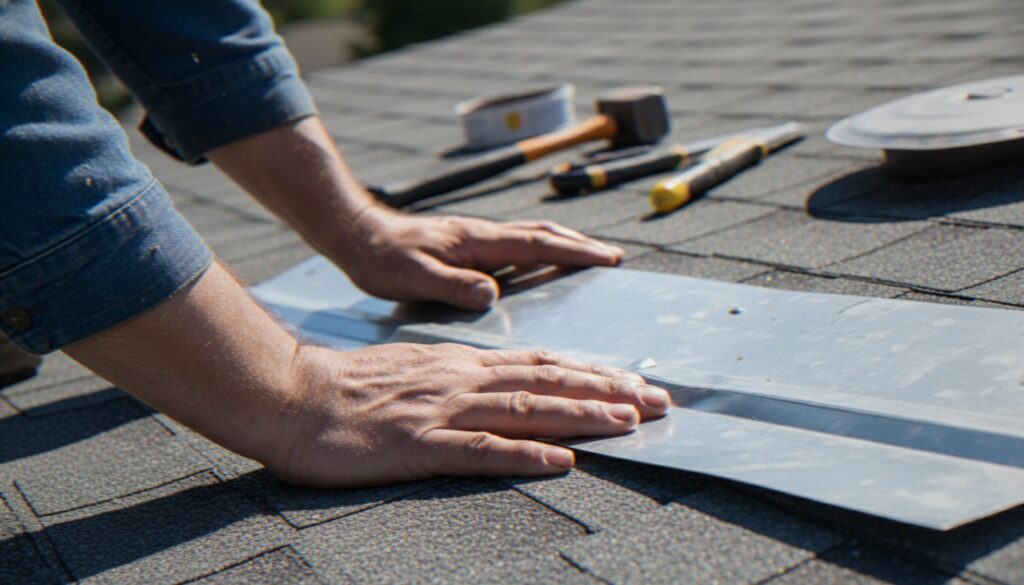
How to evaluate the rake on your own roof involves both a ground-level visual check that any homeowner can safely do and a professional inspection that catches details from a closer vantage point. Combining both gives the best picture of your roof’s condition.
What to Look For From the Ground
From the ground, look for straight, uniform rake edges without waves, gaps, or visible sagging. The rake board should be firmly attached to the roof edge with no visible gaps between it and the fascia or roof edge. Paint or finish should be consistent without peeling, splitting, or dark stains that indicate moisture problems. The drip edge (if visible) should form a clean line without lifting, dents, or missing sections. Shingles at the rake should lay flat without curling, lifting, or exposed nails. Any water staining on the siding below the rake edge is a warning sign of water infiltration from the rake. A pair of binoculars is more useful than trying to get closer to the roof itself.
- Straight edges: No waves, sagging, or gaps.
- Rake board attachment: Firmly against fascia and roof edge.
- Paint condition: Consistent, no peeling or dark stains.
- Water staining: Below rake means infiltration.
When to Call a Professional for Rake Inspection
Call a professional for a rake inspection any time your ground-level check reveals questionable areas, after any severe storm with wind above 50 mph, before purchasing a home with a gable roof, when planning a roof replacement to understand the scope of rake work needed, or as part of routine roof maintenance every 2 to 3 years. Professionals can safely access the roof edge for close inspection, remove sections of shingles or trim to check for hidden rot, and assess the specific type and condition of drip edge and starter strip installed. Roof inspection costs typically run $150 to $400 depending on scope, and the cost is minor compared to the damage that unaddressed rake problems can cause.
- After severe storms: Wind above 50 mph warrants inspection.
- Home purchase: Verify rake condition on any gable roof home.
- Before replacement: Understand scope of rake work needed.
- Cost: $150 to $400 for professional inspection.
Frequently Asked Questions
What Is the Difference Between a Rake and an Eave?
The difference between a rake and an eave is that the rake is the sloped (diagonal) edge of a gable roof running from ridge to eave, while the eave is the horizontal edge at the bottom of the roof slope where gutters typically attach. Both edges have drip edge flashing and require careful installation, but they serve different functions: the eave directs water into gutters, while the rake sheds water off the sides of the gable.
What Is a Rake Board and Do I Need One?
A rake board (also called rake trim or bargeboard) is a trim board that covers the exposed edge of the roof structure at the rake, providing both aesthetic finish and protection from wind-driven rain and pests. Yes, essentially every gable roof needs some form of rake trim; it is not optional. Rake boards can be made of wood, PVC, fiber cement composite, or aluminum, with each material offering different maintenance and durability trade-offs.
Should I Add Gutters to My Rake?
Adding gutters to a rake is generally not recommended because rakes slope downward and gutters would just channel water inefficiently along the slope. Instead, water flowing down a gable roof plane reaches the eave gutters, not the rake. Some high-end architectural details use rake gutters for specific decorative or drainage reasons, but for most standard gable roofs, eave gutters are the only gutters needed.
How Do I Know if My Rake Board Needs to Be Replaced?
You can tell your rake board needs to be replaced if you see visible rot, soft spots (test with a screwdriver from a ladder if safe), separation from the roof edge, repeated paint failure that returns quickly after painting, or extensive splitting and cracking. Wood rake boards typically last 20 to 30 years in the Springboro and surrounding areas climate; PVC and fiber cement composites can last 40 to 50 years or longer. Get a professional assessment if you are unsure.
Does Insurance Cover Rake Damage from Storms?
Homeowner’s insurance typically covers rake damage from storms when the damage is caused by a covered peril (wind, hail, falling trees) rather than by wear and tear or deferred maintenance. Filing a claim requires documentation of the storm event, photographs of the damage, and often an estimate from a roofing contractor. Ohio’s typical storm damage claim deadline is 12 months from the date of the covered event, though specifics vary by policy.
Can I Repair a Rake Myself?
You can repair a rake yourself if the damage is limited to visible components accessible from a stable ladder (like re-nailing a lifted section of rake board or applying touch-up paint), but most rake repairs require roof access and specific knowledge of drip edge sequencing, starter strip installation, and flashing sealing. Falls from roofs cause serious injuries every year, and improper rake repairs can void manufacturer warranties. Professional repairs typically cost $200 to $800 for common issues.
Why Springboro Homeowners Trust Johnson Restoration for Rake and Roof Edge Work
Rake edges are one of the most consequential yet often overlooked parts of a roof, and quality attention to rake construction is one of the clearest signals that a roofing contractor takes long-term performance seriously rather than focusing only on the visible surface. Johnson Restoration brings over a decade of industry experience to roofing projects in Springboro and surrounding areas, with workmanship warranties, financing options, and the meticulous approach to edge details (drip edge sequencing, starter strip bonding, rake board finishing) that determines how a roof performs over its full service life. Whether you are planning a full roof replacement, addressing storm damage at a rake or eave, or just want a professional inspection to understand the condition of your current rake components, contact Johnson Restoration today for a free estimate and let our team help you protect your home for decades to come.