
Roof tarping is one of the many things homeowners should know how to do in case of an emergency. It’s especially important if you live somewhere that sees a significant amount of severe weather events, as inclement weather is the primary culprit behind roof damage and the need for emergency repairs.
The last thing you want to deal with is an open hole or weak spot in your roof that can easily lead to water damage or worse. In this article, we’ll walk you through all the essential steps of roof tarping that you’ll need to know so you can keep your home safe with a temporary fix while you wait for an experienced roofer to come and make the proper repairs.
Key Takeaways:
- Emergency Necessity: Roof tarping is a critical emergency skill to prevent further water damage after a storm.
- Safety and Documentation: Always prioritize safety, and document all damages with photos before starting any work for insurance claims.
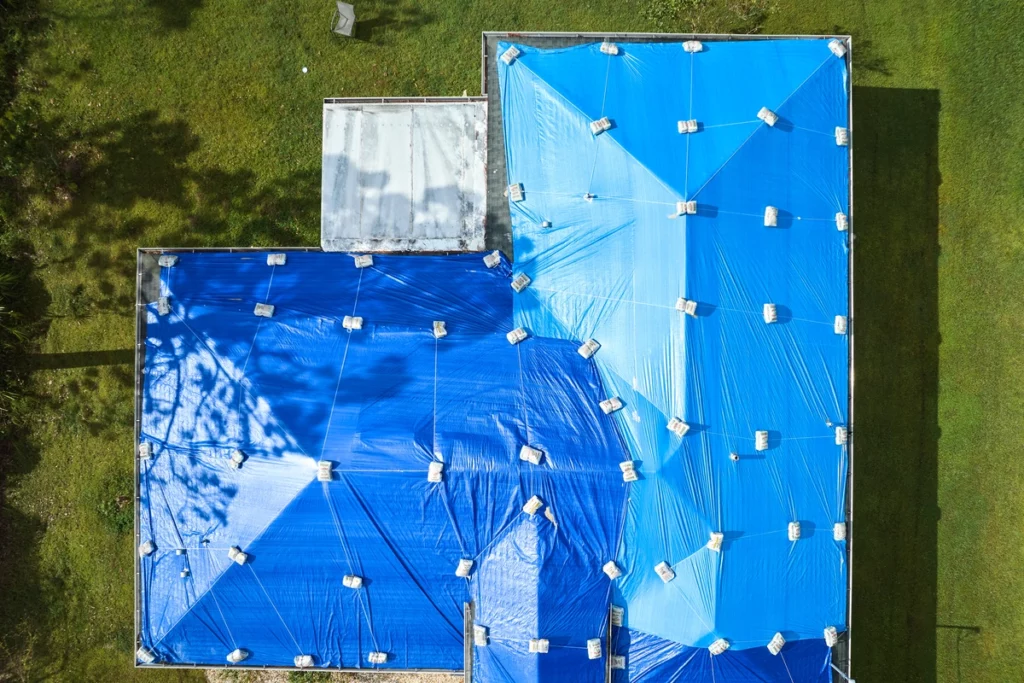
- The Tarping Process: Successful roof tarping involves precise measurement, extending the tarp over the roof peak, and securing it tightly with anchor boards or sandbags.
- Temporary Fix: A roof tarp is only a short-term solution and must be replaced by professional, permanent repairs quickly.
6 Steps to Effective Tarping
When left alone, minor damage can worsen and cause structural damage — especially if moisture is involved. While you’ll need the help of a professional roofing contractor to provide you with a stable solution, it’s up to you to protect your home from more bad weather in the meantime. The process of roof tarping may seem a little overwhelming if you’ve never been up on your roof before.
The process of tarping a roof may seem a little overwhelming if you’ve never been up on your roof before. However, as long as you follow the steps below, grab the right supplies at your local hardware store, and take the necessary safety precautions, you’ll be just fine. Mastering emergency roof tarping is a practical skill for any homeowner, and knowing how to safely secure the material minimizes structural water damage until permanent repairs can begin.
1. Take the Right Safety Precautions
The most important step when roof tarping is carrying out this temporary fix is prepping for safety. This involves making sure:
- You have a sturdy ladder
- You have protective clothing, such as thick gloves, eye protection, long pants, and a long shirt
- You have a safety harness and enough rope
- You have someone that can help you by holding the ladder steady and handing you tools and supplies as needed
2. Document Everything
Before you can spread the tarp out over the damaged area, you’ll have to clear off any debris. However, you’ll need to make sure you document the debris and any other damages you find by taking clear photos of everything as your insurance company will require proof to approve your storm damage claim.
So, be sure to first do the following:
- Check your home and roof for damage from the ground up, documenting everything as you go
- Check your home for damage from the inside, documenting any leaks, holes, water stains, rotting wood, etc
Every professional roofer will recommend against homeowners climbing up on top of their roofs to take photos, as walking around up there is considered a safety hazard. Instead, try to document the damage from your ladder if possible to avoid unnecessary risks.
3. Clean Up the Damaged Area
Once you’ve taken enough photos of the damage, the next step during the roof tarping process is to clear the area. Using a broom or a rake, carefully sweep the debris away — from the ladder, of course.
4. Measure the Area That Needs Tarping
Next, you’ll need to grab a tape measure and map out the surface area of the damage.
- Be sure to measure as accurately as possible, keeping in mind that you’ll want the tarp to extend at least one extra foot in each direction.
- Most damages and holes aren’t perfectly shaped, so it’s best to create a square perimeter around them when taking your measurements.
- If there are multiple holes or several areas of damage, it’s best to measure around the entire area so you only have to purchase one large-sized tarp.
- Don’t forget to write down your measurements!
5. Head to Your Local Hardware Store
Now it’s time to head to the hardware store — measurements in hand.
You’ll need to look for a tarp that can cover the entire area of damage, plus that one extra foot on each side. When roof tarping, keep in mind that it’s better to end up with excess tarp than not have enough. You also want to make sure you get yourself a heavy-duty roof tarp that’s designed for all seasons as the more basic tarps won’t provide your roof with the protection it needs during bad weather.
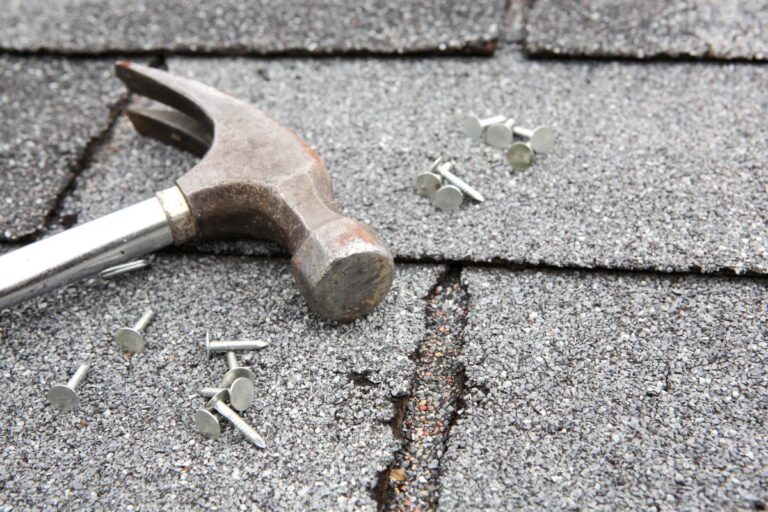
In addition to the tarp, you’ll also need:
- Sandbags ( at least two per each edge of the tarp)
- Or, wood boards (2x4s) to use a anchor boards
- Nails or screws that are long enough to go all the way through the wooden boards and into the roof decking
These supplies will be used to hold the roof tarp down and seal off its edges for protection. You can also find adhesive roof tarping options in most hardware stores; however, it’s recommended to at least use sandbags for extra weight.
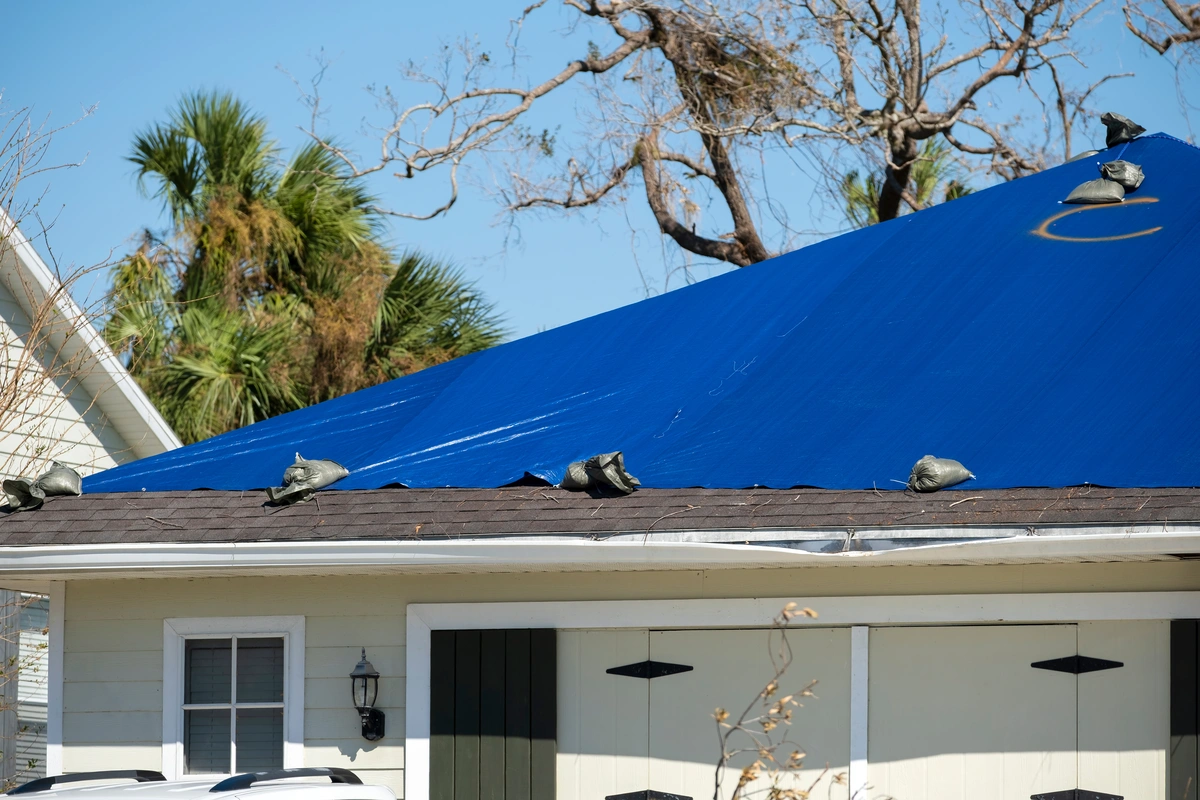
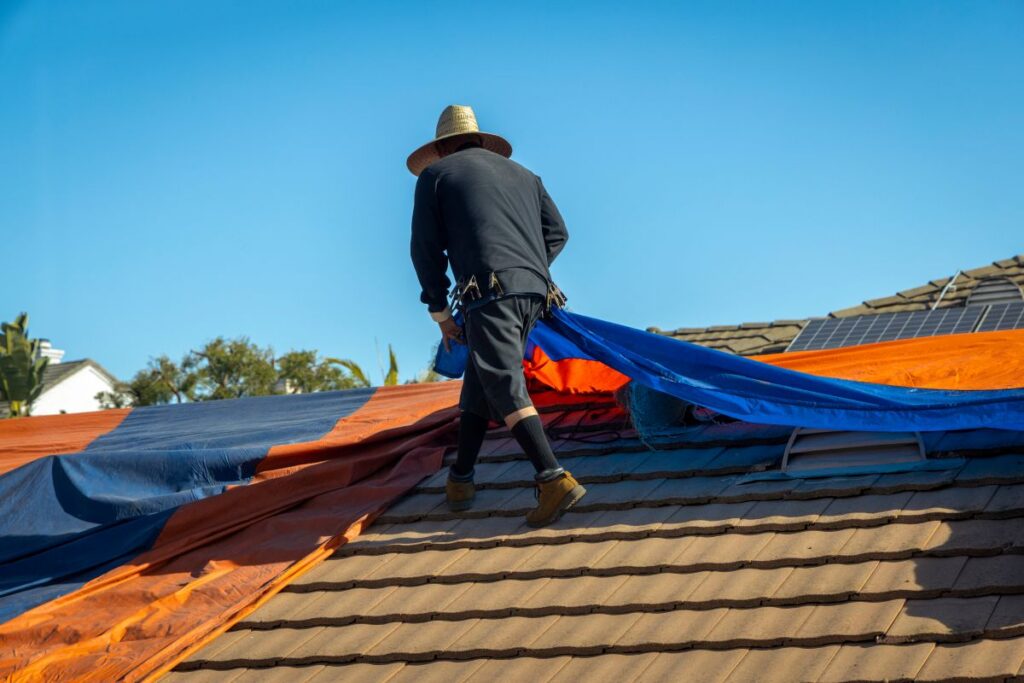
5) Tarp Your Roof

And we have arrived at the crucial step for roof tarping. Here’s what you’ll need to do:
- Place the tarp over the damaged area, ensuring that the tarp hangs over the peak of your roof
- Smooth out the tarp so that it’s flush against your roof — you don’t want any wrinkles!
- Secure the tarp by sealing the edges using either the sandbags or the wooden boards. Making sure it’s watertight is the key to roof tarping to prevent any water leaks and moisture damage while you wait for the roofer to come and make the necessary repairs.
How Long Can a Roof Tarp Last?
A roof tarp is strictly a temporary roof repair solution, not a permanent fix. While a properly secured heavy-duty tarp can last anywhere from a few days to several weeks, its lifespan depends on weather conditions, wind exposure, and installation quality.
Extreme sun exposure can weaken tarp material, while heavy rain and strong winds may loosen anchor boards or sandbags. Even high-quality emergency roof tarp installation should only serve as short-term protection until professional roof damage repair services can be completed.
Key factors that affect tarp lifespan include:
- Weather conditions: High winds and heavy rainfall reduce durability.
- Installation method: Secure anchor boards provide stronger hold than lightweight weights.
- Tarp quality: Heavy-duty, UV-resistant tarps perform better long-term.
Because roof tarps are not designed for extended use, scheduling emergency roof repair as soon as possible is critical.
Common Mistakes Homeowners Make When Tarping a Roof
While roof tarping can prevent immediate water intrusion, mistakes during installation can create additional damage. Understanding what to avoid ensures your temporary roof repair remains effective.
One of the most common errors is failing to extend the tarp far enough beyond the damaged area. Water can easily travel underneath if edges are not properly secured. Another frequent issue is nailing directly through exposed areas of the tarp without anchor boards, which creates new holes and increases the risk of leaks.
Other mistakes include:
- Improper sealing around flashing: Leads to continued moisture infiltration.
- Loose tarp placement: Allows wind lift and tearing.
- Ignoring attic inspection: Hidden leaks may continue inside the home.
Proper technique is essential for effective roof leak prevention during severe weather.
Tarping Around Obstacles: Chimneys and Skylights

When executing roof tarping, penetrations like chimneys and skylights are the most challenging areas. Improper sealing here often leads to severe leaks. Your priority is to create a secure, watertight, temporary seal without causing new structural damage to the existing flashing.
Key Techniques for Penetrations:
- Chimney: Do not cut the tarp snugly around the base. Instead, bring the roof tarping material up the vertical face of the chimney and secure it directly to the chimney’s existing flashing using high-quality roofing tape.
- Skylight: Ensure the tarp completely overlaps the skylight on all sides. Secure the tarp by fastening anchor boards into the undamaged roof decking outside the skylight’s frame, holding the roof tarping material taut to prevent wind lift.
A precise roof tarping technique around these features is vital. Avoid nailing directly through the tarp to prevent new holes, guaranteeing your temporary fix holds until permanent repairs are scheduled.
Signs Your Roof Needs More Than Just Tarping
In some cases, storm damage is too extensive for tarping alone. While tarps provide temporary protection, certain warning signs indicate that storm damage roof repair or full replacement may be necessary.
If you notice sagging roof decking, widespread shingle loss, or interior structural damage, these are red flags. Persistent leaks even after tarping may signal deeper issues with underlayment or decking.
Watch for these indicators:
- Soft spots on the roof surface: Suggest structural weakening.
- Multiple active leaks: May indicate widespread membrane failure.
- Visible daylight in attic: Points to severe roof penetration damage.
If any of these are present, contacting a professional roofing contractor for a complete inspection is the safest next step.
Preventing Future Storm Damage to Your Roof
While severe weather cannot be avoided, proactive maintenance reduces the need for emergency roof tarping in the future. Regular inspections and preventative repairs significantly improve your roof’s durability during storms.
Simple steps homeowners can take include:
- Schedule seasonal roof inspections: Catch small issues before storm season.
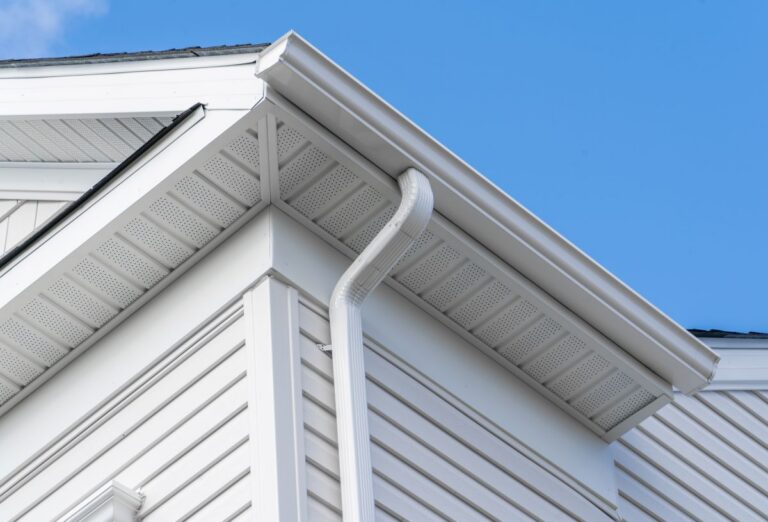
- Maintain gutters and downspouts: Proper drainage prevents water buildup.
- Trim overhanging branches: Reduces debris impact risk.
- Reinforce flashing and sealants: Protects vulnerable penetration points.
- Upgrade to impact-resistant shingles: Adds protection against hail damage.
Preventative care reduces the likelihood of sudden emergency roof repair and strengthens your home against extreme weather conditions.
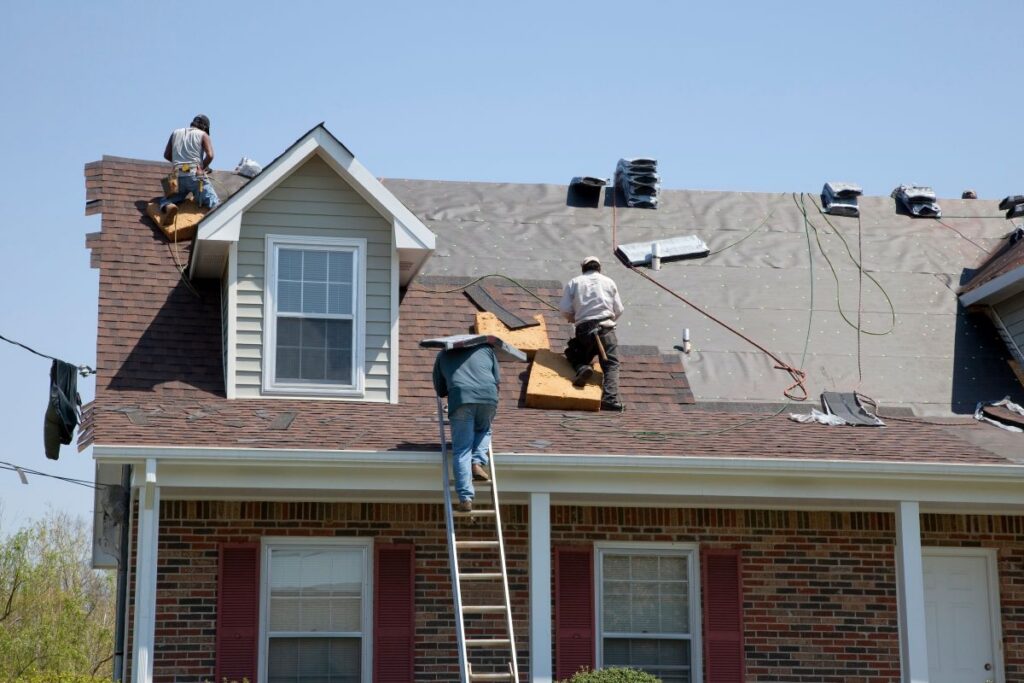
Call an Expert Roofer to Help with Your Tarping Needs
You’ll want to call a local and reliable roofer as soon as you see that your roof has sustained damages. Plenty of roofing companies offer emergency repair services, meaning they’ll come to your home within 24 hours and tarp or patch your roof.
If they don’t offer this service, however, you’ll want to schedule a roof inspection with them as soon as possible — and tarp your roof in the meantime. Keep in mind that roof tarps aren’t meant to last long and will not keep your roof safe for more than a week tops.
At Johnson Restoration, we offer emergency storm services, which means you won’t have to wait very long if your roof is in dire need of repairs. If you have visible signs of roof damage, you’ll want to contact us right away so we can