
Proper ice dam removal is critical to protecting your roof and preventing long-term water damage during harsh Ohio winters. Ice dams form when melting snow refreezes along the eaves, trapping water that seeps beneath shingles and into your attic or ceilings. Left untreated, this buildup can lead to leaks, insulation damage, and structural rot.
- Seasonal challenge: Ohio’s freeze-thaw cycles make ice dams a recurring winter problem.
- Hidden danger: Water backup beneath shingles can cause costly, unseen damage.
- Simple solution: Safe and timely removal prevents leaks and extends roof life.
Knowing how to remove ice dams safely, and when to call a professional, can make all the difference in preserving your roof’s strength and performance.
Why Ice Dam Removal Matters
Ice dams may look harmless from the ground, but the water trapped behind them can cause significant internal and external damage. Moisture infiltration often leads to mold growth, wood rot, and peeling paint inside your home. If you suddenly notice water leaking from ceiling fixtures or drywall seams, you must act immediately before the trapped ice completely destroys your attic insulation.
Removing ice dams quickly helps restore proper drainage and protects the structural components of your roofing system. The key is doing it safely and effectively without damaging shingles or gutters in the process.
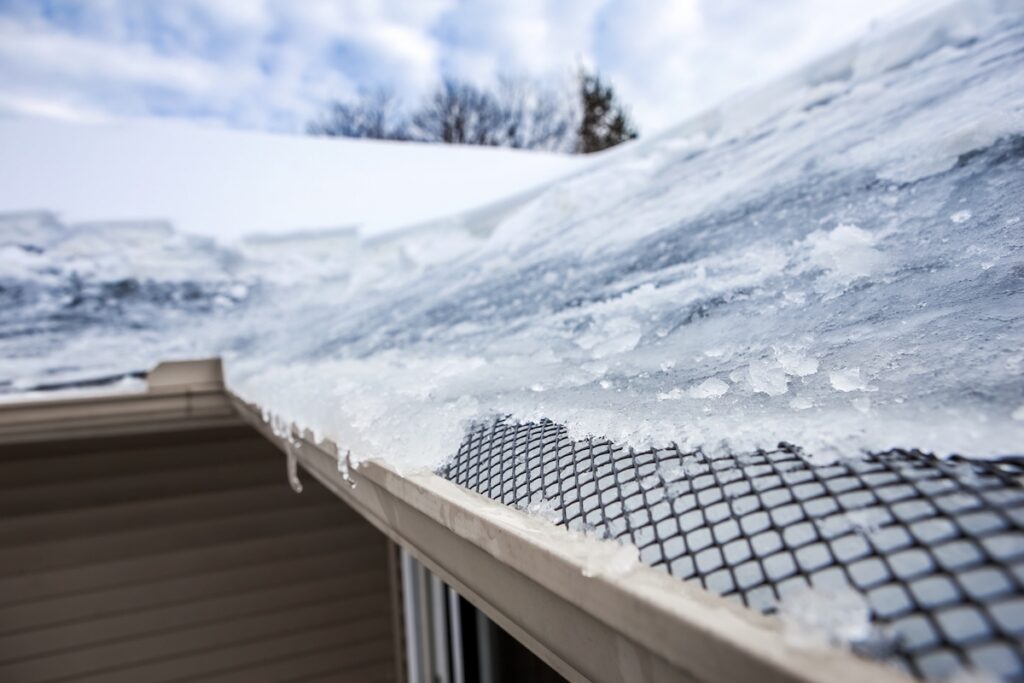
How Ice Dams Form on Roofs
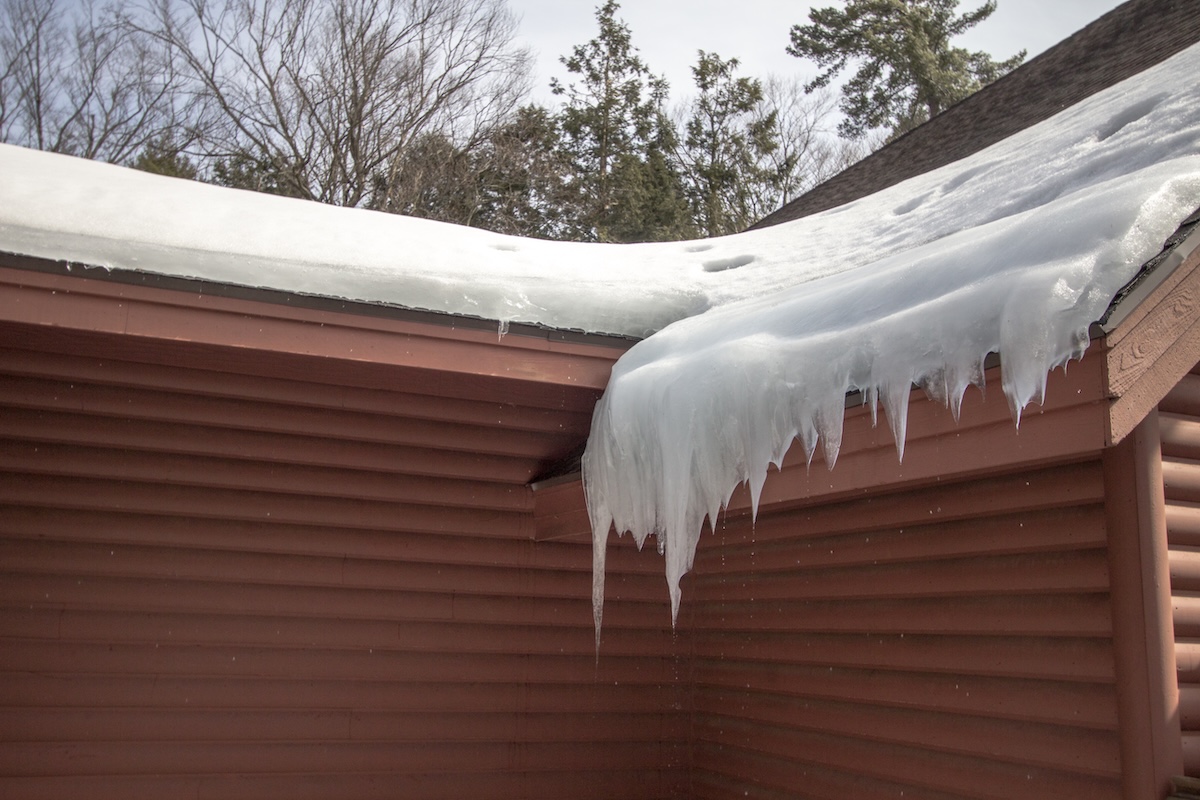
Ice dams develop when heat escapes from your attic, warming the roof and causing snow to melt unevenly. The melted water flows toward the eaves—where it’s colder—and refreezes. Over time, the frozen layer thickens, preventing future runoff and creating a backup of trapped water.
This freeze-thaw cycle is especially common in homes with poor insulation or ventilation. The result is a heavy, frozen ridge that can damage gutters, shingles, and even your home’s siding if not addressed promptly.
7 Steps for Safe Ice Dam Removal
When it comes to eliminating ice dams, safety and technique are everything. Using the wrong tools or methods can easily harm your roof. These seven steps outline the safest and most effective process for clearing ice dams while minimizing risk to both you and your property.
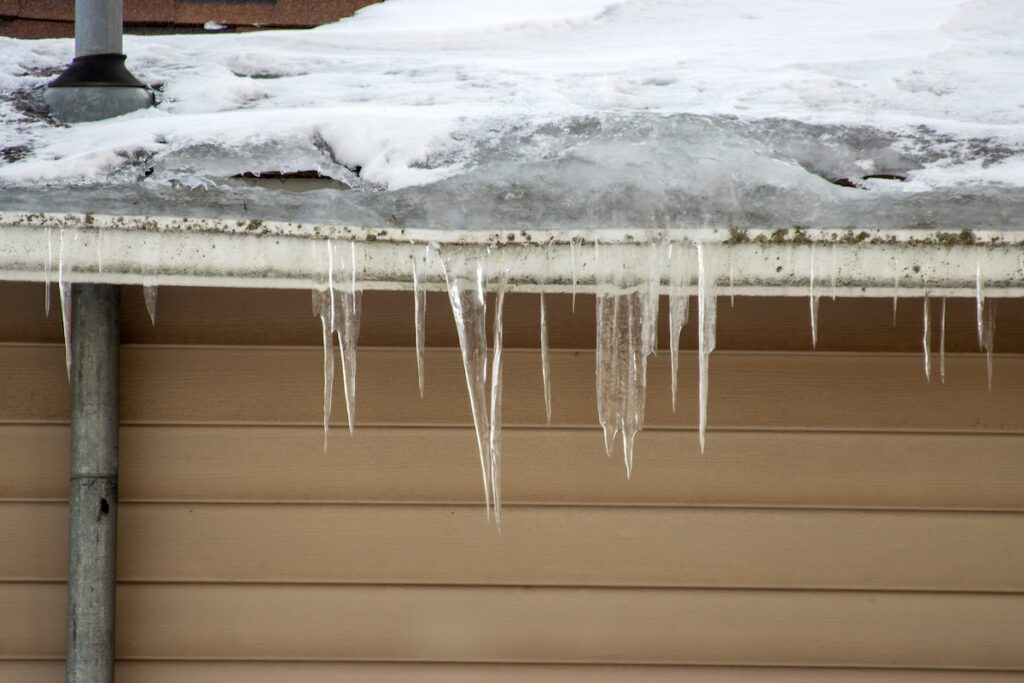
1. Assess the Roof From the Ground
Before taking any action, inspect your roof from a safe distance. Look for large icicles, water stains under eaves, or areas where ice is visibly lifting shingles.
- Safety first: Avoid climbing onto icy surfaces or using ladders during freezing conditions.
- Professional tip: Take photos to document the issue before starting any removal or repair.
Understanding the extent of the problem helps determine whether you can handle it yourself or need professional assistance.
2. Create Drainage Channels
One of the quickest ways to relieve trapped water is by creating small channels through the ice to allow it to drain. You can do this using specialized roof tools or calcium chloride socks.
- How to do it: Fill nylon stockings with calcium chloride and lay them vertically across the dam.
- What to avoid: Never use rock salt—it can corrode metal and discolor shingles.
This controlled melting method provides temporary relief until a full removal can be performed. While these nylon socks are highly effective short-term ice dam remedies, they do not address the underlying attic heat loss issue that caused the frozen ridge in the first place.
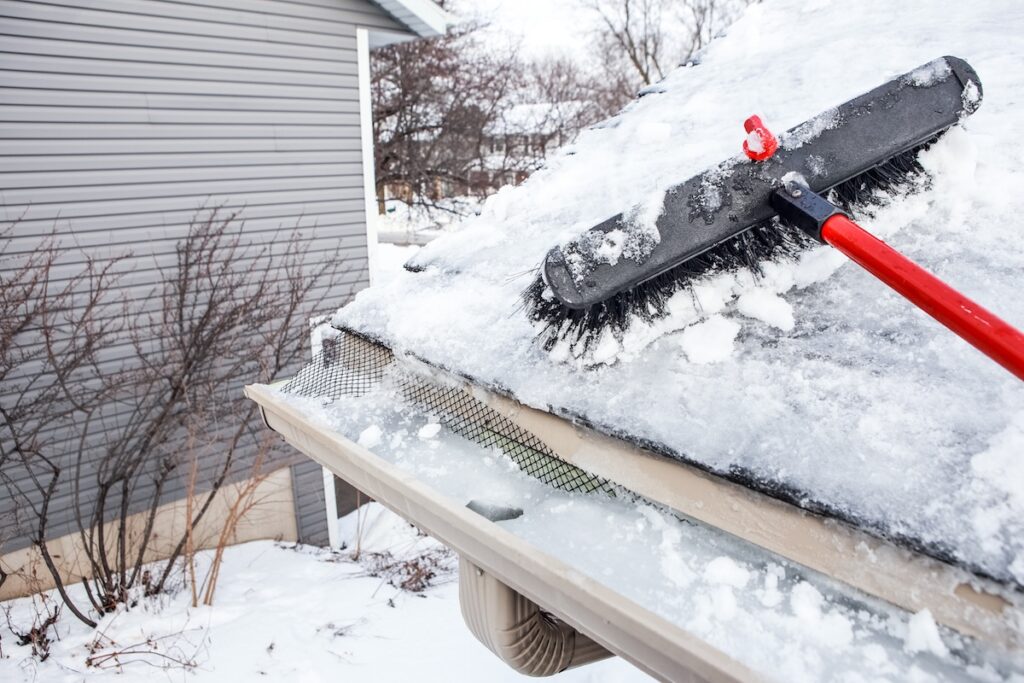
3. Use a Roof Rake to Remove Snow
Clearing excess snow from your roof helps prevent additional melting and refreezing. A roof rake with an extension handle allows you to do this safely from the ground.
- Proper technique: Pull snow down toward the edge rather than across the roof surface.
- Important note: Leave a thin layer of snow to avoid scraping or damaging shingles.
Regular snow removal after each storm reduces weight on your roof and lowers the risk of new ice dams forming.
4. Gently Break Ice in Small Sections
If you can safely reach parts of the ice dam, use a wooden mallet or rubber hammer to gently break off small chunks. Avoid using metal tools, which can crack shingles or tear flashing. Aggressively hacking at the ice with a heavy shovel or pickaxe is the leading cause of missing shingles during the winter months, which will inevitably lead to massive spring roof leaks.
- Be patient: Break only small pieces at a time to prevent sudden falls of heavy ice.
- Safety warning: Do not stand directly beneath ice chunks that could slide off.
This step should only be attempted if you can work from the ground or a stable platform.
5. Apply Safe Ice Melt Products
Chemical deicers can accelerate melting without harming your roof. Products formulated with calcium chloride or magnesium chloride are preferred over harsh salts.
- Application tip: Sprinkle ice melt evenly across the dam or use deicer pucks in gutter troughs.
- Avoid runoff issues: Keep chemicals away from plants and concrete surfaces to prevent staining.
This step is particularly useful when temperatures remain below freezing for extended periods.
6. Ensure Gutters and Downspouts Are Clear
Even the most effective ice removal efforts won’t help if water can’t drain properly. Check that your gutters and downspouts are free from ice, leaves, and other obstructions.
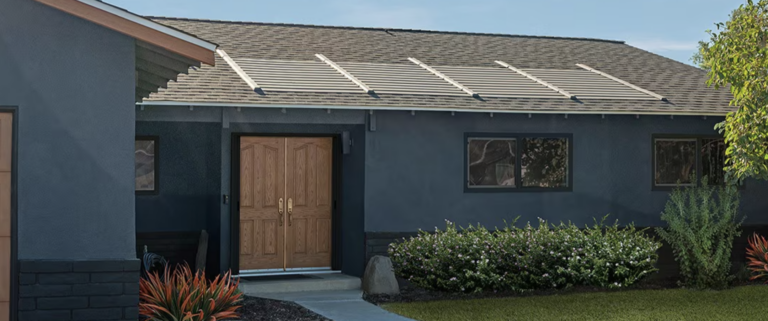
- Maintenance step: Use warm water or a safe deicing cable to thaw frozen sections.
- Inspection tip: Once cleared, ensure gutters slope correctly to promote proper drainage.
A functioning gutter system is essential to preventing future ice buildup and water backup.
7. Call a Professional for Severe Ice Dams
If the ice dam covers a large section of your roof or you notice leaks inside your home, it’s time to contact a professional. Roofers use steam removal systems to melt ice safely without damaging shingles or gutters.
- Why it’s best: Steam melts ice evenly and prevents further damage from prying or scraping.
- When to act: Early intervention saves money by preventing interior damage and structural decay.
Professional removal ensures safety, efficiency, and long-term protection for your roof. At this critical stage, treating the situation as an emergency roof repair is the only way to safely steam away the solid block of ice without destroying the underlying roof deck.
Preventing Ice Dams in the Future
Once the ice dam is gone, preventing future buildup should be your next priority. Taking proactive steps during warmer months makes your roof better prepared for the next winter.
- Upgrade insulation: Proper attic insulation keeps heat inside and maintains consistent roof temperatures.
- Improve ventilation: Soffit and ridge vents help circulate air and prevent uneven snowmelt.
- Seal air leaks: Close gaps around chimneys, ducts, and light fixtures that allow warm air to escape.
- Clean gutters: Keep drainage systems clear before and after storms.
These long-term improvements reduce the likelihood of recurring ice dam problems.
Why Ice Dam Issues Are Common in Ohio
Ohio’s winter conditions—especially in cities like Miamisburg and surrounding areas—create an ideal environment for ice dams. Rapid temperature swings cause frequent freeze-thaw cycles, while heavy snowfalls put extra strain on roofing systems.
Because many homes in the region have older insulation and ventilation setups, upgrading these systems can dramatically improve performance and prevent seasonal damage.
Protect Your Home With Johnson Restoration
At Johnson Restoration, we help homeowners tackle winter challenges with professional ice dam removal and prevention services. Our team proudly serves Miamisburg and surrounding areas, providing safe, effective solutions that keep roofs protected and homes dry.
As a trusted local roofing company, we combine quality craftsmanship with Ohio weather expertise to prevent long-term damage from snow and ice. Whether you need emergency removal, inspection, or roof repairs, we’re here to help. Contact Johnson Restoration today for professional assistance and the peace of mind that your roof is ready for every Ohio winter.