
Learning how to insulate an attic roof rafters can make a major difference in your home’s comfort, energy efficiency, and overall performance. Proper insulation helps regulate indoor temperature, reduce heating and cooling costs, and prevent issues like condensation or ice dams. For homeowners in Mason and surrounding areas, understanding attic insulation is especially important due to Ohio’s mix of hot summers and cold winters.
- Energy savings: Quality insulation keeps heat where it belongs year-round.
- Moisture control: Reduces condensation that can lead to mold or rot.
- Comfort upgrade: Improves indoor temperature stability and air quality.
Whether you’re upgrading old insulation or starting from scratch, following the right process ensures your home stays efficient and protected.
Why Insulating Attic Roof Rafters Matters
Your attic plays a major role in your home’s energy efficiency. When attic roof rafters are properly insulated, they help reduce the amount of heat escaping in winter and entering during summer. This means your HVAC system doesn’t have to work as hard to maintain a comfortable indoor climate.
Insulating the rafters instead of just the attic floor also helps create a conditioned space. This is ideal if your attic houses HVAC equipment, ducts, or if you plan to convert it into a livable area. Leaving a poorly insulated attic unchecked not only wastes expensive conditioned air but also forces your HVAC unit to work overtime to compensate for the extreme temperature swings.
Common Signs Your Attic Needs Better Insulation
Knowing when to upgrade or replace your insulation is key to maintaining your home’s efficiency and structure. Here are a few warning signs to look out for.
- Uneven temperatures: Rooms under the attic feel hotter in summer or colder in winter.
- High energy bills: Heating and cooling costs have steadily increased.
- Drafts or cold spots: You feel air movement even with windows closed.
- Visible damage: Moisture stains, mold, or deteriorating insulation materials.
- Ice dams: Snow melts unevenly on your roof, refreezing at the edges.
Addressing these issues promptly can prevent costly repairs and energy loss over time.
Choosing the Right Type of Insulation
Before starting the project, you’ll need to decide which insulation material best fits your attic’s structure and performance goals. Each option offers different benefits based on budget, climate, and installation method.
- Fiberglass batts: Affordable and easy to install but must fit tightly between rafters.
- Spray foam insulation: Provides excellent air sealing and moisture resistance.
- Rigid foam boards: Great for tight spaces or sloped rooflines.
- Blown-in insulation: Ideal for covering irregular spaces evenly.
Many homeowners combine materials for optimal coverage, using foam for sealing gaps and fiberglass for broad insulation. Consulting with local roofing contractors can help you easily determine the most cost-effective material combination for your home’s unique layout and budget.
Preparing Your Attic for Insulation
Before adding insulation, it’s essential to ensure your attic is clean, safe, and ready for installation. Skipping this step can lead to trapped moisture or poor insulation performance.
- Inspect for leaks: Repair any roof or flashing issues before insulating.
- Seal air gaps: Use caulk or spray foam around vents, pipes, and electrical openings.
- Check ventilation: Ensure soffit and ridge vents are unobstructed to prevent condensation.
- Clear old insulation: Remove damaged or compressed insulation that has lost effectiveness.
Taking time to prepare the space sets the foundation for long-lasting results. Maintaining proper attic ventilation is absolutely critical before adding any insulation, as blocking these intake and exhaust pathways will quickly trap destructive moisture against your roof deck.
6 Steps: How To Insulate an Attic Roof Rafters
The process of insulating attic roof rafters involves several precise steps to ensure full coverage and proper airflow. Taking the time to do it right helps maximize energy savings and prevent common issues like moisture buildup.
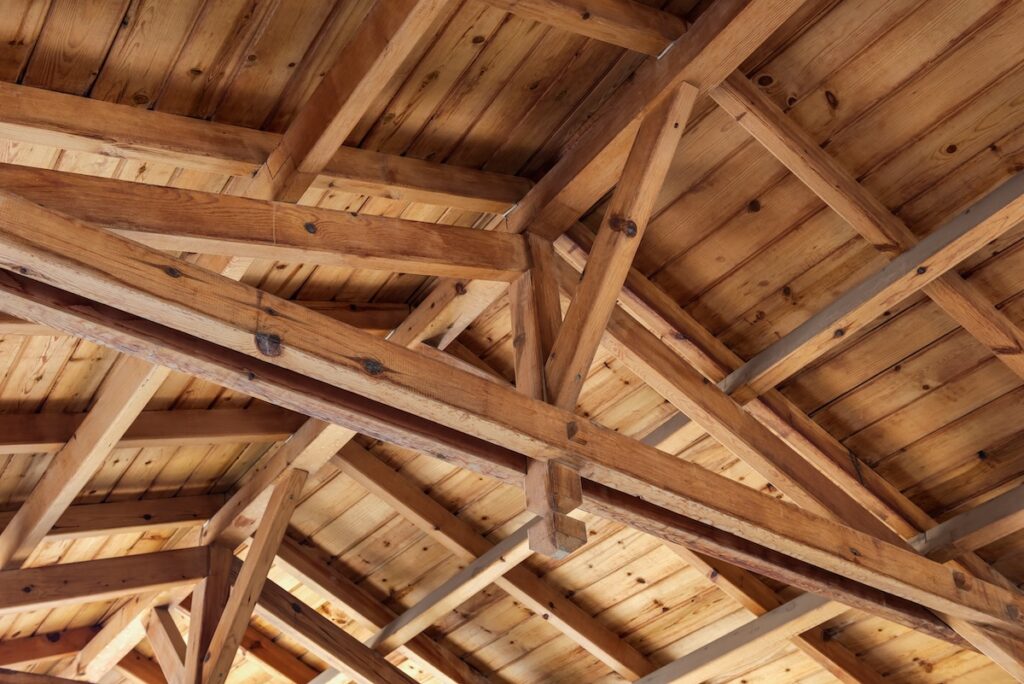
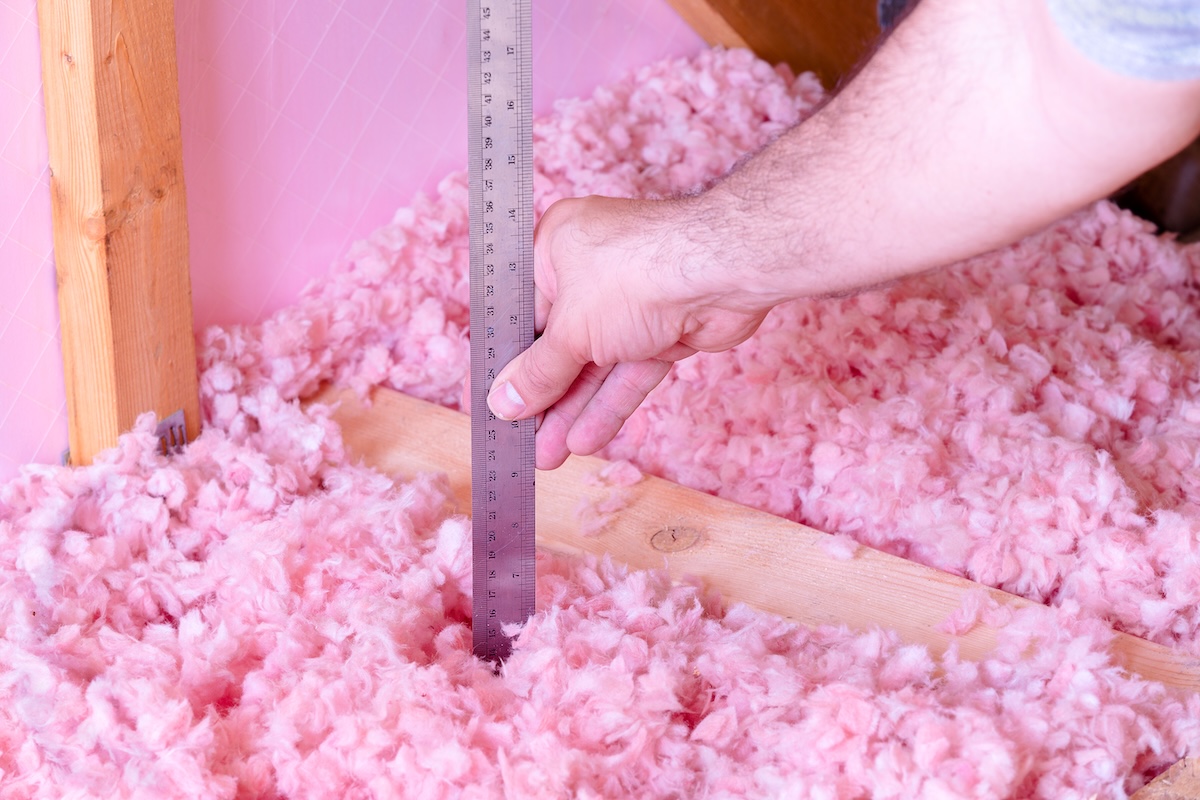
1. Measure the Rafter Spacing and Roof Area
Begin by measuring the distance between rafters and the overall square footage of your attic ceiling. This helps determine how much insulation material you’ll need and ensures a snug fit between each section.
- Tip: Most rafters are spaced 16 or 24 inches apart. Measure carefully before purchasing materials.
2. Select the Appropriate Insulation Material
Choose a material suitable for your roof’s structure, climate, and desired R-value (a measure of thermal resistance). In Ohio, an R-value of R-38 to R-49 is typically recommended for attic applications.
- Note: If your attic is unfinished and unconditioned, focus insulation on the floor rather than the rafters.
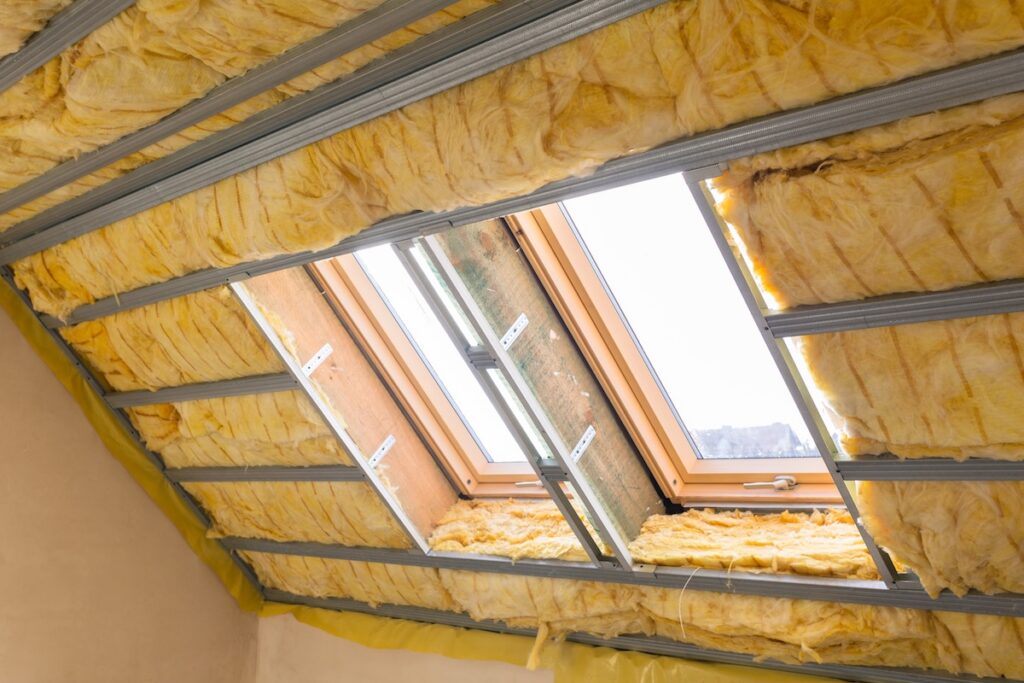
3. Install Vent Baffles for Airflow
Vent baffles, also known as rafter vents, ensure that air can move freely from the soffit vents to the ridge vent. This prevents condensation and maintains proper ventilation under the roof deck.
- Installation tip: Staple baffles along the roof sheathing before adding insulation.
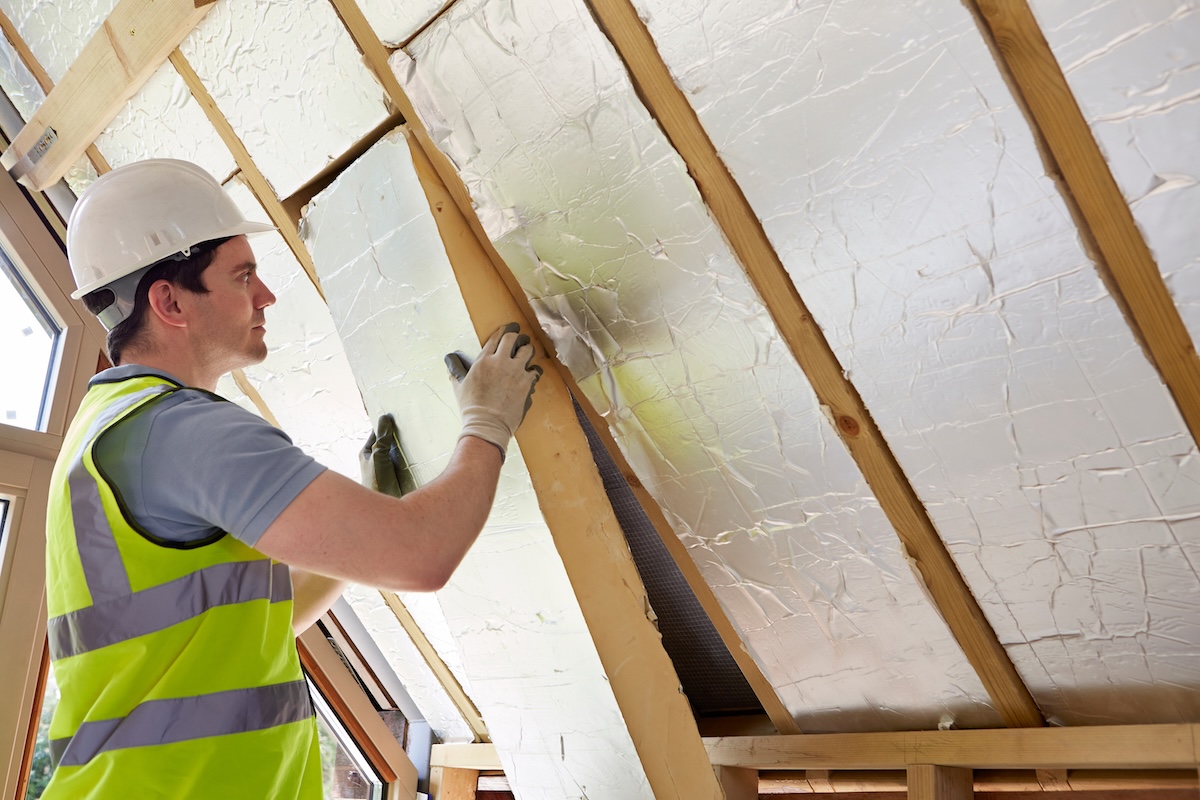
4. Cut and Fit the Insulation
Measure and cut the insulation batts or boards to fit snugly between rafters. Avoid compressing the material, as this reduces its effectiveness.
- Best practice: For spray foam or blown-in insulation, use a professional installer to guarantee even coverage.
5. Seal Gaps and Joints
After installation, seal small gaps or cracks where air could escape. Pay close attention to the edges where rafters meet walls and around vent openings.
- Recommended product: Expanding spray foam provides durable sealing for hard-to-reach areas.
Taking the time to properly focus on air sealing attic bypasses around light fixtures and wiring holes is what truly maximizes the thermal performance of your new insulation batts.
6. Inspect and Add a Vapor Barrier
Finish the process by installing a vapor barrier to prevent moisture from seeping into the insulation. This step is especially important in humid climates or during Ohio’s wet seasons.
- Final check: Ensure all seams are sealed and that the insulation does not block ventilation channels.
When completed properly, this process creates a balanced system that keeps your attic comfortable, dry, and efficient year-round.
Safety Tips for Attic Insulation Projects
Working in an attic can be challenging, so safety should always come first. These precautions help ensure a smooth and secure installation process.
- Wear protective gear: Use gloves, goggles, and a mask to avoid irritation from insulation fibers.
- Watch your step: Walk only on joists or installed planks to avoid damaging drywall ceilings.
- Mind electrical wiring: Avoid contact with exposed wires or fixtures.
- Keep lighting clear: Don’t cover recessed lights or vents with insulation.
- Stay hydrated: Attics can get hot and cramped even during colder months.
Following these safety guidelines prevents accidents and ensures professional-quality results.
Benefits of Proper Attic Rafter Insulation
When done correctly, attic rafter insulation can dramatically improve your home’s comfort and performance. The results are both immediate and long-lasting.
- Energy efficiency: Reduces heating and cooling costs by preventing air leaks.
- Better temperature balance: Keeps rooms below the attic more comfortable.
- Extended roof life: Reduces the risk of ice dams and condensation issues.
- Increased home value: Energy-efficient upgrades often raise resale potential.
- Moisture control: Helps prevent mold growth and structural damage.
By stopping warm, humid indoor air from reaching the freezing roof decking in the winter, you effectively eliminate the condensation cycle that often leads to expensive attic mold remediation down the road. For Ohio homeowners, these benefits go beyond comfort—they also protect your investment year after year.
When To Call a Professional
While some homeowners can handle simple insulation upgrades, complex attic layouts or roof rafter systems often require professional expertise. A roofing or insulation contractor can ensure that materials are installed correctly and that ventilation is balanced.
Professional roofers also use specialized equipment to check for hidden air leaks or moisture problems. Investing in expert installation can prevent costly mistakes and improve your home’s long-term efficiency.
Trust Johnson Restoration for Reliable Roofing Solutions
At Johnson Restoration, we know that proper insulation is a key part of maintaining a durable and efficient home. Our team helps homeowners in Mason and surrounding areas with roof repairs, upgrades, and energy-efficient improvements that enhance comfort and performance year-round.
As a trusted local roofing company, we combine quality craftsmanship with expert guidance on ventilation, attic insulation, and long-term roof protection. If you’re planning an upgrade or need professional roof maintenance, contact Johnson Restoration today. We’ll help you create a more comfortable, energy-efficient home while protecting your roof from the inside out.