Is your roof failing when you need it most? A sudden leak or storm damage requires an immediate emergency roof repair to prevent toxic mold and permanent structural decay. When the sky opens up, your roof is your home’s first line of defense, and every minute of delay increases the stakes of a total system failure.
We understand the immediate panic and financial anxiety that comes with a roofing crisis. This guide is designed to move you from shock-induced paralysis to decisive action by providing a professional roadmap for emergency roof repair. Whether you are dealing with a fallen tree or a persistent ceiling leak, the following steps will help you stabilize your home, mitigate expensive water damage, and navigate the repair process with confidence.
Key Takeaways
- Spotting Damage: Detecting ceiling stains, sagging lines, or gutter granules early can prevent a minor leak from escalating into a full-scale emergency roof repair.
- Basic DIY Fixes: Simple leaks or displaced shingles can be stabilized with a basic toolkit and high-quality sealant if you have previous construction experience.
- Triage vs. Restoration: Tarping serves as a temporary stopgap that must be followed by code-compliant repairs to avoid internal mold and rot.
- Managing Insurance: Documenting damage immediately and filing within 30 days is critical to ensuring your emergency roof repair costs are covered.
- Expert Intervention: Specialized materials, steep pitches, or structural sagging require professional expertise to ensure safety and protect your active warranty.
- Consistent Maintenance: Conducting regular inspections and keeping a trusted contractor on speed dial helps you pivot from panic to action during a crisis.
What Does Roof Damage Look Like?
Let’s face it—your roof isn’t just an aesthetic canopy; it’s the silent guardian of your home. But when trouble brews, it does send signals. Spotting them early can mean the difference between a minor fix and an emergency roof repair that leads to a budget-crushing overhaul.
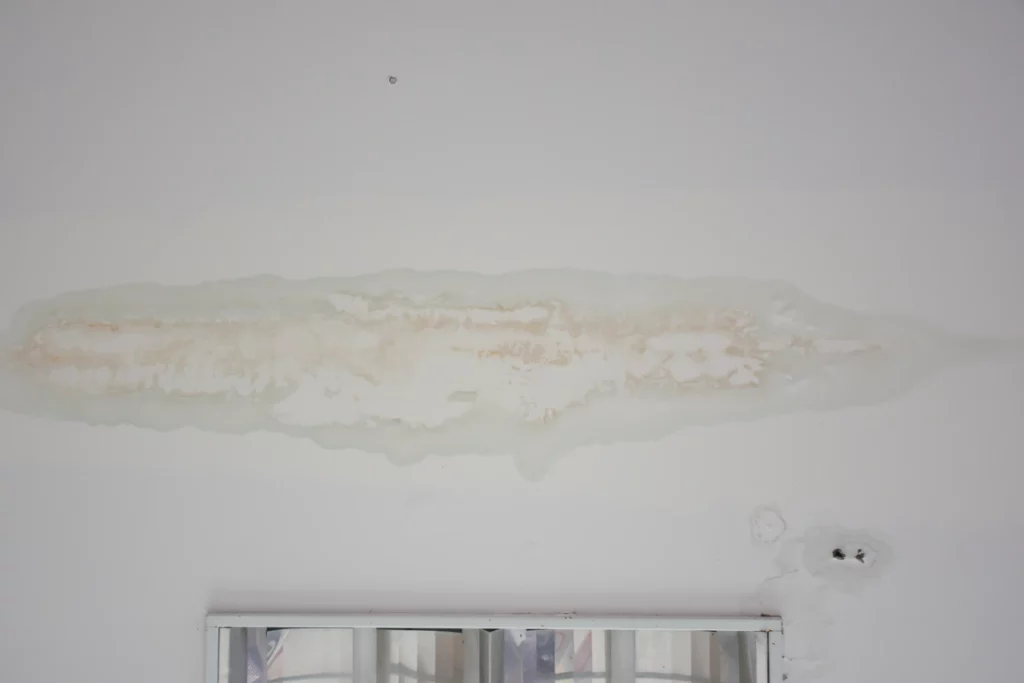
- Water Marks and Leaks – You spot it—the dreaded water stain on your pristine white ceiling or wall. It’s like a battle scar, except the enemy is within. Leaks and water stains are the roof’s distress call. Don’t ignore it; act now to nip the issue in the bud!
- Shingles in Distress – Ever see shingles that look like they’re in bad shape? Cracks, curling edges, and even missing shingles compromise your roof’s structural integrity. Consider these signals a wake-up call!
- The Sinking Roof – Sagging is not a mere cosmetic issue. If your roof starts to dip or sag, that’s a colossal red flag indicating severe structural issues. Immediate action is non-negotiable.
- Granules in the Gutter – If you notice your gutters filled with shingle granules, your roof is getting old. It’s the rooftop equivalent of grey hair—cute but alarming.
Ignoring these warning signs won’t make them disappear; it will only allow the damage to spread deeper into your home’s structure. If you spot any of these red flags, reach out to professional roofing contractors for an inspection before a small leak escalates into a costly emergency roof repair.
4 Tips to Master the Art of DIY Roof Repairs
Now that you know what a roof leak or other signs of roof damage look like, it’s time to get down to business. How do you handle an emergency roof repair as soon as possible without breaking the bank? For some owners, the answer is to do it yourself!
DIY repairs are ideal for those minor flare-ups and are best suited for individuals with some background in roofing or general construction. If you are in need of emergency roof repairs, it’s a good idea to leave the heroics to roofing professionals.
1) The Toolbox: Essentials for the DIY Warrior
- Ladder
- Hammer and roofing nails
- Roofing sealant
- Putty knife
- Replacement shingles
2) Quick Fixes: Handling Small Holes and Cracks
Maybe a satellite dish was removed, or a minor storm left its mark. Small holes are typically easy to fix. Apply a liberal amount of roofing sealant, level it using a putty knife, and voila! Your roof is as good as new.
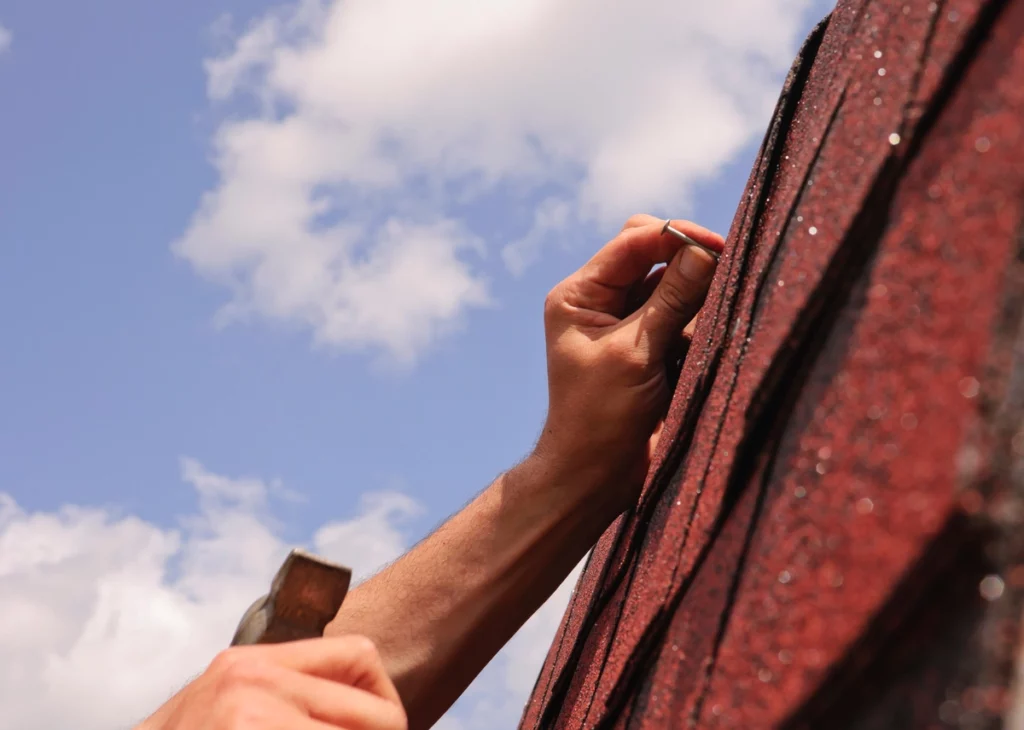
3) Replace Like a Pro: Changing Damaged Shingles
First, use a pry bar to lift the edges of the shingles adjacent to the damaged one. Remove it carefully, replace it with a new shingle, and secure it with roofing nails. Finish this emergency roof repair by sealing the edges with roofing sealant for that professional touch.
4) The Leak Annihilator: Sealing Pesky Leaks
Around roof features such as vents, skylights, and chimneys, leaks are notorious. Seal the areas with a generous coat of high-quality sealant to banish these annoying leaks for good.
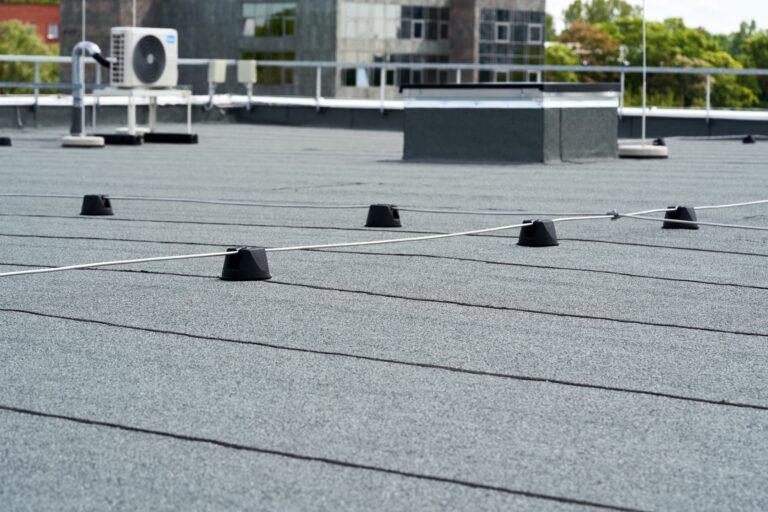
Temporary Tarping vs. Permanent Solutions
When a structural breach occurs, there is a major difference between immediate stabilization and a permanent fix. Professional emergency roof repair typically begins with high-grade tarping to prevent further water infiltration. Unlike flimsy DIY materials, pros use industrial polyethylene secured with wooden furring strips to avoid damaging healthy shingles.
Attempting this as a weekend project is risky; amateur tarping often leads to ladder falls or the accidental voiding of your roof’s warranty. While a professional tarp or liquid sealant can stop a leak for one to six months, these are strictly stopgap measures. You must transition to a code-compliant architectural repair quickly to avoid internal rot or mold growth.
Navigating Insurance and Repair Costs
Managing a sudden roofing crisis is as much an administrative challenge as it is a physical one. To protect your finances, you must prioritize “forensic” documentation before any work begins. Taking high-resolution photos of the exterior damage and interior water trajectories is the non-negotiable first step in building a successful insurance claim.
Because most policies only cover sudden “accidental” damage and exclude long-term neglect, timing is everything. Filing within a 30-day window is critical to prevent a denial of coverage. For the best results, coordinate your inspection so your roofing contractor can be present to act as a technical advocate when the insurance adjuster arrives.
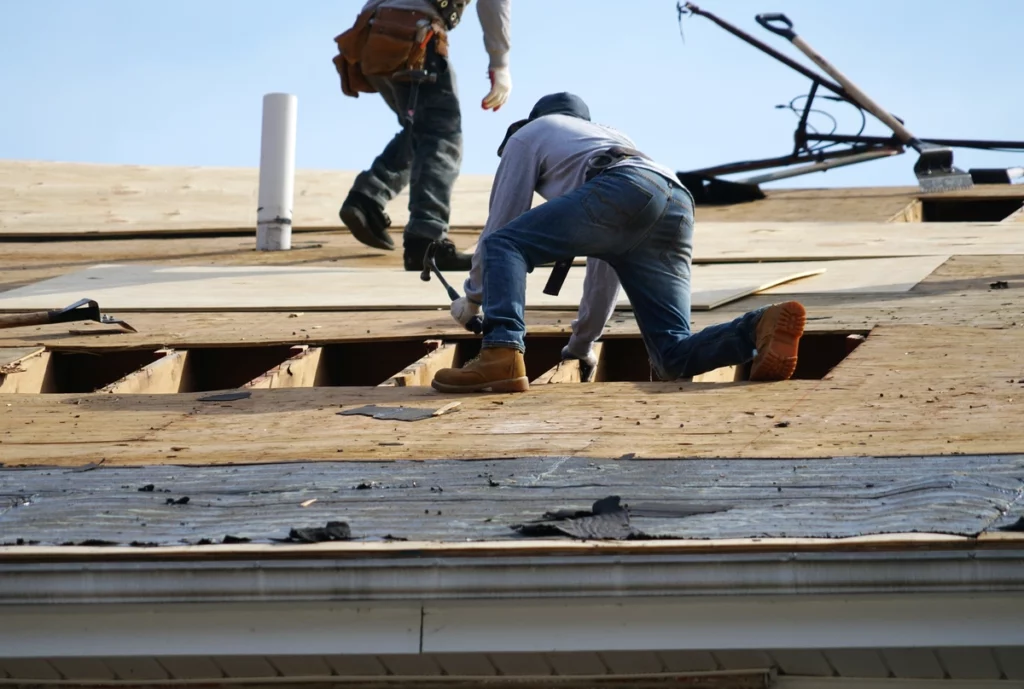
Signs That It’s Time to Call Professional Roofing Services
Reality check—some roofing issues are not DIY-friendly. Here’s your guide on when it’s time to put down the hammer and dial in the professional roofers for an emergency roof repair:
Sagging Roofs
If you see a sag, don’t wait—call a professional immediately. This is a surefire indicator of structural decay. Ignoring a sagging roof is incredibly dangerous, as the compromised trusses could collapse entirely under the weight of heavy winter snow.
Major Leaks
When you’re dealing with extensive, persistent leaks, a DIY patch-up won’t cut it. You need professional diagnostics and intervention. Emergency roof repair services may be necessary at this time to ensure that your home doesn’t suffer from water damage.
High and Steep Roof Challenges
A steep pitch or unusually high roof makes DIY attempts treacherous. Safety first—leave it to the pros.
Tile, Slate, and Other Complex Types
If your home features specialized shingle types like slate or tile, you’ll need unique tools and expertise. Do not attempt this at home.
Keep Your Warranty Intact
If your roof is under warranty, most conditions stipulate that an emergency roof repair must be done by licensed professionals to keep the warranty active. Check your terms!
Proactivity Is Your Best Ally
Here’s the bottom line—your roof isn’t going to maintain itself. Be alert to the signs, ready your DIY arsenal for minor skirmishes, and keep the number of reliable professionals on speed dial for an emergency roof repair. Not sure who to call? Allow us to recommend our own stellar team at Johnson Restoration.
Whether you’re grabbing that ladder or making that crucial call, the future of your roof rests squarely in your capable hands. Contact Johnson Restoration today to set up your initial appointment. Let’s get fixing!