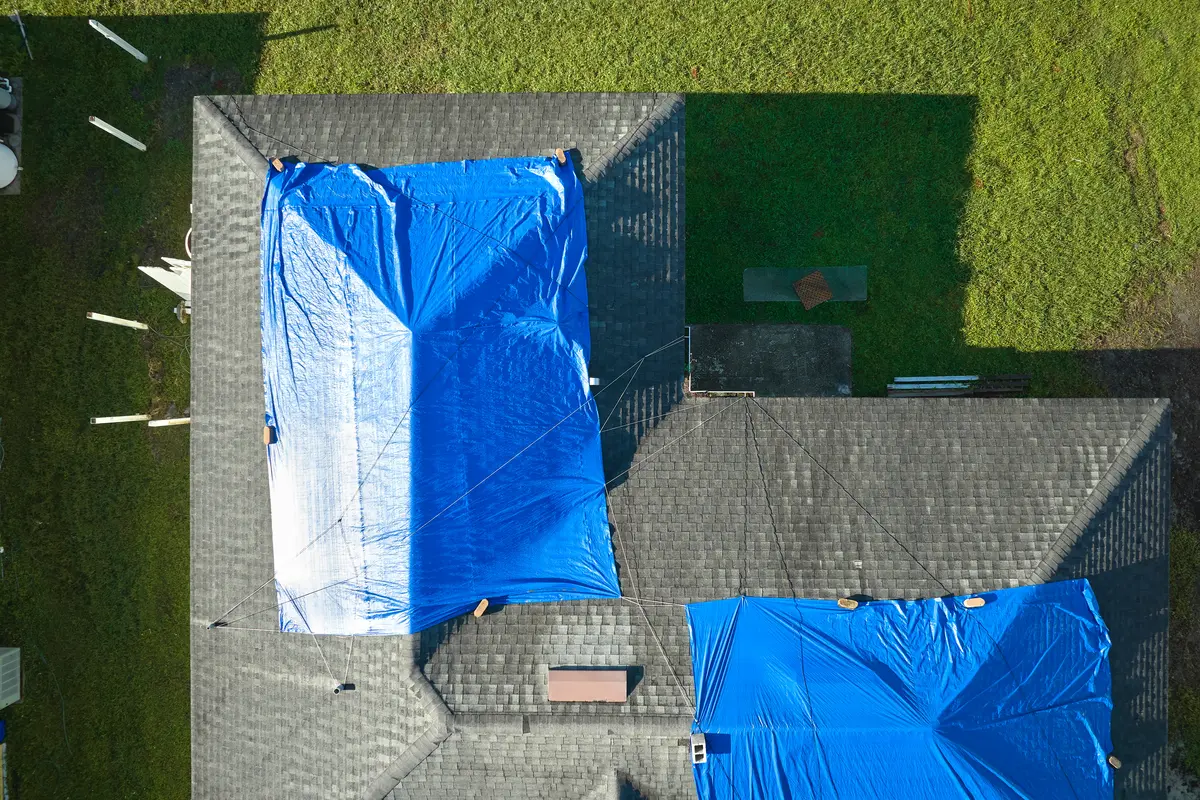
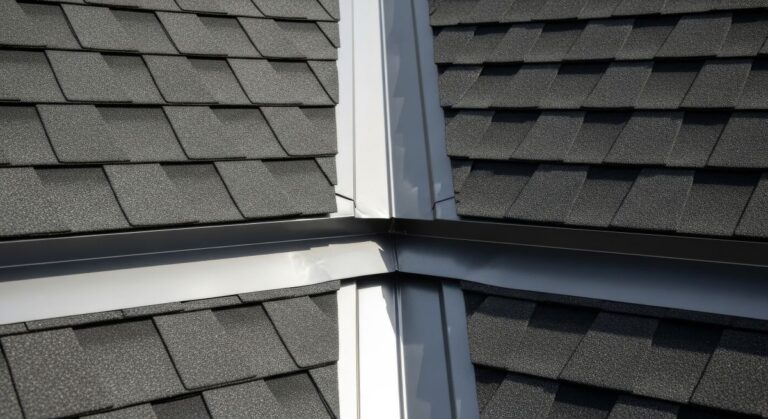
If you’ve recently experienced a storm, fallen tree, or unexpected roof damage, you might find yourself in need of a temporary fix to protect your home. Tarping a roof is a quick and effective way to shield your home from:
- Further water damage
- Pests
- Debris while you wait for professional repairs
At Johnson Restoration, we understand how stressful home repairs can be. That’s why we’ve created this step-by-step guide to help you learn how to tarp a roof safely and effectively. Whether it’s heavy rain or unexpected leaks you’re dealing with, our friendly advice will give you the confidence to take the first steps in protecting your home.
Why Tarping Your Roof Is Important
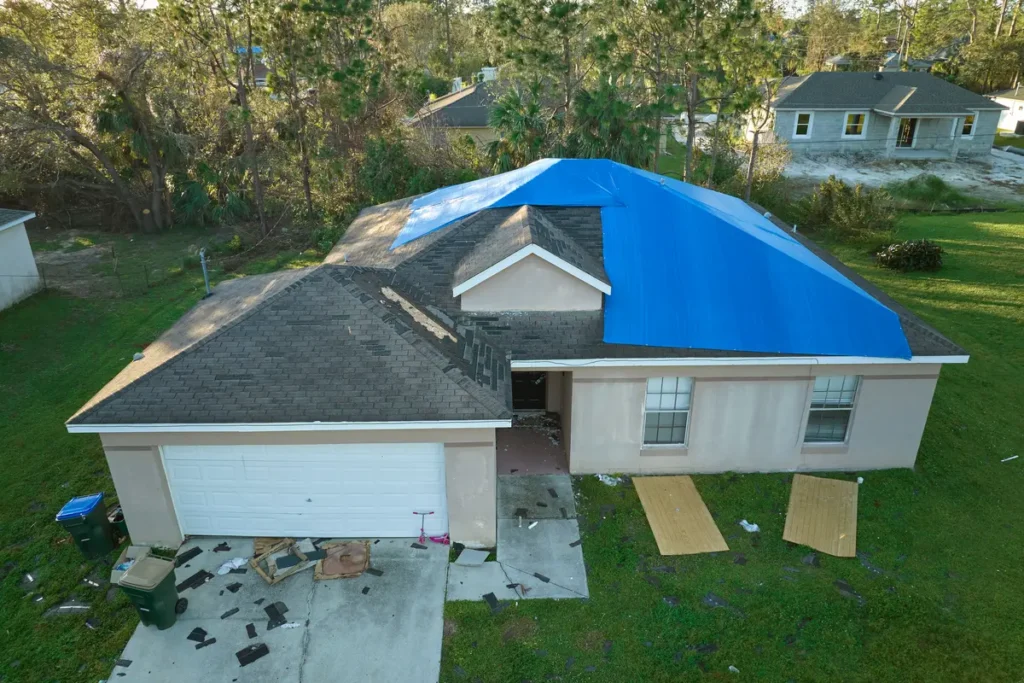
A damaged roof can lead to expensive consequences if left unchecked. Here’s why tarping your roof right away is essential:
- Prevent Water Damage: A compromised roof allows moisture to seep into your home, causing structural damage, mold growth, and ruined possessions.
- Minimize Energy Loss: Holes in your roof can lead to drafts, making it harder to keep your home warm or cool and driving up energy costs.
- Keep Out Wildlife and Debris: A tarp provides a barrier, preventing pests, leaves, or debris from entering the exposed part of your roof.
- Temporary Protection: Tarping acts as a stopgap measure until professional roof repairs can be made.
With the right knowledge and tools, you can add this simple but vital layer of protection to your home.
What You’ll Need to Tarp Your Roof
Before you begin, make sure you’re equipped with the right tools and materials for the job.
Materials:
- Heavy-duty tarp (preferably waterproof and UV-resistant)
- Roofing nails or screws
- 2×4 wooden planks
- Rope or sturdy bungee cords
- Plastic or metal washers
- Duct tape or roofing tape
Tools:
- Hammer or cordless drill
- Utility knife or tarp cutter
- Ladder (make sure it’s stable and tall enough for your roof)
- Work gloves
- Safety harness or anchoring system (for steep or elevated surfaces)
🚨 Safety first! Climbing onto a roof can be dangerous, so make sure your equipment is secure and that you’re taking all precautions.
An 8 Step Guide on How to Tarp Your Roof

Now that you have everything you need, follow these steps for a secure and reliable tarping process.
Step 1: Inspect and Assess the Damage
Before anything else, inspect your roof from the ground or a stable vantage point. Look for:
- Visible holes or cracks
- Missing shingles
- Areas where water is leaking through
If the damage covers a large portion of your roof or is difficult to access, it’s better to call a professional. For manageable sections of damage, proceed to the next step.
Step 2: Choose the Right Tarp
The quality of the tarp is critical for effective protection. Choose a tarp that:
- Is large enough to fully cover the damaged area (with excess to secure it properly)
- Is made from heavy-duty polyethylene or similar waterproof materials
- Has built-in grommets for secure fastening
A tarp with UV resistance will last longer if it needs to stay in place for a few weeks.
Step 3: Create a Safe Work Environment
Putting safety first is essential when working on a roof. Here’s how to minimize risks:
- Wear sturdy, slip-resistant shoes.
- Have a friend or family member assist by holding the ladder steady.
- Avoid tarping during bad weather. Wet or windy conditions can make it unsafe.
If your roof has a steep slope, consider using a safety harness or anchoring system.
Step 4: Clear Away Debris
Remove any debris, such as tree branches, broken shingles, or leaves, from your roof. Use a broom to gently sweep away smaller items. This ensures your tarp lies flat and stays secure.
Step 5: Position the Tarp
Unroll the tarp over the damaged area, leaving several extra feet of tarp extending beyond the edges of the damage. You’ll want enough material to secure the tarp firmly without exposing the vulnerable area.
Pro Tip: If the tarp isn’t long enough to cover the damage, consider overlapping two tarps. Secure the overlap with duct tape to prevent leaks.
Step 6: Secure the Tarp with 2×4 Boards
To keep the tarp from shifting in the wind:
- Place a 2×4 board along one edge of the tarp, closest to the peak of your roof.
- Wrap the edge of the tarp around the board and secure it by nailing or screwing the tarp to the board.
- Once fastened, place additional boards along the other edges of the tarp for extra support. Nail or screw them down firmly.
The weight and stability of the boards will keep your tarp in place during inclement weather.
Step 7: Fasten the Tarp with Nails or Rope
For added security:
- Use roofing nails or screws with washers to attach the tarp to the roof. The washers help spread out the pressure and reduce the risk of tearing.
- Alternatively, if there are sturdy anchor points nearby, use rope or bungee cords to tie down the tarp. Thread the rope through the tarp’s grommets and tighten securely.
Make sure the tarp is pulled taut to prevent water pooling on top.
Step 8: Double Check for Gaps
Once the tarp is fastened, inspect the edges and seams for gaps where water could sneak through. Seal any gaps using heavy-duty duct tape or roofing tape.
This final step ensures your tarp stays leak-proof until permanent repairs can be made.
Extra Tips for Success
While securing your tarp, keep these tips in mind for a smoother and safer process:
- Work in Pairs: Having a second person to support you or pass tools can make the process much more manageable.
- Keep Tarp Storage Handy: Store your tarp properly when not in use. Fold it neatly and avoid exposure to sharp objects that might tear it.
- Regularly Check for Wear: If your tarp stays on for an extended period, inspect it regularly for wear and tear. Replace it if necessary to maintain protection.
When to Call a Professional ☎️
If the roof damage is extensive, or if tarping feels unsafe, it’s time to bring in the pros. At Johnson Restoration, our expert team is equipped to handle all roof repair and restoration needs. We’ll assess the damage, recommend the best course of action, and provide quality repairs to keep your home safe and secure.
Don’t risk your safety—rely on our trustworthy services to get it done right.
How Johnson Restoration Can Help
At Johnson Restoration, we understand that roof damage can be overwhelming. That’s why we’re here to provide dependable, efficient solutions tailored to your needs. When you choose us, you’re not just hiring roof repair experts—you’re working with neighbors who care about keeping your home protected.
Why Choose Johnson Restoration?
- Fast Response: We know roof emergencies can’t wait. Our team acts swiftly to secure your home.
- Expert Repairs: From minor fixes to major overhauls, our experienced technicians handle it all.
- Friendly Service: We pride ourselves on treating our customers with care and respect.
If you’ve tarped your roof but want a permanent fix, we’re here to help. Contact us today for a free consultation and estimate.
Temporary Roof Tarp Needed? No Problem.
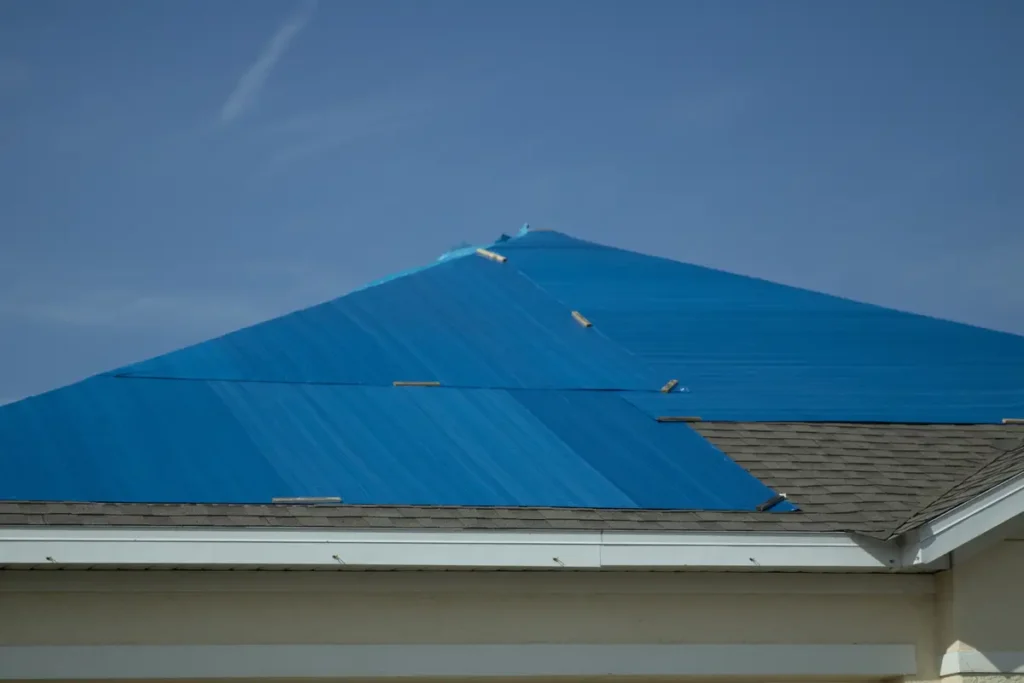
Tarping a roof may seem daunting, but with the right tools and a clear process, it’s absolutely doable. By following this guide, you can protect your home from further damage and buy yourself the time you need to plan repairs.
Remember, if you’re unsure or need assistance, the friendly professionals at Johnson Restoration are just a call away. Your home is your sanctuary, and we’re here to help you keep it that way.Contact us today for trustworthy roof repair services you can rely on!
