If you’re a homeowner, keeping your home in top shape is a constant task. One of the critical aspects of home maintenance is ensuring you have properly functioning gutters. Without them, rainwater can damage your home’s foundation, walls, and landscaping.
Installing gutters might seem daunting, but with the right tools and guidance, you can do it yourself. We’ll will walk you through how to install gutters, step-by-step so that you can understand:
- How professionals install gutters
- Why gutters are important
- When to leave it to the pros
Why Gutters are Essential
Before we dive into the installation process, let’s understand why gutters are essential for your home:
- Protect Your Foundation: Gutters direct rainwater away from your home’s foundation, preventing erosion and structural damage.
- Prevent Basement Flooding: By channeling water away from the house, gutters help prevent basement leaks and flooding.
- Safeguard Landscaping: Gutters prevent rainwater from causing soil erosion and damaging your landscaping.
- Preserve Siding and Paint: Gutters protect your home’s exterior from water stains and damage.
Tools and Materials You’ll Need
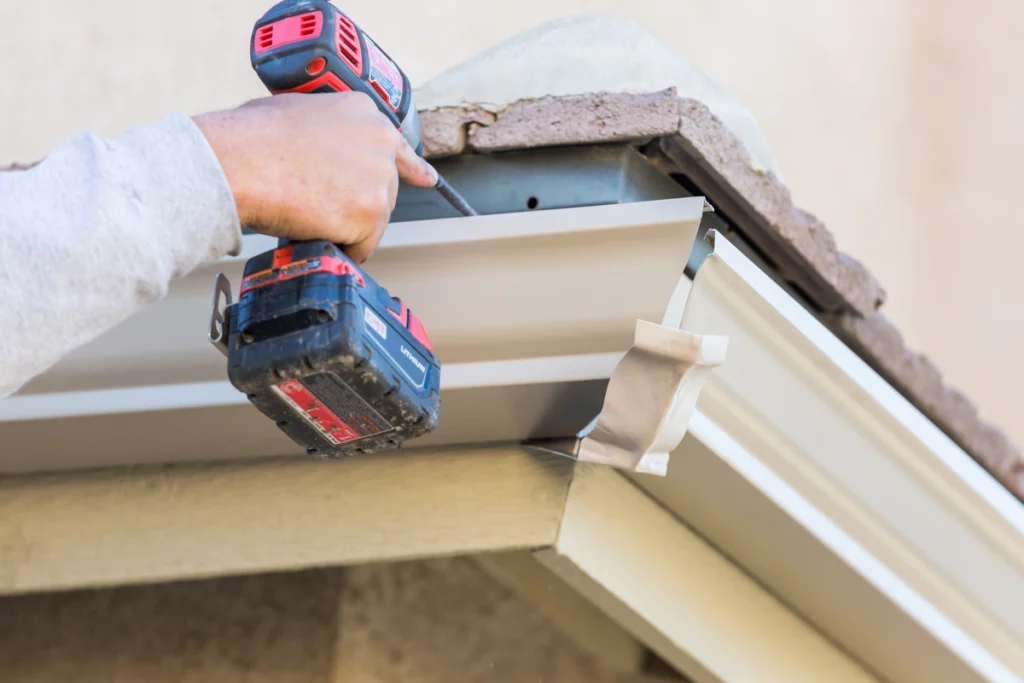
Before starting the installation, gather the necessary tools and materials:
Tools
- Tape Measure
- Chalk Line
- Ladder
- Hacksaw or Tin Snips
- Drill and Driver Bits
- Level
- Rivet Gun
- Caulk Gun
- Safety Gear (Gloves, Goggles)
Materials
- Gutters
- Downspouts
- Gutter Hangers
- Gutter Connectors
- End Caps
- Elbows
- Screws and Rivets
- Silicone Sealant
Step-by-Step Guide to Installing Gutters
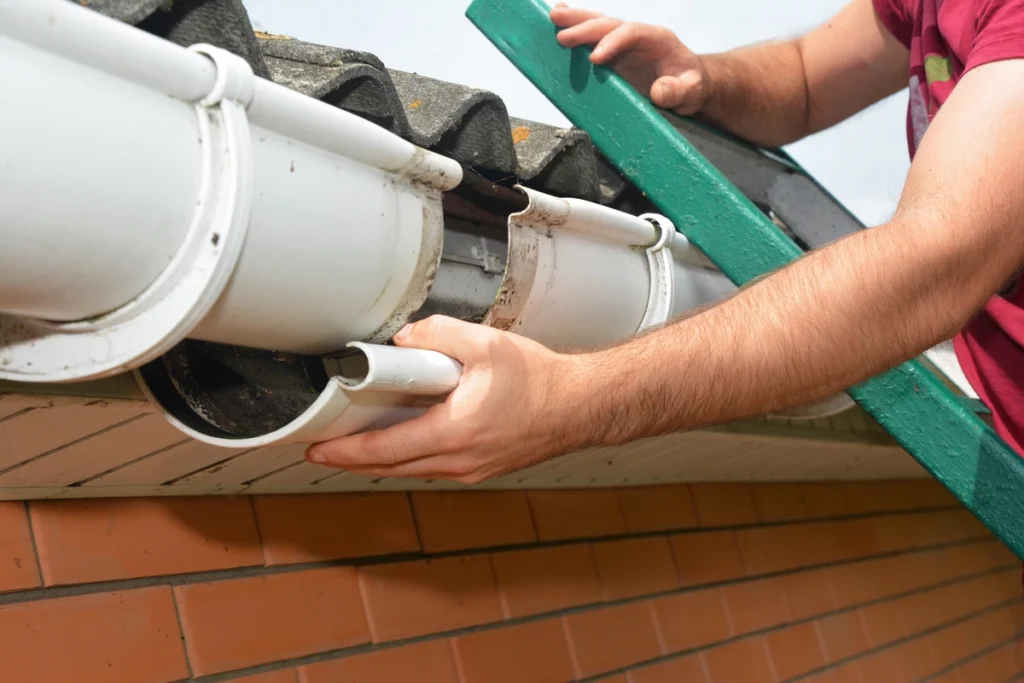
Want to install gutters like a pro? Follow these steps for exceptional results.
Step 1: Measure and Plan
- Measure the Roofline:
- Use a tape measure to determine the length of the roofline where you’ll install the gutters.
- Note down the measurements to calculate the total length of gutters needed.
- Plan the Slope:
- Gutters should slope towards the downspouts to ensure proper drainage.
- A typical slope is about 1/4 inch for every 10 feet of gutter.
- Determine Downspout Locations:
- Plan where you’ll place the downspouts. A downspout should be installed at each corner and every 30-40 feet along the gutter.
Step 2: Purchase the Materials
Based on your measurements and plan, purchase the required materials. It’s always a good idea to buy a little extra to account for any mistakes or adjustments.
Step 3: Install Gutter Hangers
- Mark the Gutter Slope: Starting at the highest point of the gutter run, use a chalk line to mark the slope towards the downspout.
- Attach the Hangers: Install the gutter hangers along the chalk line, spacing them about 24 inches apart. Use screws to secure the hangers to the fascia board.
Step 4: Cut and Assemble Gutters
- Cut the Gutters:
- Using a hacksaw or tin snips, cut the gutters to the required lengths based on your measurements.
- Smooth any rough edges with sandpaper.
- Attach Connectors and End Caps:
- Attach connectors to join sections of the gutter.
- Secure end caps to the ends of the gutter runs.
- Seal the Joints:
- Apply silicone sealant to all joints and connections to ensure they’re watertight.
Step 5: Install the Gutters
- Hang the Gutters:
- Lift the gutters and place them into the gutter hangers.
- Ensure the gutters slope towards the downspouts as per your chalk line marks.
- Secure the Gutters:
- Use screws to attach the gutters to the hangers.
- Check the level and slope to ensure proper drainage.
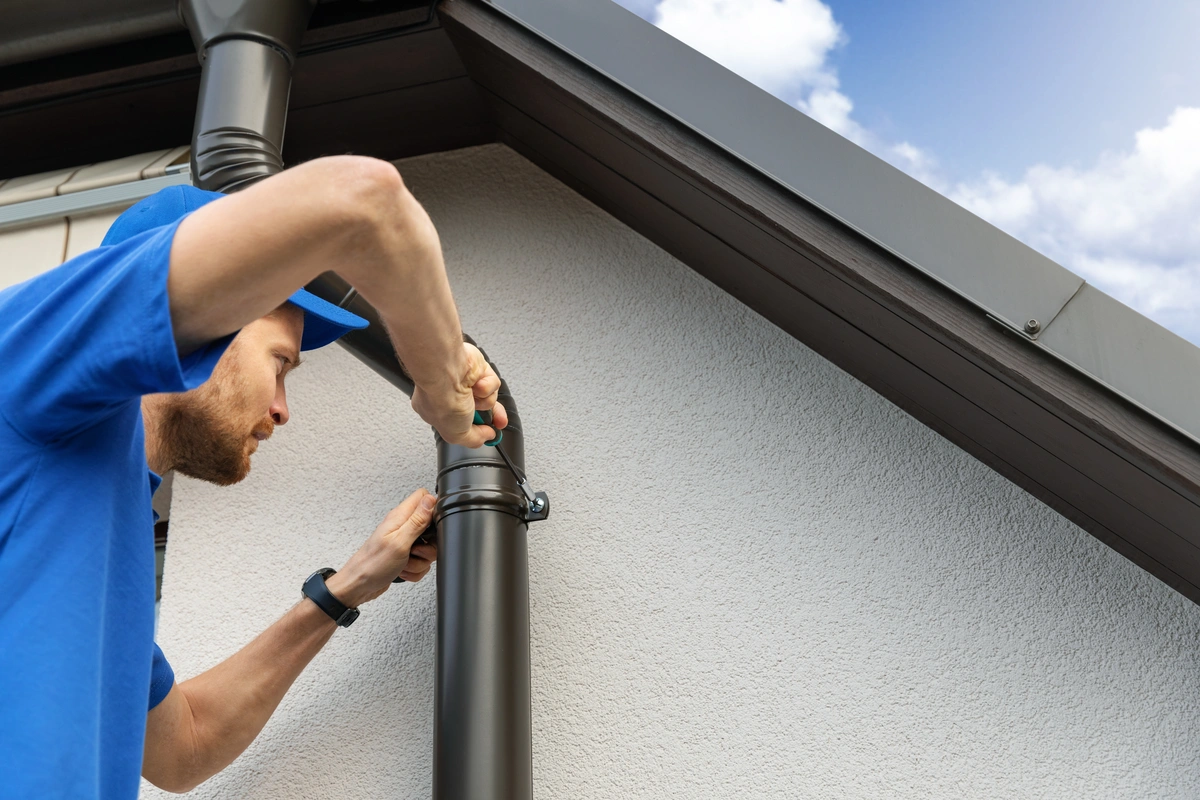
Step 6: Install Downspouts
- Attach Downspout Outlets:
- Cut openings in the gutters for the downspout outlets.
- Attach the outlets using screws and seal with silicone sealant.
- Connect the Downspouts:
- Measure and cut the downspout sections.
- Connect the sections using elbows and screws.
- Secure the downspouts to the wall using brackets.
- Ensure Proper Drainage:
- Extend the bottom of the downspout away from the foundation using a splash block or a flexible extension.
Tips for Successful Gutter Installation
Want to make sure that your installation is good to go? If you follow these tips you’ll have a higher chance of success!
- Safety First: Always use a sturdy ladder and have a helper if possible. Wear gloves and goggles to protect your hands and eyes.
- Double-Check Measurements: Measure twice before cutting to avoid mistakes.
- Test for Leaks: After installation, run water through the gutters to check for leaks and proper drainage.
- Clean Regularly: Regularly clean your gutters to prevent clogs and ensure they function correctly.
Troubleshooting Common Issues
Even with perfect installation, your gutters can still have issues down the line. Here are some ways to handle them on your own.
Gutters Sagging
- Cause: Gutters may sag due to improper installation or placing hangers too far apart.
- Solution: Ensure hangers are properly spaced and securely attached. Add additional hangers if necessary.
Water Overflowing
- Cause: Gutters may overflow if they’re not sloped correctly or if they’re clogged.
- Solution: Check the slope and adjust if needed. Clean the gutters regularly to prevent clogs.
Leaks at Joints
- Cause: Joints may leak if they’re not sealed correctly.
- Solution: Apply silicone sealant to the joints and ensure they’re watertight.
Your Gutter System Experts
Installing gutters is a rewarding DIY project that can protect your home from water damage and enhance its longevity. However, if you need further assistance or professional help, don’t hesitate to contact Johnson Restoration for the professional support you can count on.
Leave your gutter replacement to us! Reach out today to schedule your appointment!
