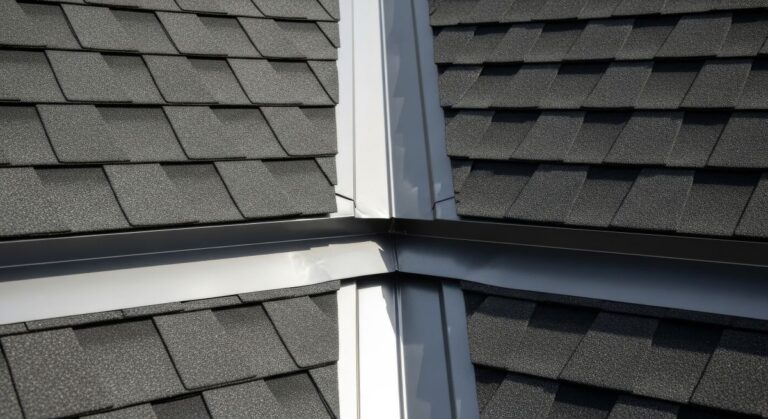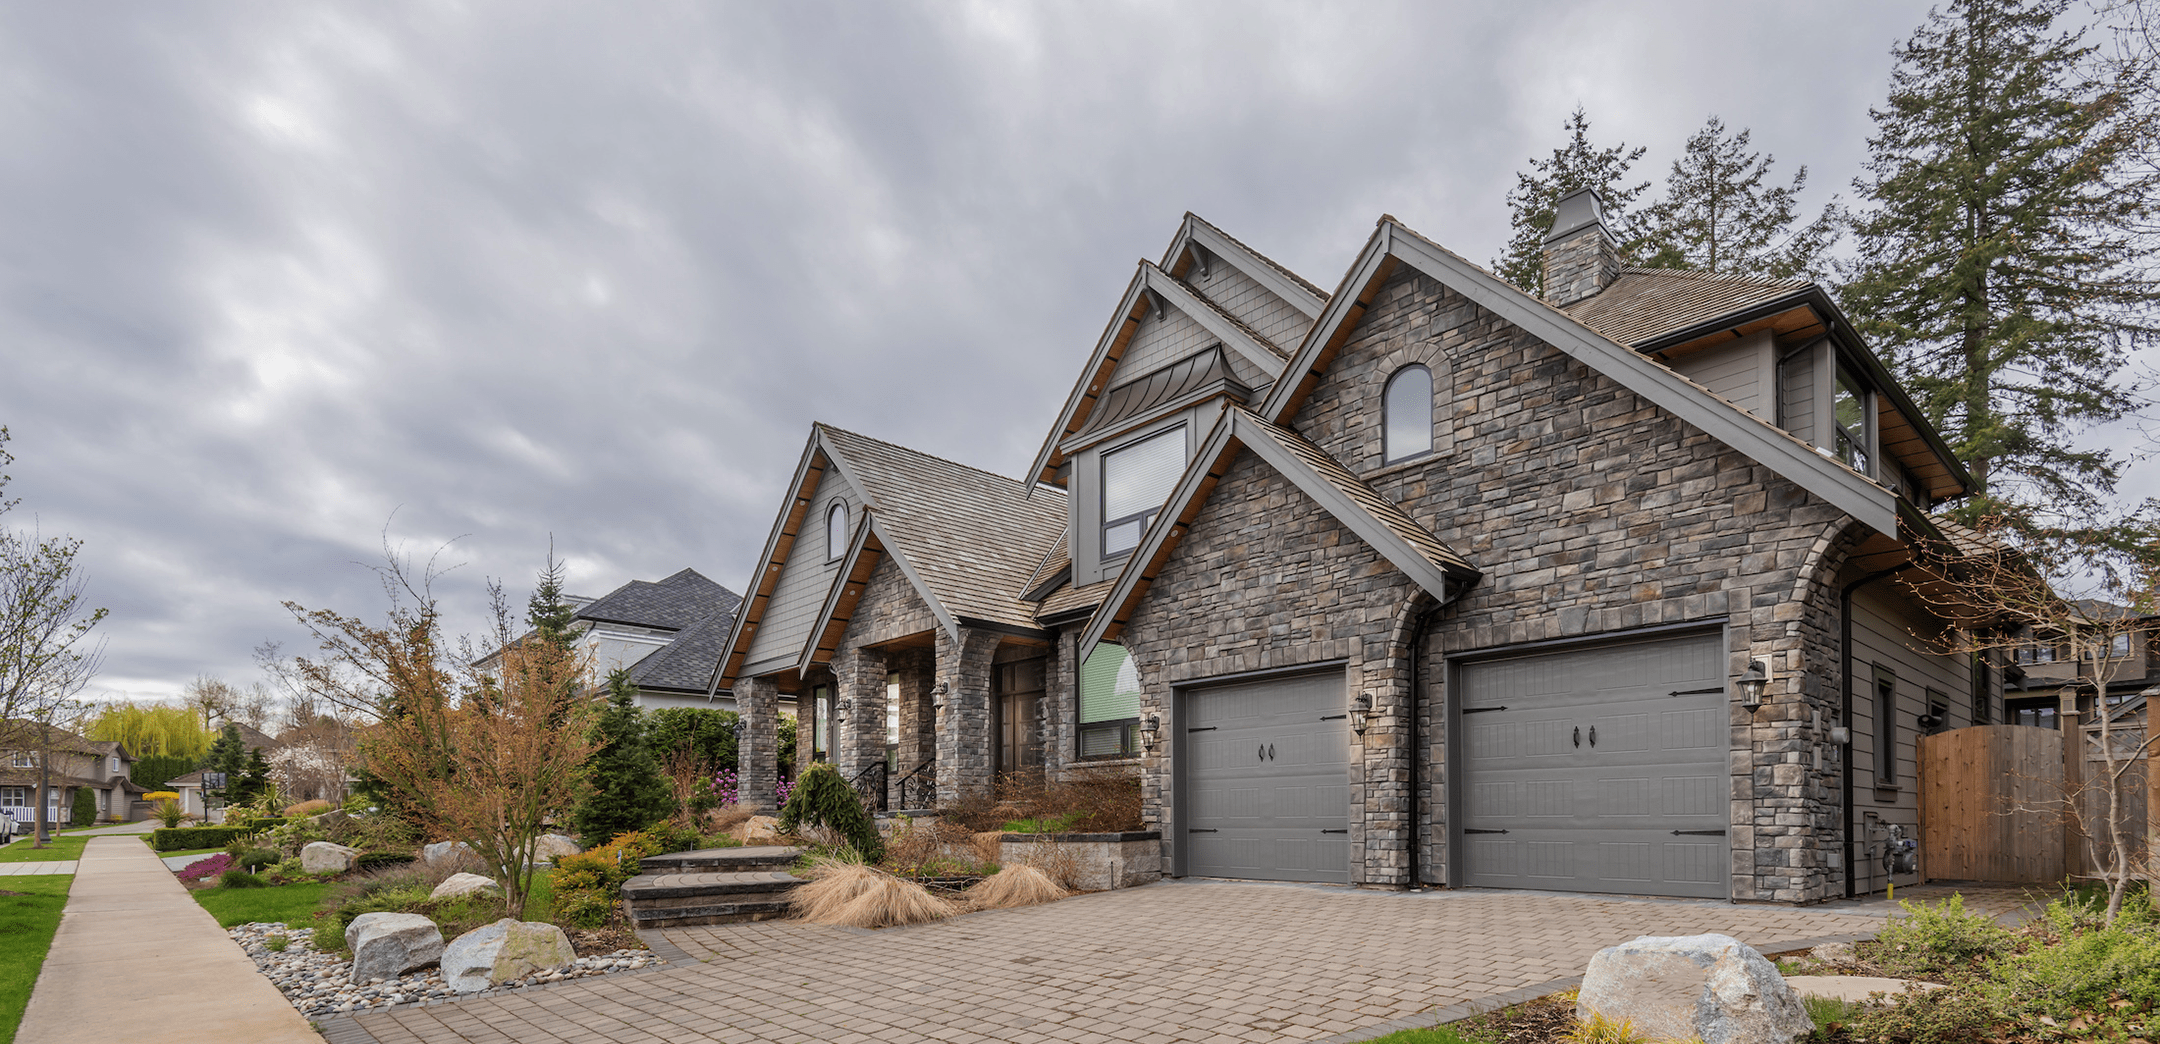

Is it time to give your home exterior a refresh? It may be time to update your siding!
Siding replacements can be hugely transformational for your whole home. Whether you are looking to improve your home’s aesthetics or boost its value, a high-quality siding installation is crucial. While this is a manageable project for a handy homeowner, getting a durable result requires more than just a hammer and nails. Success relies on proper prep work—like ensuring your wall sheathing is flat and weather-proofed—and mastering the rule of thermal expansion so your siding “floats” rather than buckles over time.
That is why we, as siding professionals, have put together this step-by-step tutorial, which will walk you through everything you need to know about the whole installation process.
Key Takeaways
- When It’s Time for a New Siding Installation Learn the subtle warning signs—like specific changes in your energy bills—that indicate your siding has silently stopped protecting your home.
- Different Types of Siding We break down the top contenders to help you find the exact match for your climate and budget.
- Siding Installation 4 Easy Steps Discover the four foundational phases—starting long before the first panel goes up—that determine whether your installation stays waterproof.
- 3 Golden Rules for Siding Installation Most DIY failures happen because of one specific nailing mistake.
- Why You Should Leave It to the Pros Is the money saved on labor worth the risk?
- Cost of a New Siding Installation Price tags vary wildly, but understanding the cost drivers is key.
- How to Take Care of Your Siding A little effort goes a long way.
When It’s Time for a New Siding Installation
Recognizing the right time to install new siding can save you from costly repairs and potential damage to your home. Here are some signs that indicate it might be time for new siding installation:
- Visible Damage: Cracks, warping, or rotting are clear indicators that your siding needs replacement.
- Faded or Peeling Paint: This usually means the siding material has aged and is no longer providing adequate protection.
- Increased Energy Bills: Poor siding can lead to energy inefficiency, causing higher heating and cooling costs.
- Mold, Mildew, or Fungus: These issues can signify moisture infiltration, which can damage your home’s structure.
- Frequent Need for Repairs: If you find yourself constantly fixing your siding, it may be more cost-effective to replace it entirely.
Ignoring these red flags can often lead to more significant structural issues down the road. By staying vigilant and prioritizing a timely siding installation when these symptoms first appear, you ensure your home remains energy-efficient, beautiful, and secure against the elements.
Different Types of Siding
Choosing the right type of siding can make a huge difference in your home’s appearance and durability. Here are some popular options:
Vinyl Siding
- Pros: Affordable, low maintenance, and available in a wide range of colors and textures.
- Cons: Can crack in extreme weather conditions and may fade over time.
Wood Siding
- Pros: Offers a classic, natural look and is eco-friendly.
- Cons: Requires regular maintenance, such as painting and sealing, and is susceptible to termites and rot.
Fiber Cement Siding
- Pros: Extremely durable, fire-resistant, and mimics the look of wood without the maintenance.
- Cons: More expensive than other options and requires professional installation due to its weight.
Aluminum Siding
- Pros: Lightweight, resistant to rust and insects, and can be painted.
- Cons: Can dent easily and may not provide the same aesthetic appeal as other materials.
Brick Siding
- Pros: Highly durable, fire-resistant, and offers excellent insulation.
- Cons: Expensive and labor-intensive to install.
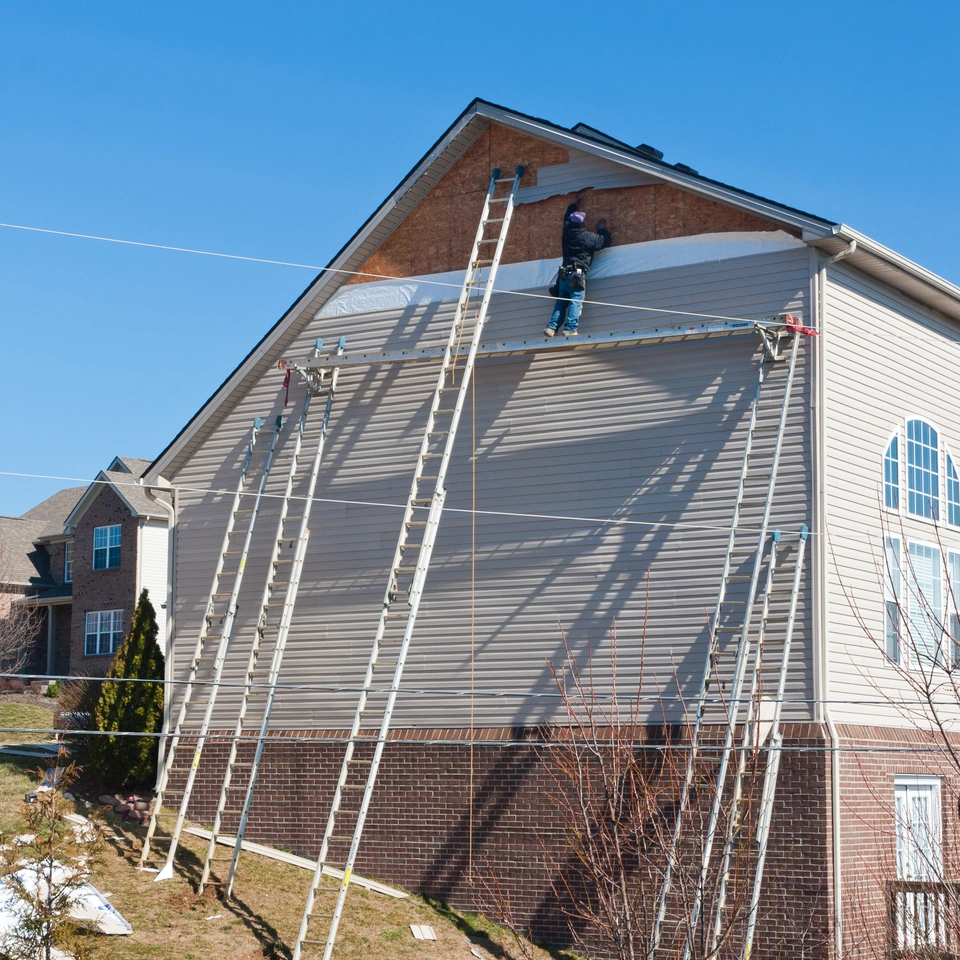
How to Install Siding in 4 Easy Steps

While it’s often best to leave siding installation to the professionals, understanding the process can help you make informed decisions. Here’s a basic overview of how siding installation works:
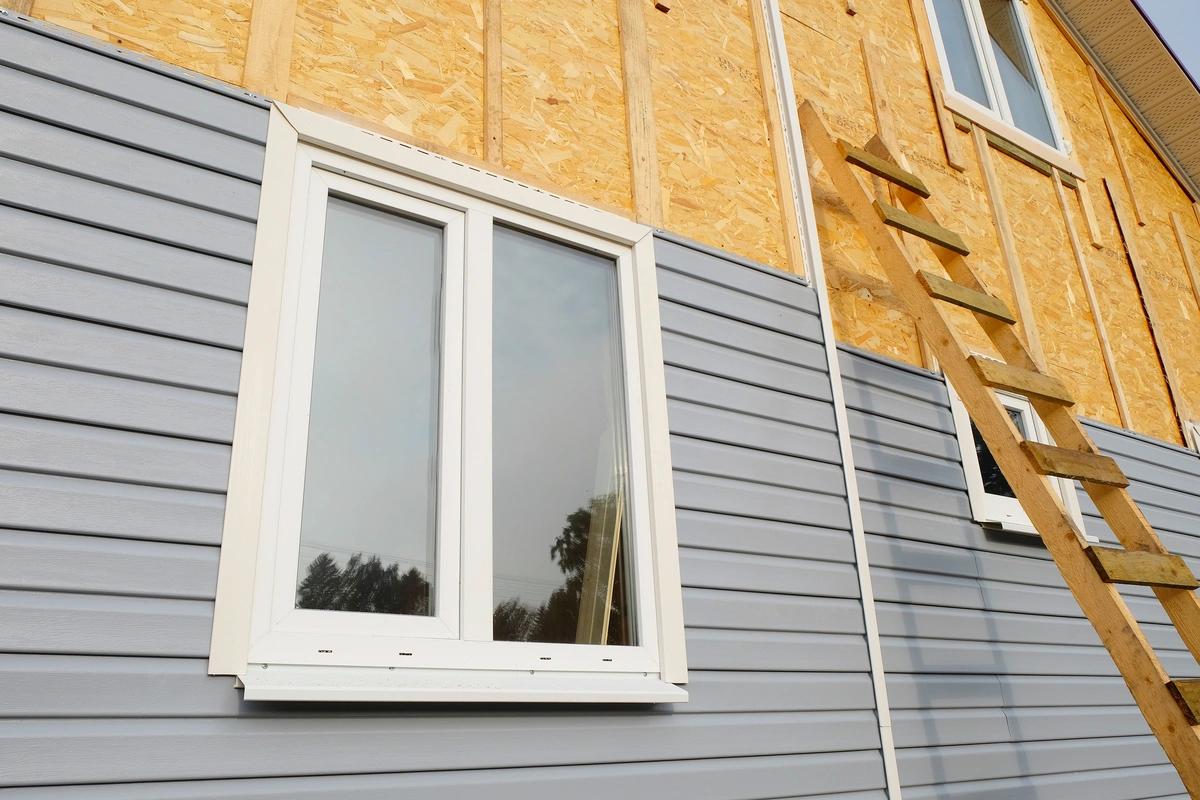
Step 1: Prepare the Surface
- Remove Old Siding: Carefully remove the existing siding without damaging the underlying structure.
- Inspect and Repair: Check for any damage to the underlying sheathing or insulation and repair as needed.
- Install House Wrap: Apply a weather-resistant barrier to protect against moisture.
Step 2: Install the Starter Strip
- Measure and Cut: Measure the length of the wall and cut the starter strip accordingly.
- Attach the Strip: Secure the starter strip along the base of the wall using galvanized nails.
Step 3: Install the Siding Panels
- Begin at the Bottom: Start at the bottom and work your way up, ensuring each panel locks into the previous one.
- Leave Space for Expansion: Leave a small gap at the ends to allow for thermal expansion.
- Secure the Panels: Use nails to secure the panels, but avoid nailing too tightly to allow for movement.
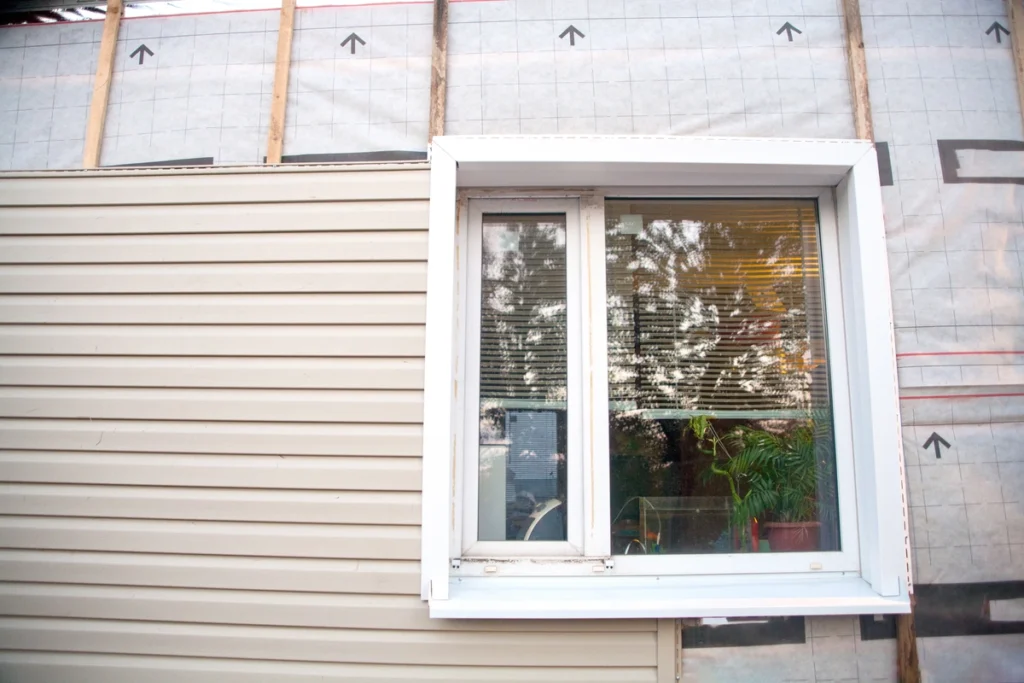
Step 4: Install Trim and Finish
- Corners and Edges: Install corner posts and J-channels to cover the edges.
- Windows and Doors: Use window and door trim to create a clean, finished look.
- Seal Joints: Apply caulk around windows, doors, and other openings to prevent moisture infiltration.
Ultimately, precision at every stage is what guarantees a successful project. By familiarizing yourself with these core principles of siding installation, you can ensure that the final result is not only visually appealing but also capable of protecting your home against the elements for years to come.
3 Golden Rules for Siding Installation
Ignore these, and your siding will warp. Here is how to ensure a professional finish during a siding installation:
- 1. The “Float” Rule (Nailing) Vinyl needs to hang, not stick. Always center your nails in the slots and leave a 1/32-inch gap (about the thickness of a dime) between the nail head and the panel. Never nail it tight!
- Mind the Expansion Gap Vinyl expands and contracts with the weather. Always leave a ¼-inch gap at the ends of panels where they meet corners or trim. If you are installing in freezing temperatures, widen that gap to ⅜-inch.
- Cut Cleanly:
- Circular Saw: Install a plywood blade backwards to melt through vinyl smoothly without chipping.
- Tin Snips: Avoid closing the blades completely at the end of a stroke to prevent crinkling the edge.
Why You Should Leave It to the Pros
While DIY siding installation can be tempting, there are several reasons to consider hiring professional contractors:
- Expertise and Experience: Professionals have the knowledge and experience to ensure the job is done correctly and efficiently.
- Warranty and Insurance: Many contractors offer warranties on their work and are insured, providing peace of mind.
- Proper Tools and Equipment: Professional installers have the right tools and equipment to handle the job safely and effectively.
- Time and Energy: Siding installation can be a time-consuming and labor-intensive process. Hiring professionals allows you to focus on other tasks.
Cost of a New Siding Installation
The cost of siding installation can vary widely depending on several factors, including the type of siding, the size of your home, and labor costs in your area. Here’s a general breakdown of what you can expect:
- Vinyl Siding: $5,000 to $14,000
- Wood Siding: $8,000 to $20,000
- Fiber Cement Siding: $10,000 to $24,000
- Aluminum Siding: $7,000 to $15,000
- Brick Siding: $15,000 to $40,000
Keep in mind that these are average costs and can vary based on your specific circumstances. It’s always a good idea to get multiple quotes from reputable siding contractors before making a decision.
How to Take Care of Your Siding
Proper maintenance can extend the life of your siding and keep it looking great for years to come. Here are some tips for taking care of your siding:
Regular Cleaning
- Vinyl and Aluminum Siding: Clean with a mixture of water and mild detergent. Use a soft brush or pressure washer to remove dirt and grime.
- Wood Siding: Use a wood cleaner and scrub gently with a soft brush. Avoid using a pressure washer, as it can damage the wood.
- Fiber Cement Siding: Clean with a garden hose or a low-pressure washer. Avoid high pressure, which can damage the surface.
- Brick Siding: Use a mixture of water and mild detergent. Scrub with a stiff brush and rinse thoroughly.
Inspection and Repairs
- Regular Inspections: Check your siding at least once a year for signs of damage, such as cracks, chips, or mold.
- Prompt Repairs: Address any issues promptly to prevent further damage. This may involve patching small holes, replacing damaged panels, or resealing joints.
Repainting and Sealing
- Wood Siding: Repaint or reseal every 3-5 years to protect against moisture and UV damage.
- Fiber Cement Siding: Repaint every 10-15 years, or as needed, to maintain its appearance and durability.
- Aluminum Siding: Repaint as needed, typically every 10-15 years, to keep it looking fresh.
We Install Your Siding So You Don’t Have To!
Siding installation is a significant investment in your home’s appearance and protection. By understanding when to replace your siding, the different types available, and the installation process, you can make informed decisions that will enhance your home’s value and curb appeal. While DIY siding installation is possible, hiring professionals ensures the job is done correctly and efficiently.
Ready to give your home a fresh new look? Contact our team of experienced siding professionals today for a free consultation and quote.