
Your roof, while often out of sight, should never be out of mind. Over time, it can fall victim to various elements, including one that’s often overlooked but can cause significant damage: moss. Roof moss isn’t just a visual nuisance; it can lead to serious issues for any kind of roof shingles if left unchecked.
In this article, we’ll explore everything you need to know about roof moss removal, including:
- Identifying signs of growth
- Preventing its return
- Maintenance tips
- The best time of year to remove roof moss
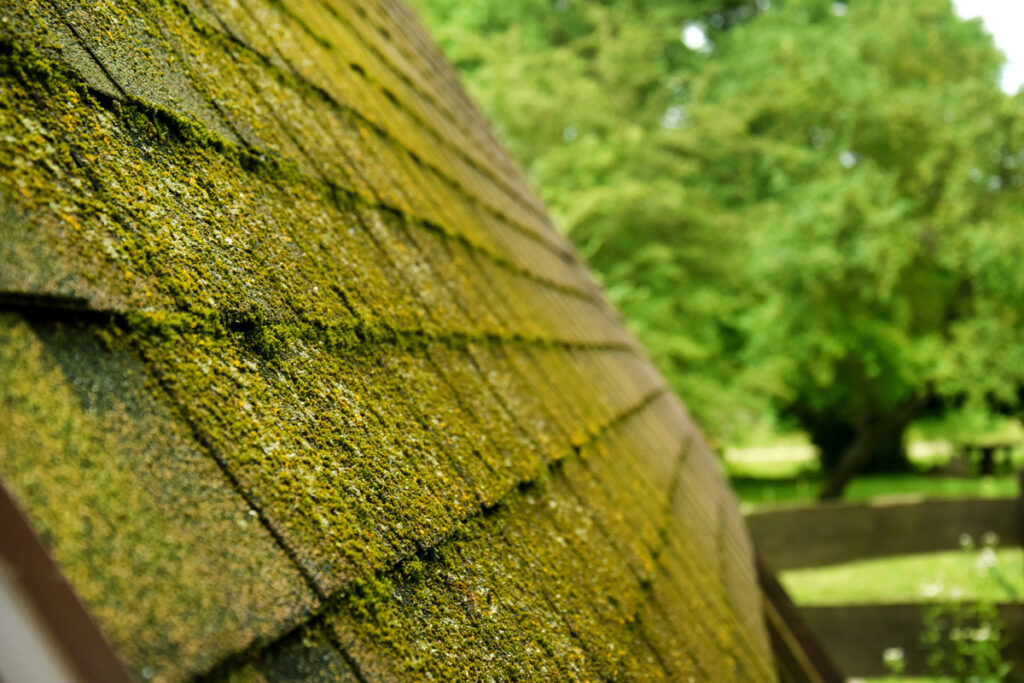
Signs of Moss Growth on Your Roof
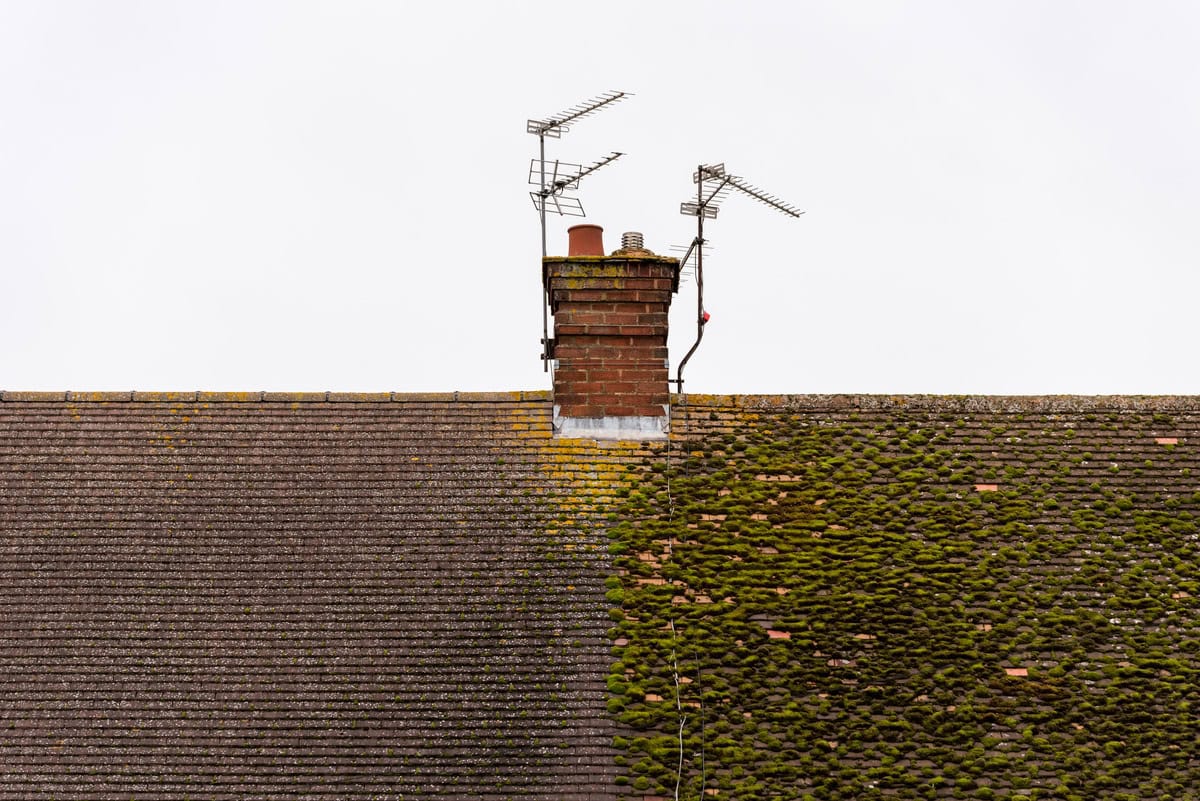
Before diving into the removal process, it’s crucial to recognize the signs of moss growth on your roof. These are some indicators to watch out for:
- Green Patches: Moss typically appears as green patches or clumps on the surface of your roof.
- Dampness: If your roof retains moisture for extended periods, it becomes a breeding ground for moss and other organic growth.
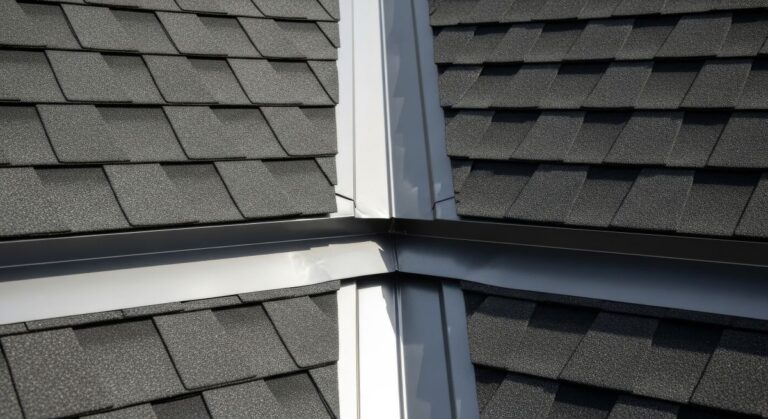
- Loose Shingles: Moss can lift shingles or tiles, causing them to become loose or dislodged.
- Clogged Gutters: Accumulation of moss in gutters can impede water flow, leading to water damage and further moss growth.
Why Moss Growth on Your Roof is Bad
While moss may seem harmless at first glance, its presence can have detrimental effects on your roof and your home as a whole:
- Water Damage: Moss retains moisture, which can seep into your roof’s structure, leading to rot and decay.
- Shingle Damage: As moss spreads, it can pry apart shingles or tiles, compromising the integrity of your roof.
- Reduced Lifespan: A moss-covered roof tends to have a shorter lifespan than a well-maintained one, requiring costly repairs or even replacement sooner.
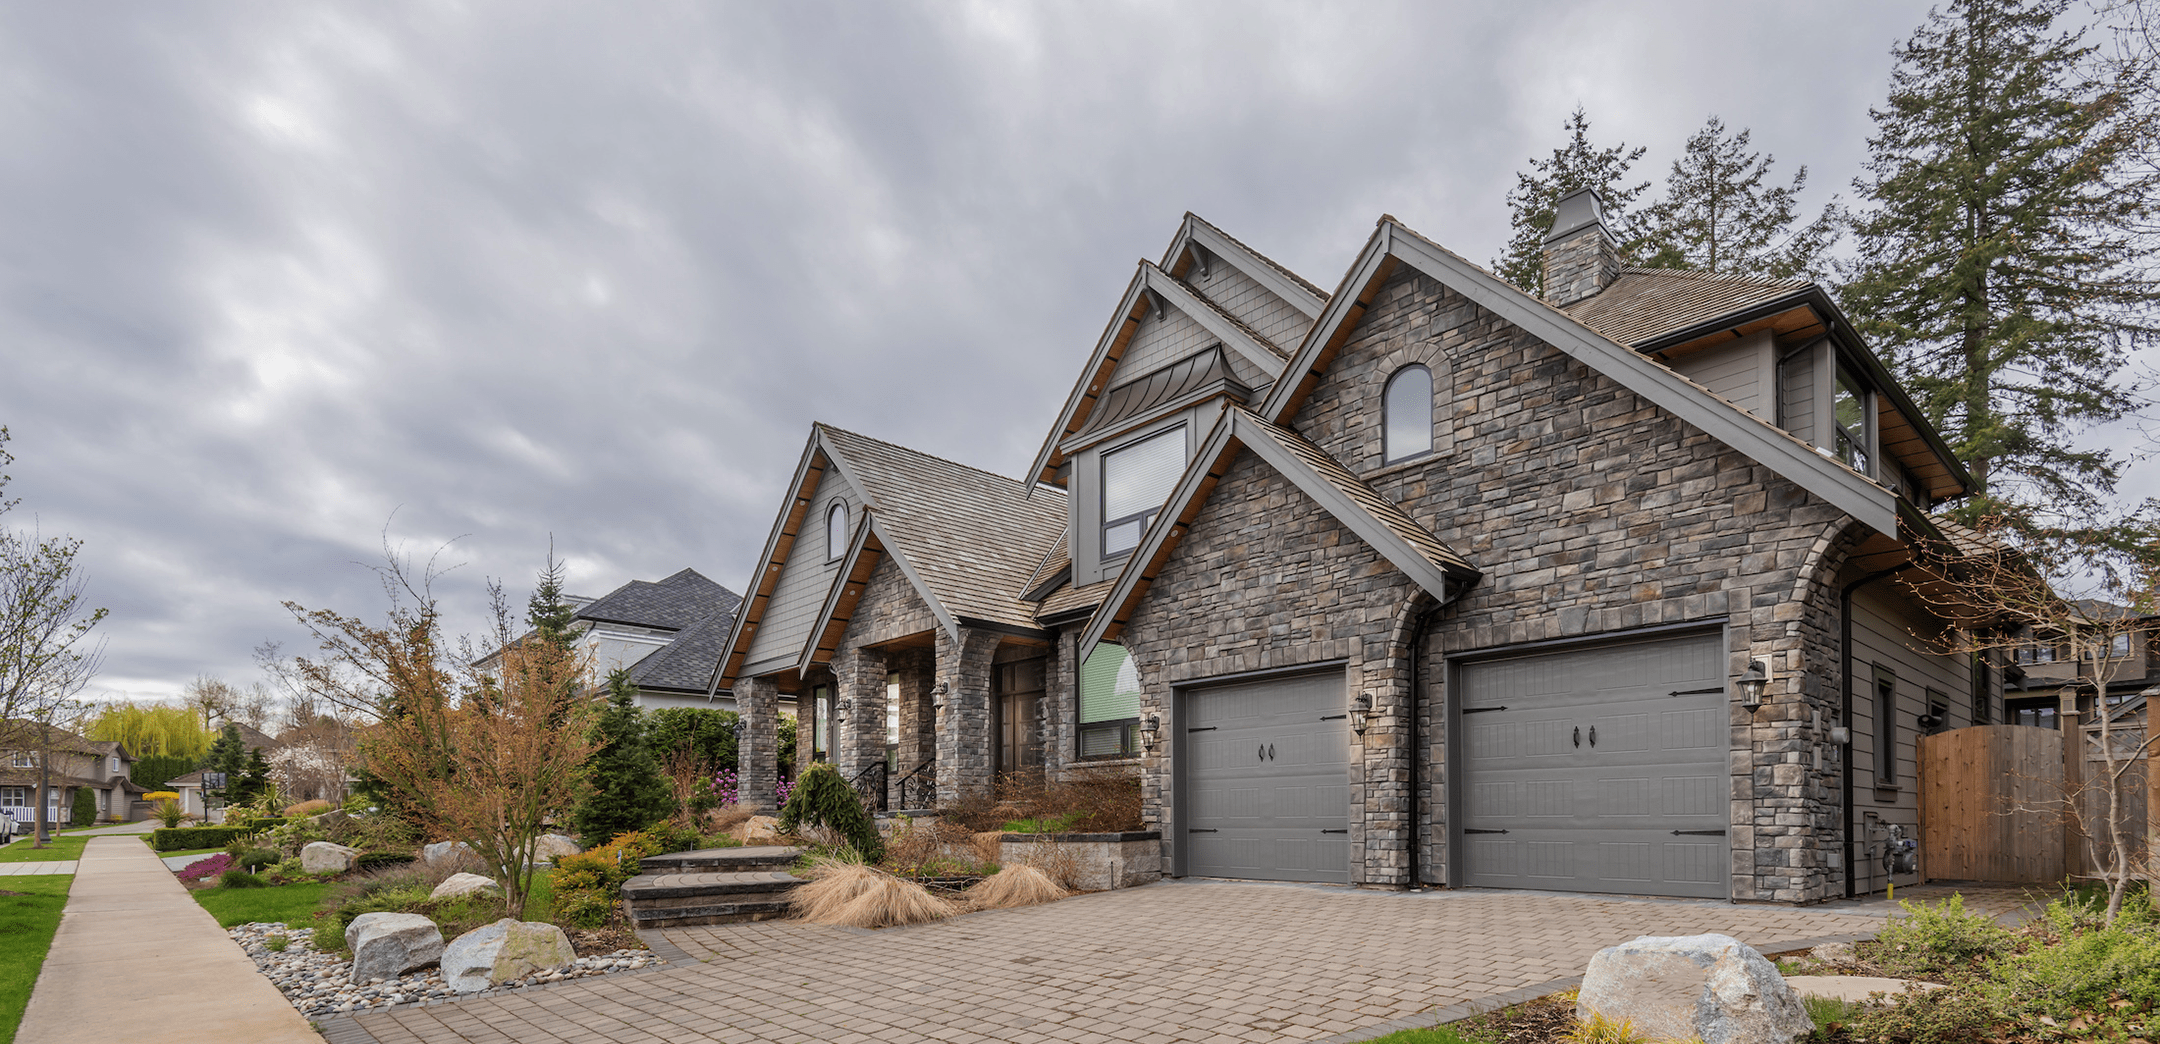
- Aesthetic Concerns: Beyond structural damage, moss can detract from your home’s curb appeal, potentially lowering its value.
What Causes Moss Growth?
Understanding the root cause of moss growth is essential for effective removal and prevention. Several factors contribute to moss appearing on your roof:
Shade ☂️
Areas of your roof that receive little sunlight create an ideal environment for moss to thrive.
Moisture 💧
Excessive moisture from rainfall or humidity provides the necessary conditions for moss growth.
Poor Drainage 👎
Clogged gutters or inadequate drainage systems can trap water on your roof, fostering moss growth.
Tree Cover 🌳
Overhanging trees not only provide shade but also deposit organic debris onto your roof, fueling moss growth.
DIY Removal vs. Professional Cleaners
When it comes to moss removal, you have two primary options: DIY or professional intervention. Here’s how each approach stacks up:
DIY Removal
✅ Pros:
- Cost-Effective: DIY methods are generally more budget-friendly than hiring a professional.
- Control: You have full control over the process and can tailor it to suit your needs.
- Immediate Action: You can address moss growth promptly without waiting for an appointment.
❌ Cons:
- Safety Concerns: Working on a roof can be hazardous, especially without proper safety equipment and expertise.
- Effectiveness: DIY methods may not be as thorough or long-lasting as professional treatments.
- Risk of Damage: Incorrect techniques or harsh chemicals can damage your roof or surrounding vegetation.
Professional Removal
✅ Pros:
- Expertise: Professionals have the knowledge and experience to tackle moss growth effectively and safely.
- Quality Results: Professional treatments often yield more thorough and long-lasting results than DIY methods.
- Safety: Trained professionals prioritize safety, reducing the risk of accidents or damage to your property.
❌ Cons:
- Cost: Professional services typically come with a higher price tag than DIY solutions.
- Scheduling: You may need to wait for an appointment, especially during peak seasons or inclement weather.
- Limited Control: While professionals deliver excellent results, you relinquish some control over the process.
12 Step Guide to Roof Moss Removal
Looking to safely remove moss from a roof? We’ve got you covered with our expert 12 step guide!
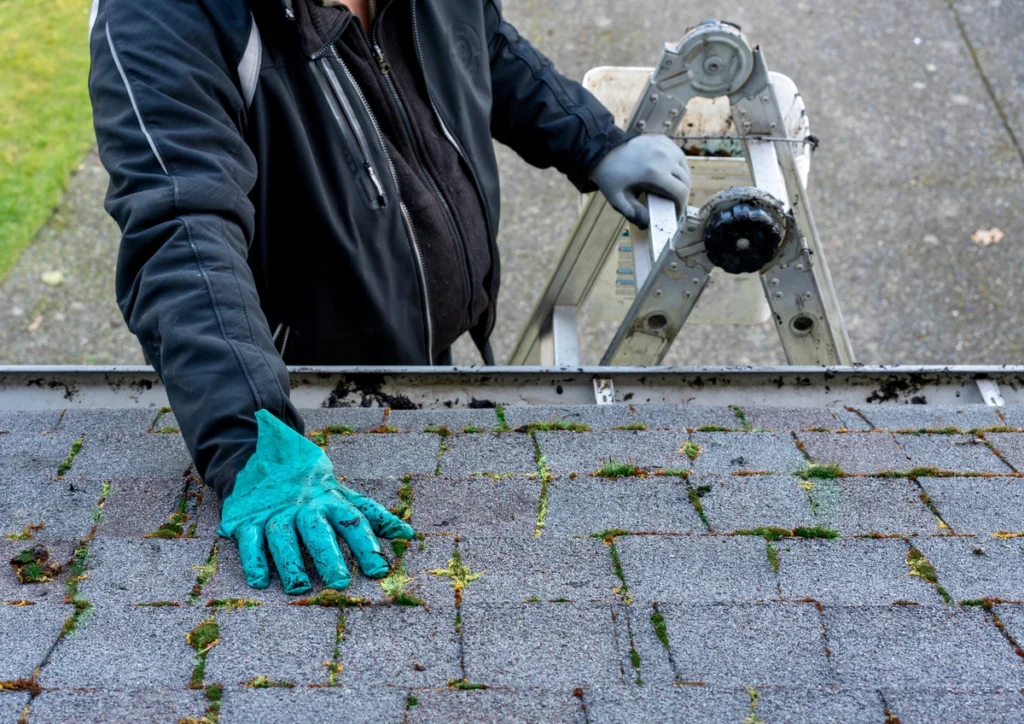
1. Safety First:
Before starting any work, prioritize safety by wearing appropriate protective gear, including gloves, safety goggles, and non-slip footwear. Additionally, use a sturdy ladder with rubber feet to prevent slippage.
2. Choose the Right Tools and Solutions:
Select a moss removal solution suitable for your roof material. For asphalt shingles, a mixture of water and mild detergent or a commercial roof cleaner is effective. For other roofing materials, such as metal or tile, consult with a specialist to ensure compatibility with the cleaning solution.
Avoid using harsh chemicals like bleach, as they can damage your roof and harm surrounding vegetation.
3. Prepare the Work Area:
Clear the area around your home of any obstacles to ensure safe access to the roof. Trim overhanging branches and remove debris from gutters to prevent them from falling onto the roof during cleaning.
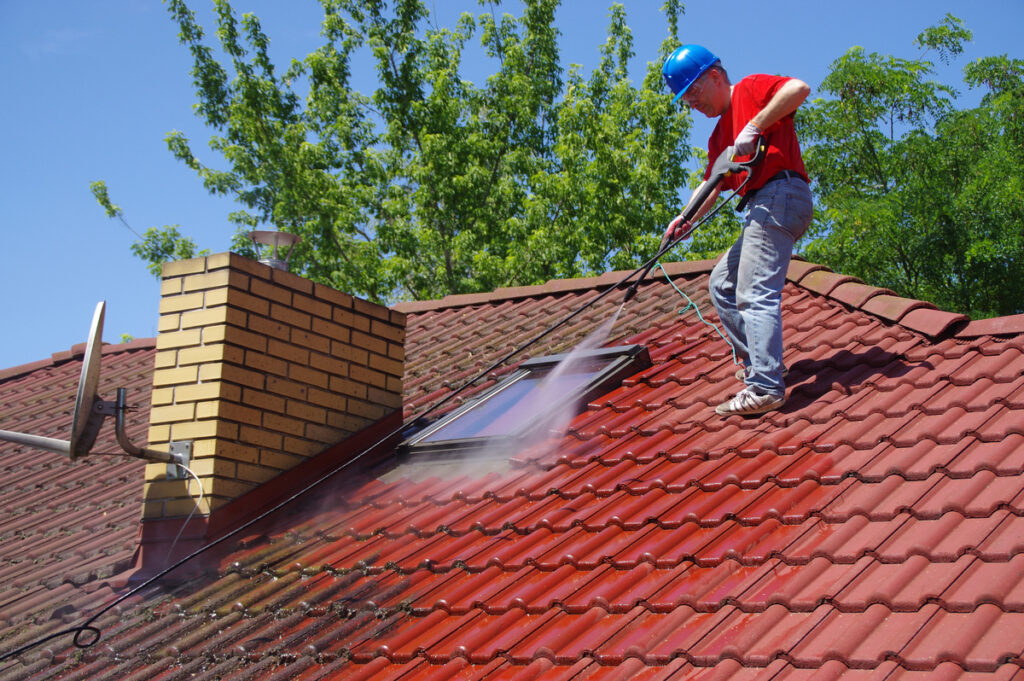
4. Wet the Roof:
Before applying the cleaning solution, thoroughly wet the roof surface using a garden hose or a low-pressure power washer. Wetting the moss helps loosen its grip on the roof, making it easier to remove.
5. Apply the Cleaning Solution:
Mix the chosen cleaning solution according to the manufacturer’s instructions.
Using a pump sprayer or a garden sprayer, evenly apply the cleaning solution to the moss-covered areas of the roof. Start from the bottom and work your way up to prevent runoff.
6. Allow Time for the Solution to Sit
Let the cleaning solution sit on the roof for the recommended time, typically around 15 to 30 minutes. This allows the solution to penetrate the moss and break down its structure.
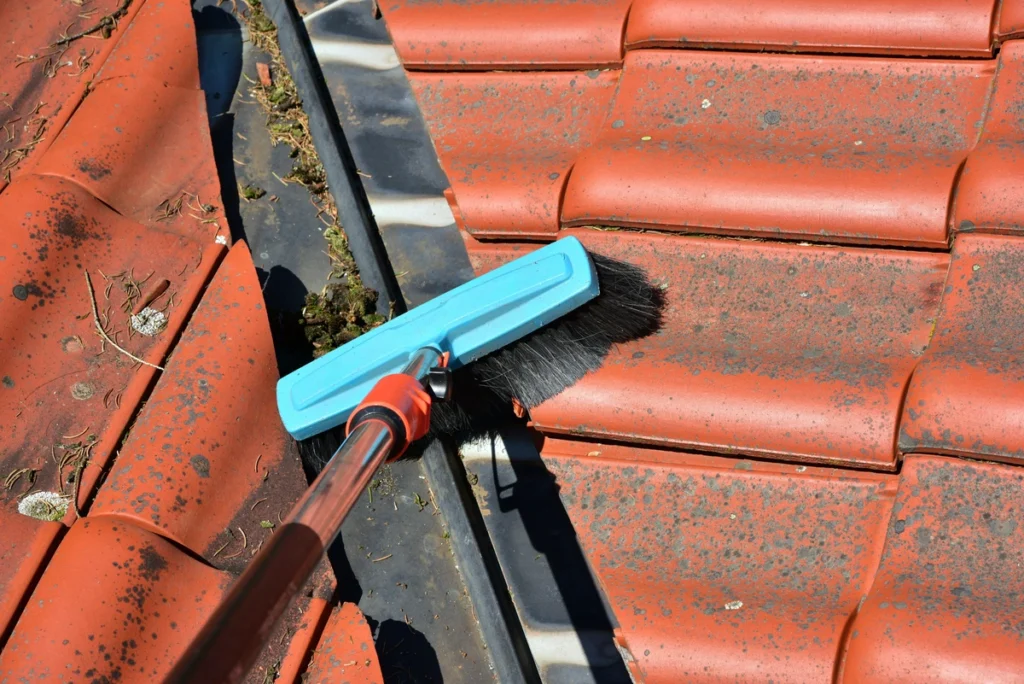
7. Gently Scrub the Roof:
After the dwell time has elapsed, use a soft-bristle brush or a long-handled scrubber to gently scrub the moss-covered areas of the roof. Avoid using stiff brushes or abrasive tools, as they can damage the roof surface.
8. Rinse Thoroughly:
Once the moss has been loosened and scrubbed away, thoroughly rinse the roof with clean water using a garden hose or a power washer set to low pressure. Rinse from the top down to ensure all cleaning residue is washed away.
9. Repeat if Necessary:
Stubborn moss may require multiple cleaning sessions to fully remove. If moss remains after the initial cleaning, repeat the process until the roof is free of moss.
10. Prevent Future Growth:
After moss removal, take proactive steps to prevent its return. Consider installing zinc strips along the ridge of your roof to inhibit moss growth or applying a moss inhibitor treatment as a preventative measure.
11. Dispose of Waste Properly:
Dispose of any debris, cleaning solution, or moss removed from the roof responsibly. Avoid dumping debris down storm drains or onto neighboring properties.
12. Regular Maintenance:
To keep your roof moss-free, incorporate regular maintenance into your home care routine. Schedule periodic inspections and cleanings to address any moss growth before it becomes a problem.
By following these step-by-step instructions, you can effectively remove moss from your roof and maintain its integrity for years to come. Remember to prioritize safety and proper maintenance to ensure the longevity of your roof and the safety of your home.
Cost to Remove Roof Moss
The cost of moss removal varies depending on several factors, including the size and pitch of your roof, the extent of moss growth, and whether you opt for DIY or professional services. On average, DIY methods may cost anywhere from $50 to $200 for materials such as cleaning solutions and equipment. Professional treatments can range from $200 to $1,000 or more, depending on the scope of the job and the service provider.
Is There a Best Time to Remove Roof Moss?
The ideal time for roof moss removal is during late spring to early fall. Here’s why:
Why Late Spring to Early Fall?
- Dryer Conditions: Moss removal is most effective when the roof is dry. Spring and summer typically have less rainfall, making it safer and more efficient to remove moss.
- Better Moss Visibility: Moss is easier to spot and treat during warmer months when it’s actively growing. This ensures you can address the problem before it gets worse.
- Preventative Measures: By removing moss before winter, you help prevent it from retaining moisture, which can lead to ice dams or water damage when temperatures drop.
Avoid Winter for Roof Moss Removal!
- Icy or Wet Roofs: Winter weather often brings icy conditions, making roof work both dangerous and ineffective. Snow and ice can trap moisture, worsening moss growth.
- Cold Temperatures: Freezing temps can hinder the effectiveness of moss removal treatments, making it harder to fully address the issue.
Preventing Further Moss Growth
Prevention is key to avoiding recurring moss problems on your roof. Here are some preventive measures to consider:
- Trim Overhanging Branches: Prune back trees that shade your roof to allow more sunlight and airflow.
- Clean Gutters Regularly: Keep gutters free of debris to prevent water from pooling on your roof.
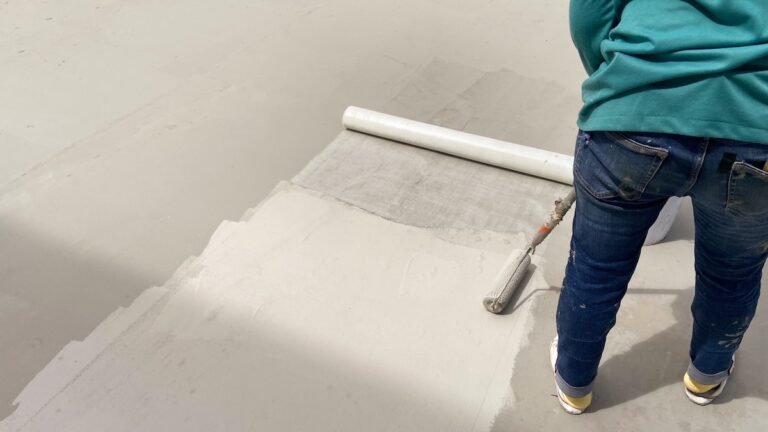
- Install Zinc Strips: Zinc strips along the ridge of your roof can inhibit moss growth by releasing zinc particles when it rains.
- Apply Moss Inhibitors: Specialized treatments or coatings can deter moss growth when applied to your roof’s surface.
Say Goodbye to Roof Moss with Expert Removal
While roof moss may appear harmless, it can cause significant long-term damage if left untreated. Over time, moss can trap moisture, leading to wood rot, shingle damage, and even leaks that require costly repairs. By addressing moss growth early, you not only extend the lifespan of your roof but also avoid expensive repairs down the line. Don’t wait until moss causes serious damage—contact us today for professional roof moss removal and ensure your home stays protected for years to come! Contact Johnson Restoration to get started!
FAQs
Can moss return after removal?
Yes, moss can return, especially in areas with heavy shade or frequent moisture. To prevent regrowth, you can apply a moss-resistant treatment after removal, install zinc or copper strips along the roof, or regularly inspect and clean your roof to keep it moss-free.
Is roof moss removal harmful to my roof?
When done correctly, moss removal should not damage your roof. However, using the wrong cleaning products or tools can harm the shingles. It’s important to avoid using harsh pressure washing techniques or abrasive scrubbing that could strip granules from the shingles or cause other damage.
What materials are used for roof moss removal?
Common materials for cleaning roof moss include vinegar, commercial moss removers, and oxygen bleach. These products help kill and remove moss, with oxygen bleach being a gentler, eco-friendly option. Always follow product instructions and take care around surrounding plants.