When it comes to maintaining the integrity of your home, few aspects are as crucial as your roof. Among the many elements that contribute to a well-functioning roof, the roof membrane often goes unnoticed. Yet, it plays an essential role in protecting your home from the elements.
Today, we’re covering all the basics, including:
- What roof membranes are
- Why they are important
- Different types available
- The cost of installation
- Signs of damage
- How to repair them
What is a Roof Membrane?
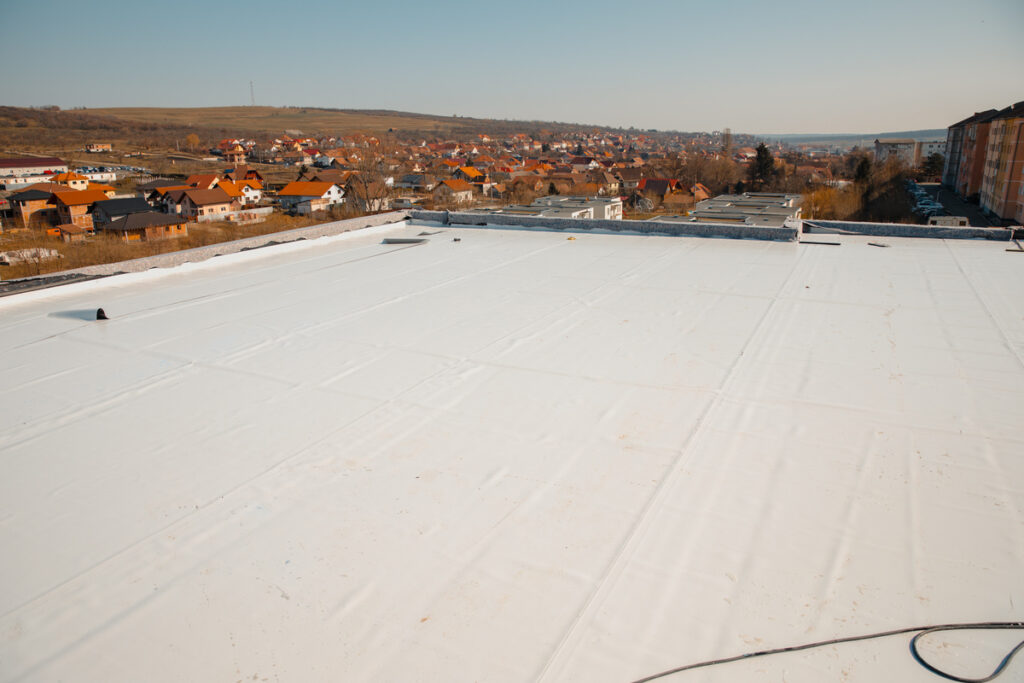
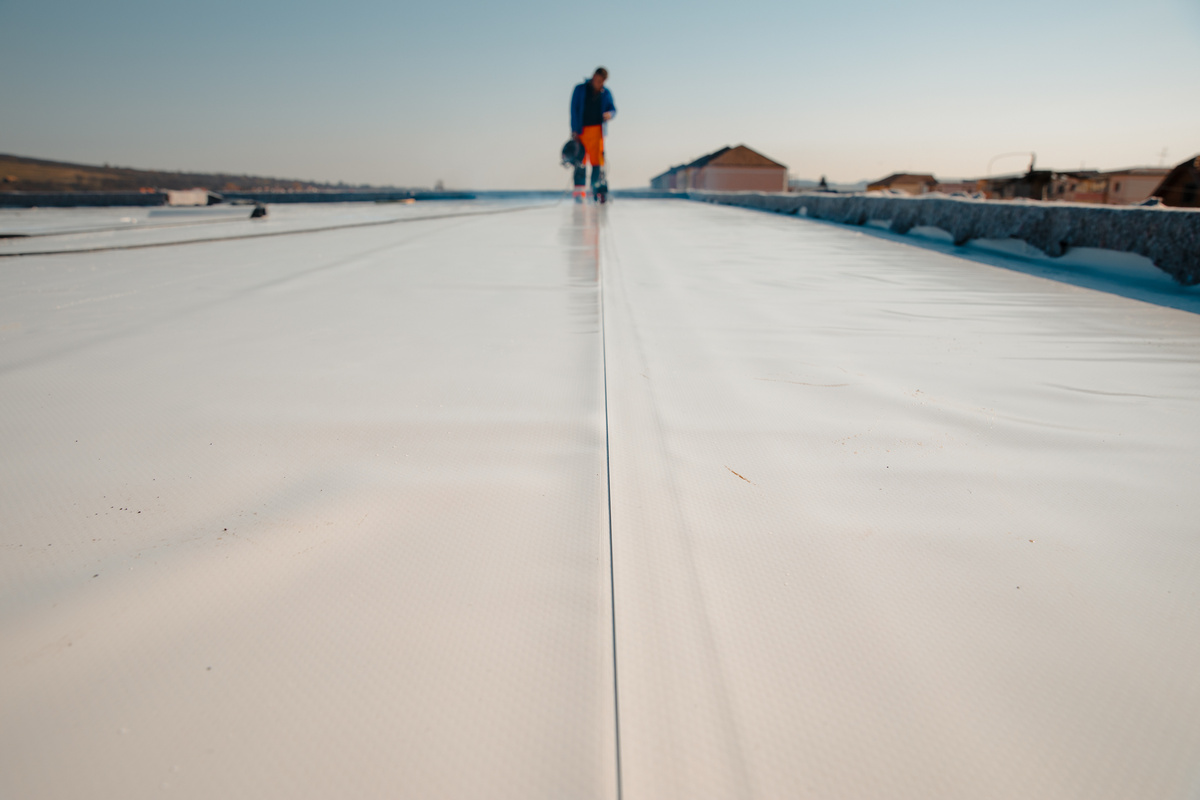
A roof membrane is a sheet-like layer designed to provide a waterproof barrier for your roof. It is typically installed under the roofing material (like shingles or tiles) and acts as an additional layer of protection against water infiltration. This barrier is essential for preventing leaks that can lead to significant damage to the structure of your home.
Essential Functions of a Roof Membrane:
- Waterproofing: Prevents water from seeping into the roof structure.
- Durability: Increases the lifespan of the roof.
- Energy Efficiency: Some membranes offer insulation benefits.
- Protection: Guards against environmental elements like UV rays, wind, and rain.
Why is a Roof Membrane Important?
The importance of a roof membrane cannot be overstated. Here’s why:
- Prevents Water Damage: Water is the leading cause of structural damage in homes. A well-installed roof membrane acts as a waterproof barrier, preventing leaks that could lead to mold, mildew, and rot.
- Increases Longevity of the Roof: By providing an extra layer of protection, roof membranes extend the life of your roof. This means fewer repairs and replacements over time, saving you money in the long run.
- Energy Efficiency: Some roof membranes are designed to improve a home’s energy efficiency by providing an additional layer of insulation. This can help regulate indoor temperatures, reducing heating and cooling costs.
- Protection Against Environmental Elements: Roof membranes offer protection against harmful UV rays, extreme weather conditions, and physical wear and tear. This ensures that your roof stays in good condition for a longer period.
5 Different Types of Roof Membranes
There are several types of roof membranes available, each with its own set of advantages and disadvantages. Understanding these can help you make an informed decision based on your specific needs.
1. Thermoplastic Olefin (TPO)
TPO membranes are a popular choice due to their affordability and durability. They are resistant to UV rays, chemicals, and punctures, making them suitable for various climates.
- Pros:
- Cost-effective
- Energy-efficient
- Resistant to UV rays and chemicals
- Cons:
- Can shrink over time
- Requires professional installation
2. Ethylene Propylene Diene Monomer (EPDM)
EPDM is a synthetic rubber membrane known for its durability and flexibility. It is particularly effective in extreme weather conditions.
- Pros:
- Highly durable
- Excellent resistance to UV rays and ozone
- Flexible and easy to install
- Cons:
- Limited color options (mostly black)
- Can be more expensive than TPO
3. Modified Bitumen
This type of membrane consists of asphalt combined with plastic or rubber polymers. It is usually applied in multiple layers, providing excellent waterproofing.
- Pros:
- Highly durable
- Great waterproofing capabilities
- Easy to repair
- Cons:
- Can be more expensive to install
- Requires regular maintenance
4. PVC (Polyvinyl Chloride)
PVC membranes are known for their strength and resistance to various environmental factors. They are often used in commercial buildings but are also suitable for residential use.
- Pros:
- High durability
- Resistant to chemicals and fire
- Reflects sunlight, improving energy efficiency
- Cons:
- Can be more expensive
- Not as flexible as other options
5. Built-Up Roof (BUR)
BUR membranes are made up of alternating layers of bitumen and reinforcing fabrics. They are highly durable and provide excellent protection against the elements.
- Pros:
- Long-lasting
- Excellent waterproofing
- Resistant to UV rays
- Cons:
- Can be heavy, requiring additional structural support
- More labor-intensive to install
The Cost to Install a Roof Membrane
The cost of installing a roof membrane can vary widely depending on several factors including the type of membrane, the size of your roof, and labor costs in your area.
Factors Influencing Cost:
- Type of Membrane: Different materials have different price points. For example, TPO is generally more affordable than PVC.
- Roof Size: Larger roofs will naturally require more material and labor, increasing the cost.
- Labor Costs: These can vary based on your location and the complexity of the installation.
- Additional Features: Features like insulation or special coatings can add to the overall cost.
Average Costs:
- TPO: $5 to $8 per square foot
- EPDM: $6 to $10 per square foot
- Modified Bitumen: $4 to $8 per square foot
- PVC: $7 to $11 per square foot
- BUR: $5 to $9 per square foot
These estimates include both material and labor costs. It’s always a good idea to get multiple quotes from reputable contractors to ensure you’re getting a fair price.
Signs of Roof Membrane Damage
Even the best roof membranes can experience wear and tear over time. Recognizing the signs of damage early can help you address issues before they become major problems.
Common Signs of Damage:
- Leaks: Water spots on your ceiling or walls are a clear indicator of a leak.
- Ponding Water: Water that remains on your roof for more than 48 hours can indicate drainage issues.
- Blisters or Bubbles: These can form when air or moisture gets trapped under the membrane.
- Cracks or Tears: Physical damage to the membrane can compromise its effectiveness.
- Discoloration: Changes in the color of your roof membrane can indicate UV damage or aging.
How to Repair a Roof Membrane
Repairing a roof membrane can range from simple fixes to more complex repairs, depending on the extent of the damage. Here’s a basic guide on how to tackle common issues.
Minor Repairs:
- Clean the Area: Remove any debris or dirt from the damaged area. Use a cleaner recommended by the membrane manufacturer.
- Apply Patch Material: Cut a piece of membrane material slightly larger than the damaged area. Apply roofing adhesive to both the patch and the damaged area. Press the patch firmly onto the damaged area and smooth out any bubbles.
- Seal the Edges: Apply a sealant around the edges of the patch to ensure a watertight seal. Allow the patch to cure as per the manufacturer’s instructions.
Major Repairs:
For more extensive damage, it’s often best to hire a professional. Here’s what to expect:
- Inspection: A professional will inspect the roof to assess the extent of the damage. They may use infrared scanning to detect moisture under the membrane.
- Removal and Replacement: The damaged section of the membrane will be removed. A new piece of membrane will be fitted and adhered to the existing roof.
- Quality Check: The repaired section will be inspected to ensure it is properly sealed and watertight. Additional tests may be conducted to confirm the integrity of the repair.
Learn More About Roofing Membranes
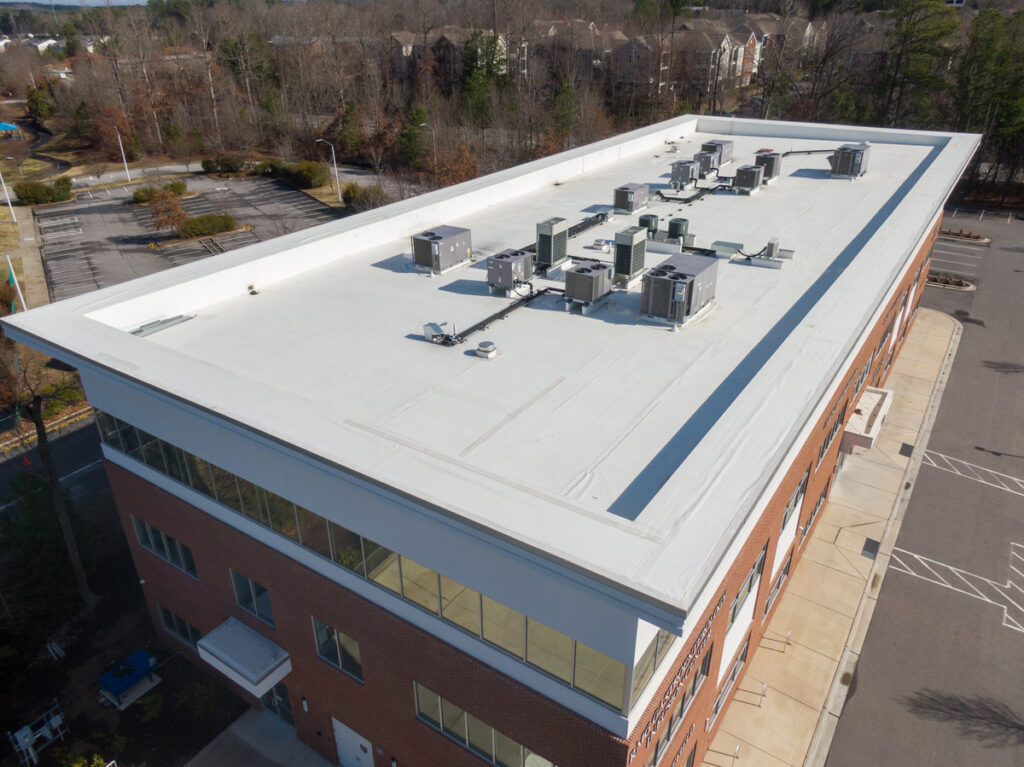
A roof membrane is a critical component of your home’s roofing system, providing essential protection against water damage, enhancing energy efficiency, and extending the life of your roof. Understanding the different types of roof membranes, their costs, how to identify damage, and how to repair them can help homeowners make informed decisions and maintain their roofs effectively.
If you’re considering installing a roof membrane or need repairs, it’s always best to consult with a professional. They can provide tailored advice and ensure the job is done correctly. Keep your roof in top condition and enjoy peace of mind knowing your home is protected from the elements.
Ready to take the next step? Contact us today for a consultation and learn more about how a roof membrane can benefit your home!
