Your roof is one of the most vital components of your home. It protects your:
- Family
- Belongings
- Structure from the harsh elements
But there’s one often-overlooked part of your roofing system that plays a significant role in keeping your home safe—roof drip edge.
You might be asking yourself, “What exactly is a roof drip edge? Do I even need one?” That’s why we’ve created this in-depth guide. By the end, you’ll have a complete understanding of what a roof drip edge is, why it’s so important, and how it benefits your home.
What is a Roof Drip Edge?
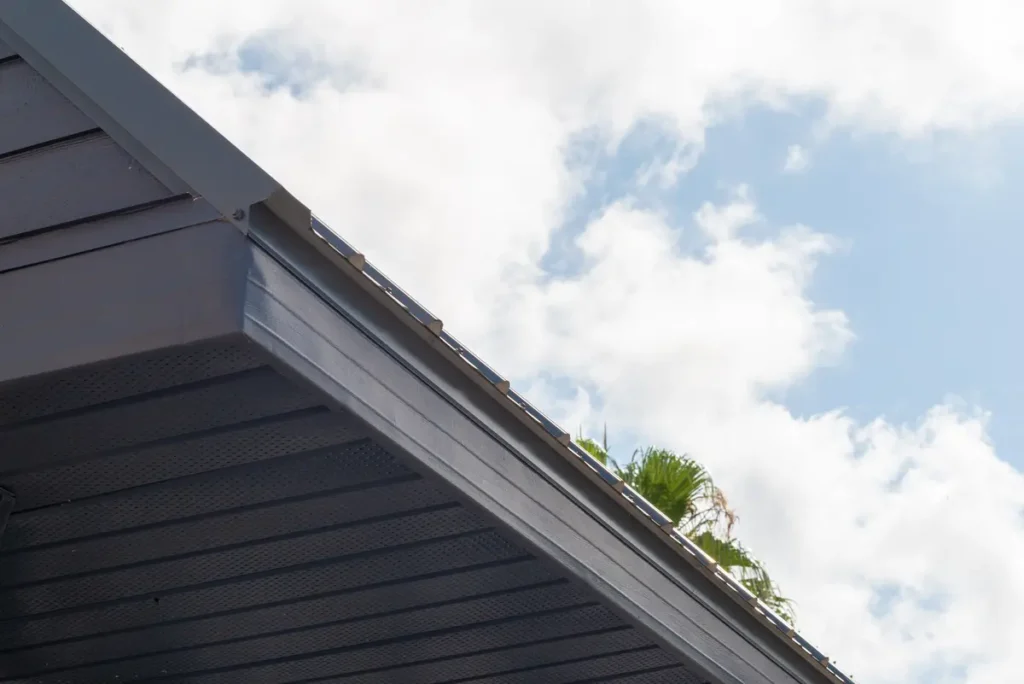
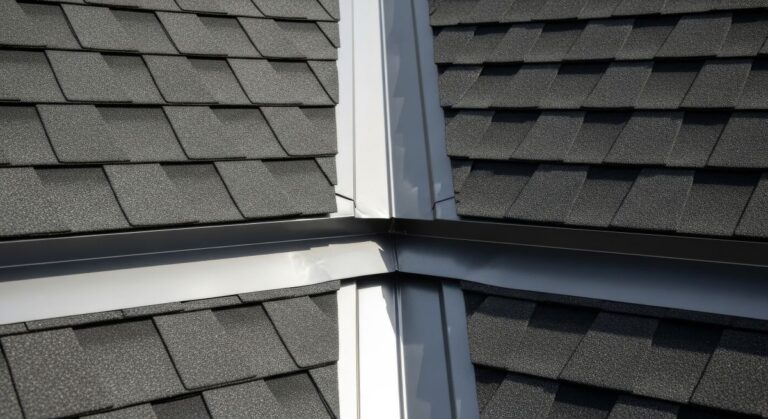
A roof drip edge is a thin strip of metal flashing installed along the edges of your roof. It is typically made of durable materials like aluminum, galvanized steel, or copper. Positioned under the roofing material and extending slightly beyond the roof edge, it directs water away from your roof’s fascia and into the gutter system.
Though it might seem like a minor detail, the drip edge protects your roof, prevents water damage, and gives your roof a clean, finished look.
Common Materials Used for Drip Edges
Roof drip edges are made from several materials to suit different needs and budgets. Here are the most commonly used drip edge materials:
- Aluminum: Lightweight, rust-resistant, and the most common choice for residential homes.
- Galvanized Steel: Known for its strength, durability, and resistance to heavy winds and impacts.
- Copper: A premium choice that combines strength with a classic, aesthetically pleasing appearance.
Types of Drip Edge Profiles
Drip edges aren’t one-size-fits-all. There are different profiles designed to suit specific roof designs. Here are the three main types:
- Type C (L-Style): This is the most common type and features an “L” shape. It fits snugly along the roofline and provides effective water redirection.
- Type D (T-Style): Type D drip edges have a “T” shape and are ideal for roofs with heavy rainfall. This design prevents water from clinging to the edges.
- Type F (Gutter Apron): Type F features a longer flange, making it perfect for extending over and protecting wider fascia boards.
Understanding which type of drip edge works best for your roof depends on your home’s design and the surrounding weather conditions.
Why is a Roof Drip Edge Important?
It’s easy to overlook the drip edge during a roof installation or repair, but it serves several critical functions for the health and longevity of your roof. Here’s why it’s so important:
Water Damage Protection
Rainwater, snow, and ice can wreak havoc on your roof. Without a drip edge, water may seep under your shingles or behind your fascia boards, leading to mold, rot, and significant structural damage. A properly installed drip edge prevents such issues by guiding water into your gutter system.
Enhanced Gutter Performance
If rainwater isn’t funneled directly into the gutters, it can pool around the edges of your home, damaging the foundation and causing basement leaks. The drip edge ensures that water flows seamlessly into the gutters, keeping your home safe from excess water.
Prevention of Pest Intrusion
The small gap between your roof and fascia can become an open invitation for critters like squirrels, insects, and birds to enter your home. A drip edge closes off this gap, providing a barrier against unwanted pests.
Improved Roof Lifespan
Installing a drip edge reduces wear and tear on your shingles by preventing water infiltration. This helps extend the lifespan of your entire roof.
Meets Building Codes
Most modern building codes in the U.S. require the installation of a roof drip edge during new roofing projects or major repairs. A properly installed drip edge ensures your roof is up to code and avoids potential legal or insurance issues.
Signs You Need to Install or Replace a Roof Drip Edge
Not sure if your home already has a drip edge in place or if it’s time for a replacement? Keep an eye out for these signs:
- You see water stains or rotting wood near the roofline.
- Water is dripping behind the gutters during or after rainfall.
- Shingle edges appear to be curling or drooping.
- Evidence of pest intrusion near the roof’s edge.
- Your roof appears to be missing metal flashing along the edge.
If you notice any of these issues, it’s time to take action and address the problem before more extensive damage occurs.
How to Install a Roof Drip Edge: A 5 Step Guide
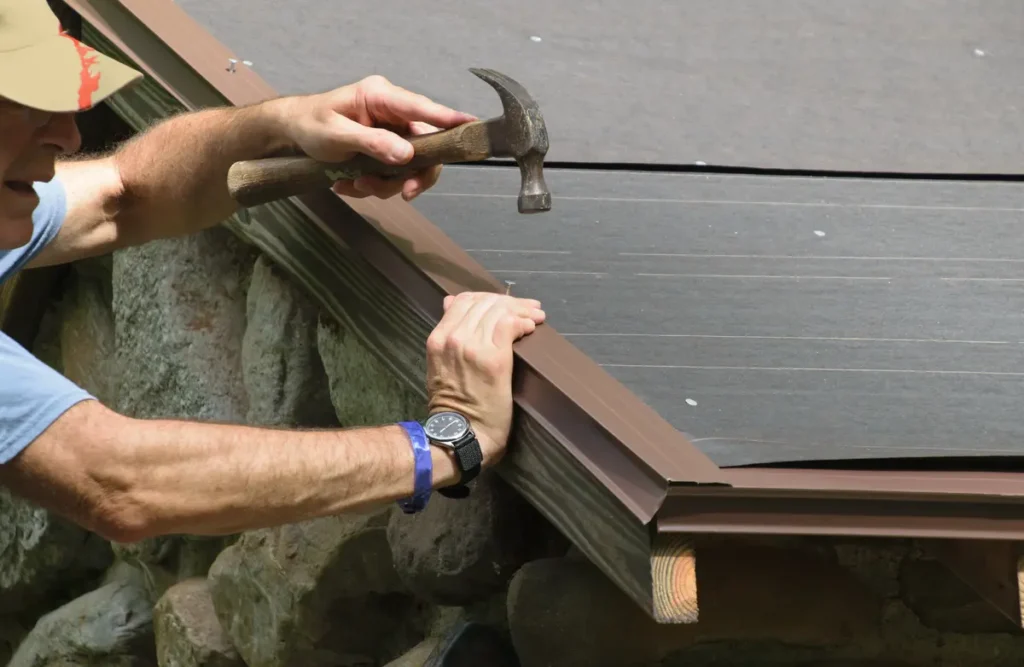
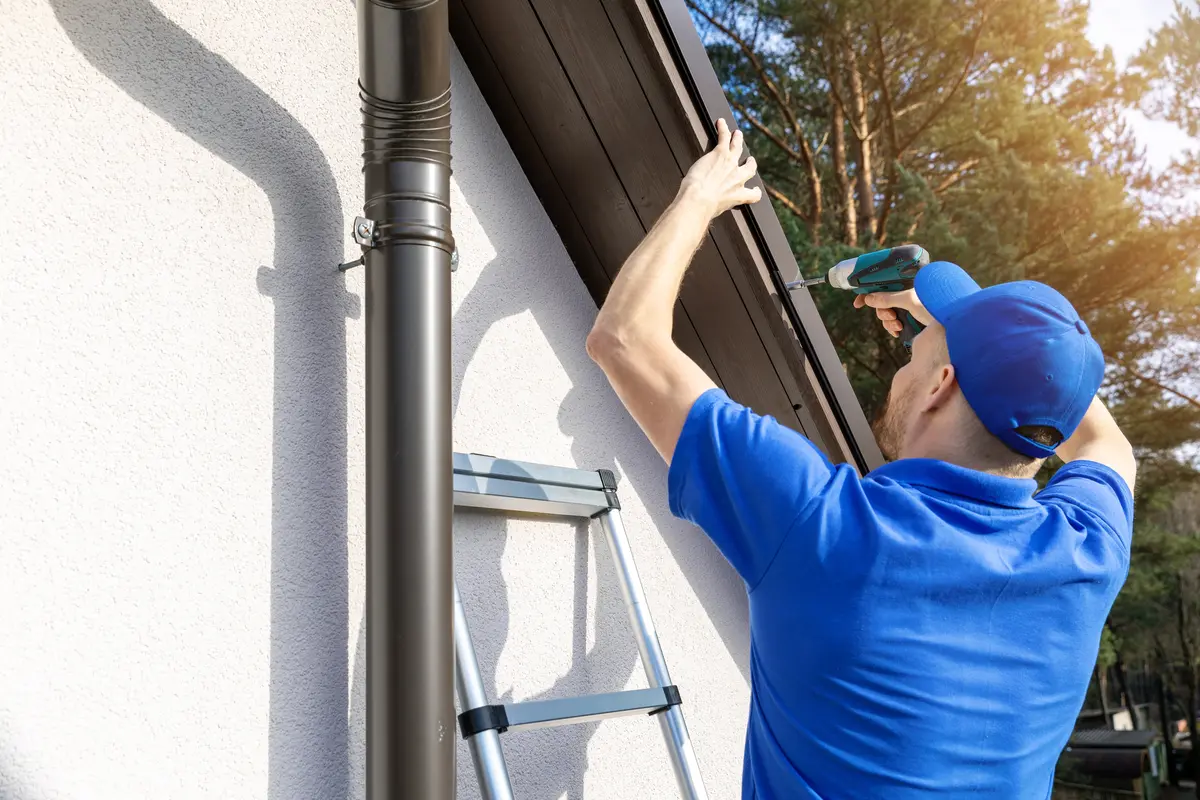
While installing a roof drip edge can be a DIY project for skilled homeowners, it’s often best to leave this critical task to a professional roofing contractor. Here’s a general overview of how a roof drip edge is installed:
Tools & Materials Required:
- Drip edge material (aluminum, galvanized steel, or copper)
- Roofing nails
- Hammer or nail gun
- Tin snips for cutting the drip edge
- Measuring tape
1) Choose the Right Drip Edge Type:
Select the material and profile that suits your roof’s design and local weather conditions.
2) Measure the Roof Edge:
Measure the total length of your roof edges to determine how much drip edge material you’ll need.
3) Attach the Drip Edge:
Place the drip edge under the first layer of shingles and secure it with roofing nails, spaced approximately every 12 inches.
4) Seal the Gaps:
Ensure there are no gaps between sections of the drip edge to prevent water infiltration.
5) Inspect the Results:
Double-check the installation to make sure the drip edge aligns correctly and is securely attached.
While these steps might seem straightforward, ensuring a watertight fit requires precision and experience. Professional installation not only saves you time but also guarantees long-term performance.
Maintenance Tips for Your Roof Drip Edge
Keeping your roof drip edge in good condition ensures that it continues to protect your home for years to come. Here are some simple maintenance tips:
- Inspect Regularly: Check your drip edges during your routine roof inspections (typically twice a year). Look for damages, gaps, or rust.
- Clean Your Gutters: Clogged gutters can overflow, negating the drip edge’s purpose. Keep gutters clean to ensure proper water flow.
- Repaint as Needed: If your drip edge is painted, freshen it up every few years to prevent rust and maintain curb appeal.
- Replace When Necessary: Don’t wait too long to replace damaged or missing sections of your drip edge. Prompt action prevents water damage.
Can You Add a Drip Edge to an Existing Roof?
Yes! If your current roof doesn’t have a drip edge, one can often be added without requiring an entire roof replacement. It’s a cost-effective solution to enhance your roof’s protection. However, the installation process for an existing roof may be more complex, so hiring a professional is highly recommended.
Why Work with Johnson Restoration for Your Roofing Needs
At Johnson Restoration, we know how important every detail of your roof is — including the often-overlooked drip edge. Our team of experienced professionals specializes in roof maintenance, repairs, and replacements, ensuring your home gets the care it deserves.
Here’s why homeowners trust Johnson Restoration:
- Expertise in all aspects of roofing, including drip edges.
- High-quality materials for long-lasting protection.
- Competitive pricing for peace of mind.
- Friendly, professional team committed to your satisfaction.
Protect Your Roof – Contact Us Today!
A roof drip edge may seem like a small component, but it plays a big role in safeguarding your home. Whether you need to install a new drip edge, replace a damaged one, or have questions about your roof’s condition, the team at Johnson Restoration is here to help.Contact us today for a free inspection, and keep your roof—and your home—properly protected!
