Vinyl siding is a popular choice for homeowners due to its durability, low maintenance, and aesthetic appeal. However, there might come a time when you need to remove it—whether for:
- Repairs
- Renovations
- Replacement
While the task might seem daunting, with the right tools and guidance, it can be a manageable DIY project. Today, we’ll walk you through the step-by-step process of how to remove vinyl siding.
Tools You’ll Need
Before you get started, make sure you have the following tools on hand:
- Zip tool or siding removal tool: Essential for unlocking the siding panels.
- Flat pry bar or claw hammer: Useful for prying off nails and panels.
- Hammer or nail puller: For removing nails.
- Screwdriver (manual or power): For removing screws if any are used.
- Ladder: To safely reach higher sections of the siding.
- Work gloves and safety glasses: To protect your hands and eyes from sharp edges and debris.
- Utility knife: For cutting any caulking or sealant.
8 Step Removal Process for Vinyl Siding
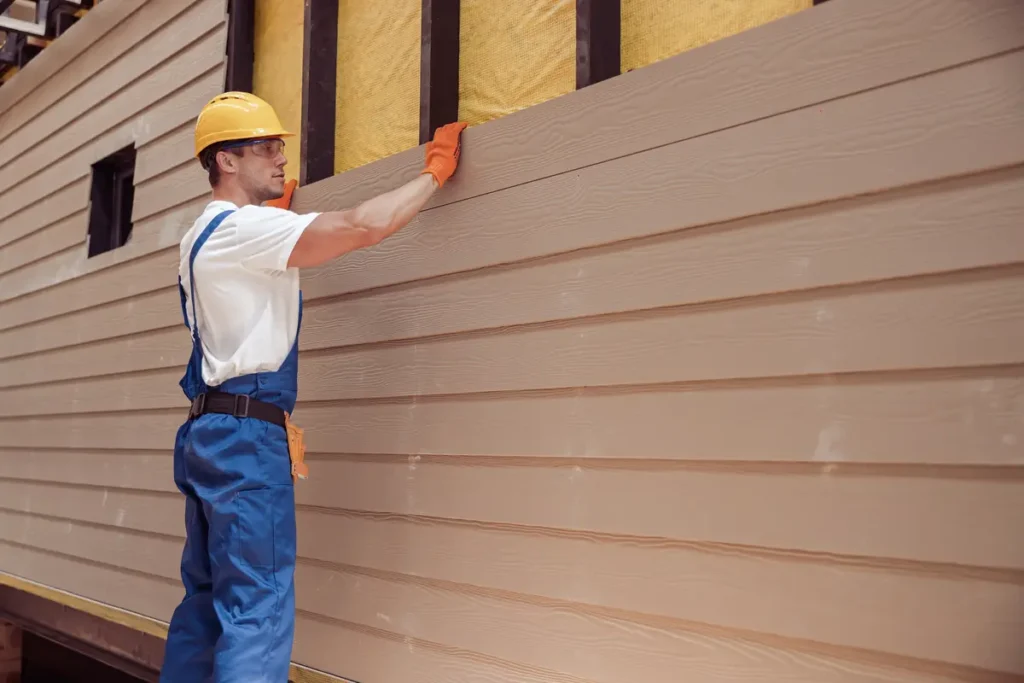
Remove your vinyl siding like a pro with this simple guide!
1. Assess the Area
Before beginning, take a moment to inspect the area where you’ll be working. Look for any damaged or loose panels that might require special attention. Also, identify any obstacles such as outdoor lights, vents, or electrical outlets that you need to work around.
2. Start at the Top
Vinyl siding is installed from the bottom up, which means you should start the removal process from the top down. This allows you to easily unlock each successive panel.
3. Use the Zip Tool
The first step is to separate the top panel from the one below it. Insert the zip tool under the bottom edge of the topmost panel. Wiggle it gently until you feel it hook onto the lip of the panel. Once hooked, slide the tool along the length of the panel while pulling it downward to unlock the panel from the one below it.
4. Remove Nails
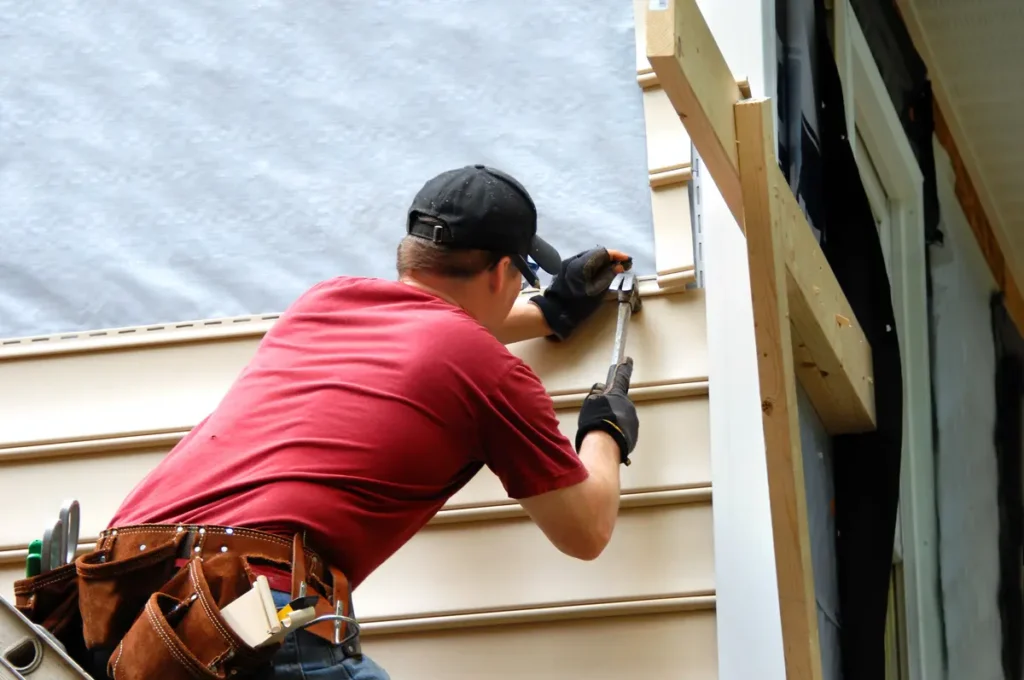
With the panel unlocked, use a flat pry bar or claw hammer to remove the nails that secure the panel to the wall. Be careful not to damage the panel or the wall underneath. If screws were used instead of nails, use a screwdriver to remove them.
5. Work Your Way Down
Once the first panel is removed, repeat the process for the next panel. Remember, always unlock the panel first with the zip tool before attempting to remove any nails or screws.
6. Handle Obstacles Carefully
When you encounter obstacles like lights or vents, carefully work around them. You might need to cut the siding around these areas with a utility knife. Be cautious to avoid cutting any wires or damaging the fixtures.
7. Collect and Organize Panels
As you remove each panel, stack them neatly in an organized manner. This will help you keep track of the pieces, especially if you plan to reuse them. Label the back of each panel with a marker if necessary to remember their original position.
8. Inspect the Underlying Structure
Once all the siding is removed, take the opportunity to inspect the underlying structure of your home. Look for any signs of damage, rot, or mold that might need to be addressed before installing new siding.
Tips for a Smooth Removal
Avoid any snags in the process with these expert tips.
- Work in Cool Weather: Vinyl can become brittle in cold weather and more pliable in hot weather. Aim to work in moderate temperatures to avoid cracking or distortion.
- Be Gentle: Avoid using excessive force when removing panels to prevent damage to the siding or the underlying wall.
- Safety First: Always wear work gloves and safety glasses. Use a sturdy ladder and ensure it’s on level ground.
- Take Breaks: Removing siding can be physically demanding. Take regular breaks to avoid fatigue.
Common Mistakes to Avoid
If you’re tackling your vinyl siding removal on your own, be sure to avoid these simple beginner mistakes.
- Skipping the Zip Tool: Trying to remove panels without a zip tool can lead to damage. The zip tool is specifically designed for this task and makes the process much easier.
- Rushing: Taking your time ensures you don’t damage the panels or the wall underneath. Rushing can lead to costly mistakes.
- Ignoring Safety: Always prioritize safety by wearing protective gear and ensuring your ladder is secure.
What to Do After Removal
Once the vinyl siding is removed, you have several options depending on your project goals:
⚒️ Repair and Reinstall
If your goal was to make repairs, now is the time to address any issues with the underlying structure. Once repairs are completed, you can reinstall the same vinyl siding if it’s still in good condition. Simply reverse the removal process to put the panels back in place.
⭐️ Upgrade Your Siding
If you’re planning to upgrade your siding, use this opportunity to choose a new material. There are many options available, including fiber cement, wood, and newer styles of vinyl. Each material has its own benefits and installation process.
🔎 Inspect and Insulate
This is also a good time to inspect the insulation behind your siding. If needed, add or replace insulation to improve your home’s energy efficiency. Proper insulation can help reduce energy costs and improve comfort.
🗑️ Dispose of Old Siding
If you don’t plan to reuse the old vinyl siding, dispose of it properly. Check with your local waste management facility for guidelines on disposing of construction materials. Some recycling centers accept vinyl siding, so consider this option to reduce environmental impact.
Maintenance Tips for Vinyl Siding
To extend the lifespan of your vinyl siding and keep it looking its best, follow these maintenance tips:
- Regular Cleaning: Clean your siding at least once a year using a soft brush or cloth and a mild detergent. Avoid using harsh chemicals or power washers, as they can damage the siding.
- Inspect for Damage: Periodically inspect your siding for cracks, holes, or loose panels. Address any issues promptly to prevent further damage.
- Trim Vegetation: Keep trees, bushes, and other vegetation trimmed away from your siding to prevent scratches and damage.
- Check Caulking: Inspect the caulking around windows, doors, and other openings. Replace any damaged or missing caulking to maintain a watertight seal.
Let The Professionals Repair Vinyl Siding
Removing vinyl siding might seem like a challenging task, but with the right tools and a step-by-step approach, it can be accomplished efficiently and safely. Whether you’re making repairs, upgrading your siding, or simply exploring new design options, this guide provides all the information you need to get started. Remember, patience and attention to detail are key. Take your time, follow the steps outlined above, and you’ll have your vinyl siding removed in no time.
If you have any questions or need further assistance, don’t hesitate to reach out to our team of experts at Johnson Restoration. We’re here to help you every step of the way.
