A leaky roof can lead to serious problems if not addressed promptly. Whether it’s caused by a storm or age, patching a roof is a task many homeowners can handle themselves with the right guidance and tools. But that doesn’t mean we all know how to patch a roof.
That’s where this blog post comes in. We’ll walk you through the process step-by-step to ensure your roof is as good as new in no time. You’ll learn:
- What a roof patch is
- It’s benefits
- How to do it all on your own!
Why Patch Your Roof?
Before we get into the how, let’s talk about the why. Patching your roof is essential for several reasons:
- Prevent Water Damage: A small leak can lead to significant water damage over time, affecting the structural integrity of your home.
- Save Money: Fixing minor issues promptly can prevent more expensive repairs down the line.
- Extend Roof Life: Regular maintenance, including patching, can extend the lifespan of your roof.
Identifying the Problem
Inspecting Your Roof
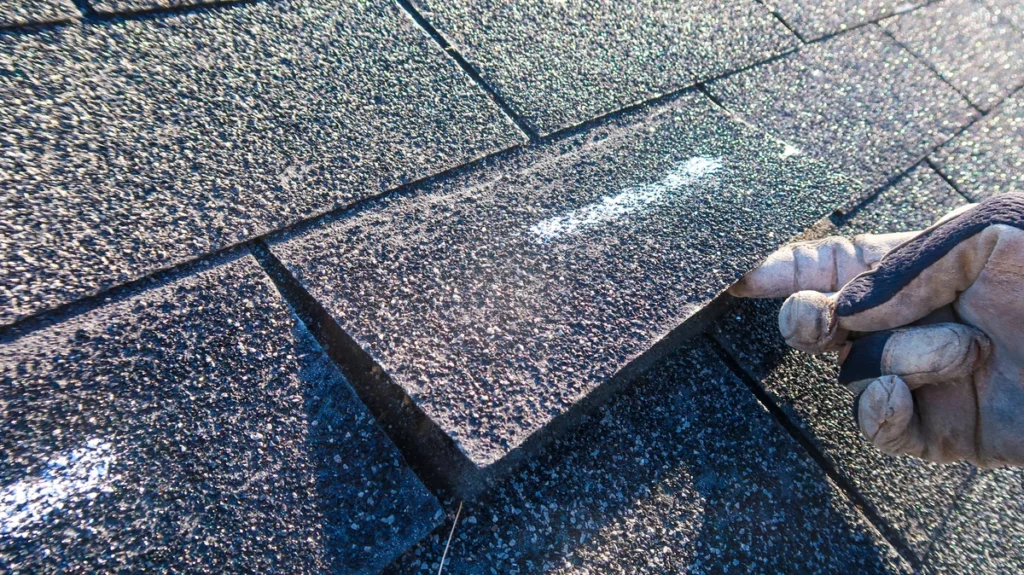
Start with a thorough inspection to locate any damage. Here’s what to look for:
- Missing Shingles: These are easy to spot and a common source of leaks.
- Cracked or Curled Shingles: Aging or weather can cause shingles to deteriorate.
- Granules in Gutters: If you find granules in your gutters, your shingles may be degrading.
- Water Stains on Ceiling: Inside your home, look for water stains on the ceiling, which can indicate a leak.
Tools You’ll Need
To patch your roof, gather the following tools and materials:
- Ladder
- Safety harness
- Roofing nails
- Hammer
- Roofing tar or sealant
- Utility knife
- Replacement shingles
- Pry bar
- Roofing cement
- Caulk gun
- Measuring tape
- Work gloves
Prioritize Safety
Roof work can be dangerous, so prioritize safety:
- Use a Sturdy Ladder: Ensure your ladder is stable and on firm ground.
- Wear a Safety Harness: A harness can prevent serious injury in case of a fall.
- Check the Weather: Perform roof repairs on a clear, dry day to avoid slipping.
- Buddy System: If possible, have someone assist you for added safety.
A 4-Step Guide to Patching Your Roof
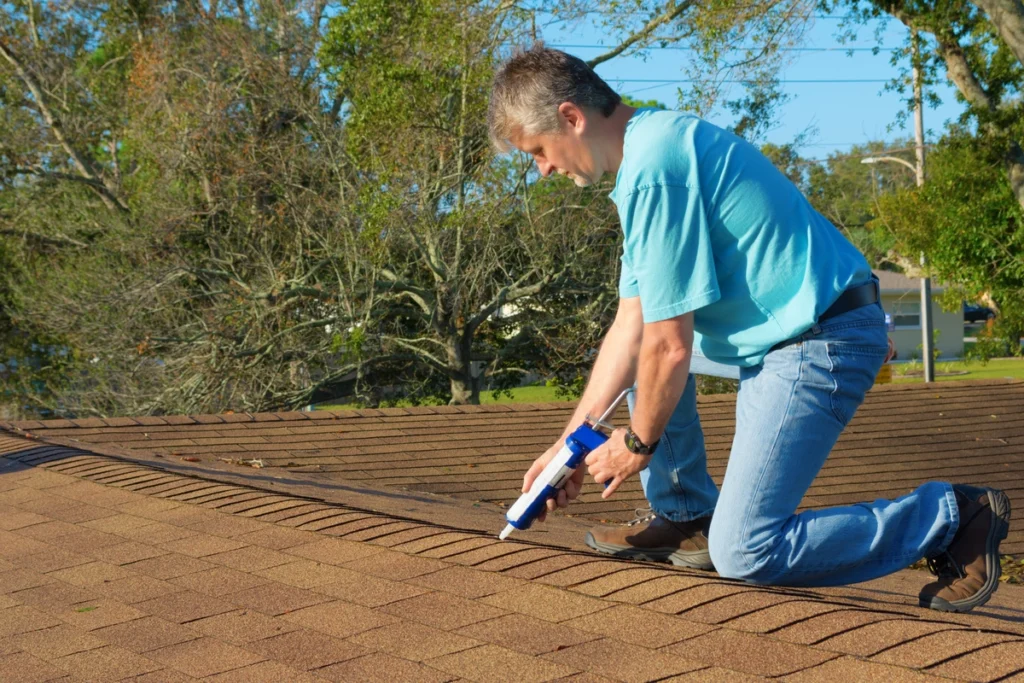
Ready to become a roofing expert? Follow these steps to repair your leaking roof.
Step 1: Remove Damaged Shingles
- Locate the Damaged Area: Identify the shingles that need replacing. Use your utility knife to cut away any damaged sections.
- Loosen the Shingles: Use a pry bar to gently lift the shingles above the damaged ones. Be careful not to cause additional damage.
- Remove Nails:Pull out the nails holding the damaged shingles in place. You can use a hammer or a pry bar for this.
- Remove the Shingle:Once the nails are out, the damaged shingle should easily slide out.
Step 2: Install New Shingles
- Slide the New Shingle Into Place: Insert the new shingle into the gap where the old one was removed. Ensure it aligns with the surrounding shingles.
- Nail It Down: Secure the new shingle with roofing nails. Place nails at the top corners and along the edges, ensuring they are covered by the shingle above.
- Seal with Roofing Cement: Apply roofing cement to the nail heads to prevent water from seeping in. Use a caulk gun for precision.
Step 3: Seal the Patch
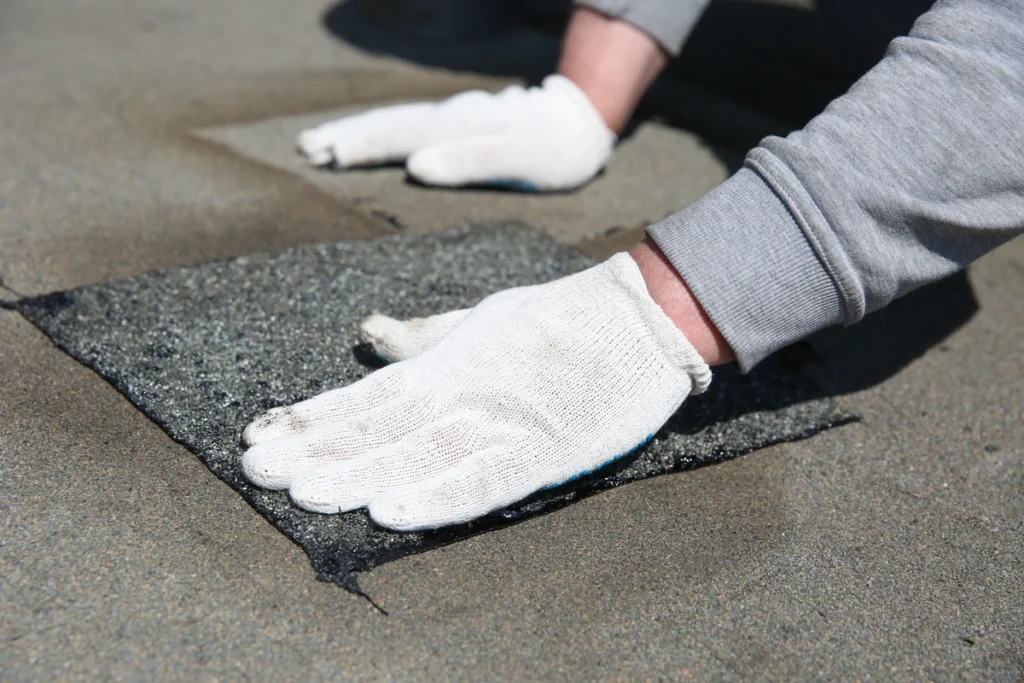
- Apply Roofing Tar: Spread a layer of roofing tar under the shingles above the patch to secure them. This will prevent wind from lifting them.
- Press Down the Shingles: Firmly press the shingles down to ensure they adhere to the roofing tar.
- Check for Gaps: Inspect your work to ensure there are no gaps or loose shingles.
Step 4: Prevent Future Damage
- Regular Inspections: Schedule regular inspections of your roof to catch potential problems early.
- Clean Gutters: Keep your gutters clean to prevent water buildup and damage to your roof.
- Trim Overhanging Branches: Branches can scrape and damage your roof, so keep them trimmed back.
Common Mistakes to Avoid
Even if you follow all the above-mentioned steps, it’s still easy to make mistakes when handling roof leaks. Make sure to avoid:
- Using the Wrong Materials: Always use materials that match your existing roof. Mismatched shingles can lead to leaks and further damage.
- Skipping the Roofing Cement: Roofing cement is crucial for sealing nail heads and securing shingles. Skipping this step can result in water seepage.
- Ignoring Safety Precautions: Never overlook safety precautions. Always use a harness, secure your ladder, and avoid roof work in bad weather.
When to Call a Professional
While many roof patches can be handled by homeowners, there are times when professional help is necessary:
- Extensive Damage: If the damage covers a large area, a professional roofer can ensure it’s repaired correctly.
- Structural Issues: If you suspect structural damage, it’s best to have a professional assess and repair it.
- Lack of Confidence: If you’re unsure about your ability to safely and effectively patch your roof, hire a professional.
A Roofing Contractor That Understands Roof Leaks
Patching a roof might seem daunting, but with the right tools and guidance, it’s a manageable task for most homeowners. But you don’t have to tackle your roof leak alone!
If you’ve been looking for roofing contractors that you can trust, look no further than Johnson Restoration! We’ll help you get your roof fixed in no time at all. Contact us today to get started!


