Keeping your home in its best condition involves regular maintenance, and cleaning your vinyl siding is a key part of this process. Over time, vinyl siding can accumulate:
- Dirt
- Grime
- Mold
- Mildew
All of these can detract from your home’s curb appeal but can also damage the siding if left untreated.
The good news? Cleaning vinyl siding is a manageable DIY task that can leave your home looking spotless, all while extending the lifespan of your siding. Whether you’re preparing for summer barbeques or just refreshing your home’s exterior, this guide from Johnson Restoration will walk you through everything you need to know about how to clean vinyl siding effectively and safely.
Why is Cleaning Vinyl Siding Important?
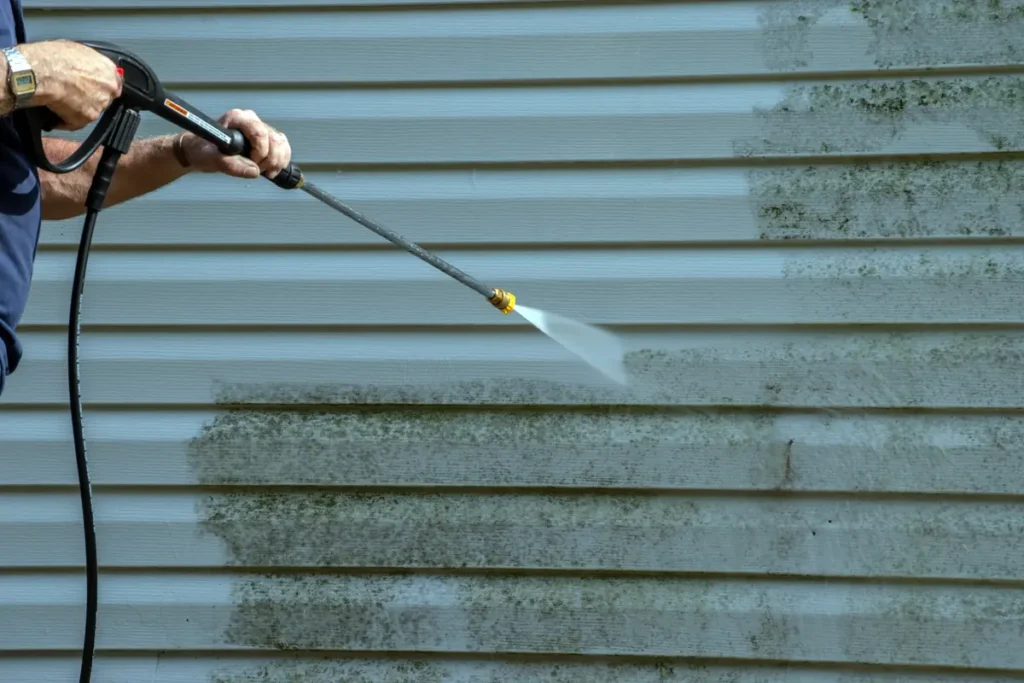
Before we jump into how to clean your siding, it’s important to understand why regular cleaning matters.
- Maintain Your Home’s Curb Appeal: A clean home exterior makes a positive impression and keeps your property looking fresh and welcoming.
- Protect Against Damage: Dirt, mold, and mildew can weaken vinyl over time. Regular cleaning prevents buildup, which can lead to potential structural issues.
- Extend the Lifespan of the Siding: Vinyl siding is a durable material, but proper care ensures it stays in great condition for years to come.
- Increase Property Value: A home with a clean and well-maintained exterior is more attractive to potential buyers, should you choose to sell.
Now that you know why keeping your siding clean is critical, let’s get into how to do it properly.
What You’ll Need to Clean Vinyl Siding
Before beginning this project, gather the necessary tools and supplies to ensure a smooth process. Whether you’re using everyday cleaning essentials or opting for commercial solutions, here’s a handy checklist to prepare you.
Supplies:
- A garden hose with a spray nozzle
- A long-handled, soft-bristle brush or extendable scrub brush
- Cleaning solution (mild soap or commercial vinyl siding cleaner)
- A bucket
- Protective gloves
- A ladder (if you need to reach high areas)
- Safety goggles (to protect your eyes from debris or cleaning solution)
Optional Supplies for Tough Stains:
- White vinegar
- Oxygen-based bleach
- A pressure washer (used with caution)
Preparing to Clean Vinyl Siding
Cleaning your vinyl siding not only keeps your home looking fresh and well-maintained but also helps prevent long-term damage from dirt, mold, and mildew. Before you begin, it’s important to gather the right supplies and take a few simple steps to ensure the cleaning process is safe, efficient, and effective. Here’s how to get started!
Inspect Your Siding
Before getting started, take a few minutes to inspect your siding for damage such as cracks, holes, or loose pieces. Cleaning damaged siding can worsen the problem, so make repairs before proceeding to avoid additional issues.
Protect Nearby Plants and Fixtures
Cover shrubs, flowers, and nearby gardens with plastic sheeting to prevent them from coming into contact with cleaning solution or runoff. Also, ensure you move outdoor furniture and cover light fixtures to keep everything safe.
Close Windows and Doors
Don’t forget to tightly close windows and doors to prevent water or cleaning solution from entering your home.
A 6 Step Guide to Cleaning Vinyl Siding
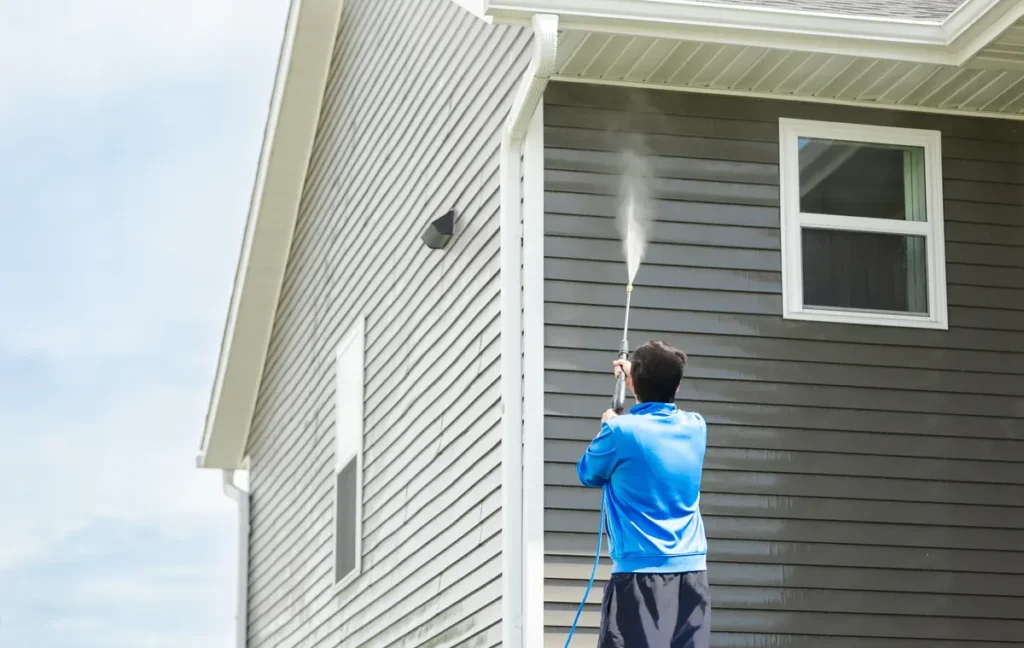
Follow these steps to effectively and safely clean your vinyl siding.
Step 1. Rinse the Siding
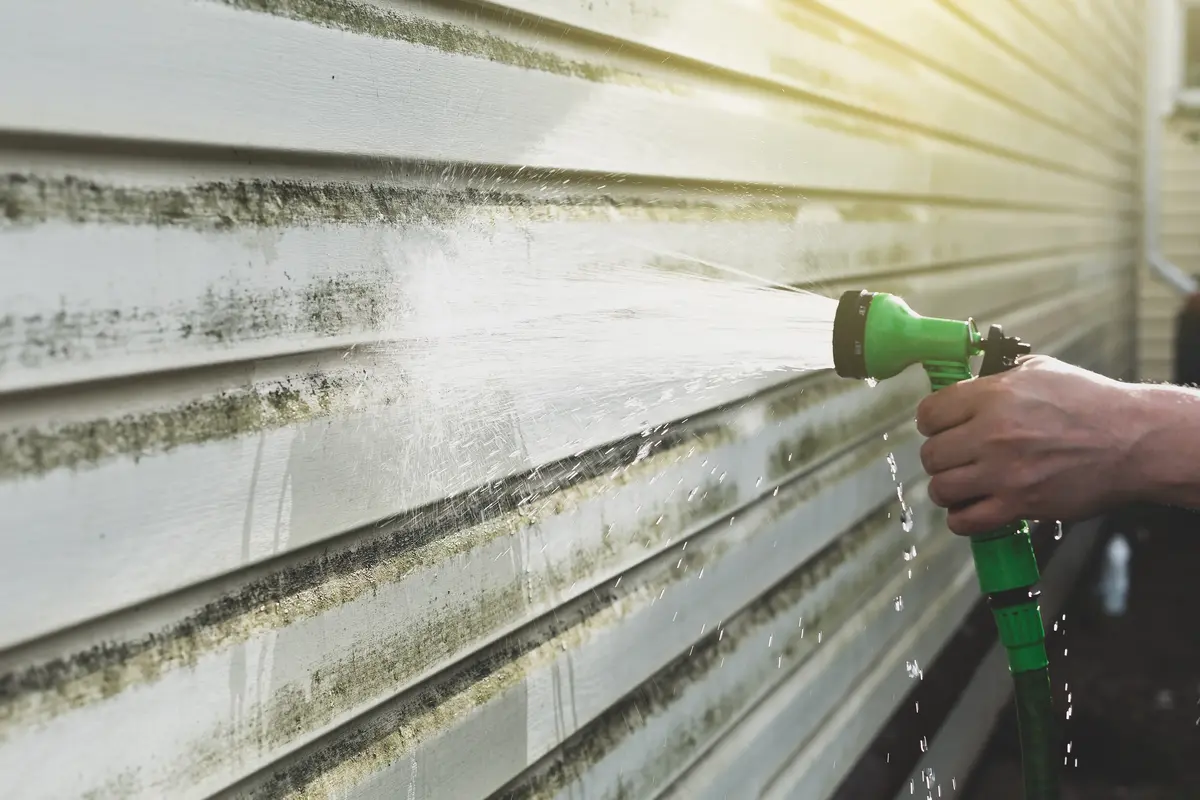
Begin by rinsing the siding with a garden hose. This will remove loose dirt and debris, making the cleaning process easier. Work from the top down to avoid streaks and ensure you’re clearing away dirt as you go.
Step 2. Mix Your Cleaning Solution
For a basic DIY cleaner, mix one-third cup of dish soap or laundry detergent with a gallon of warm water in your bucket. If you’re dealing with tougher stains, such as mildew, you can mix one part white vinegar with three parts water. Alternatively, you can use a commercial vinyl siding cleaner – just be sure to follow the manufacturer’s instructions.
Step 3. Scrub the Siding
Using the soft-bristle brush, gently scrub the siding in sections. Focus on areas with visible dirt or growth, but avoid scrubbing too hard—it’s important not to scratch or damage the surface of the siding. If you’re cleaning multiple stories, use a ladder or an extendable brush to reach higher areas.
Step 4. Rinse Thoroughly
Once you’ve scrubbed a section, use the hose to rinse off the cleaning solution. It’s crucial to rinse thoroughly to ensure no residue is left behind, as this can cause streaking or discoloration over time.
Step 5. Address Problem Areas (if Necessary)
For stubborn stains or mold, use an oxygen-based bleach solution. Apply the solution to the affected area, allow it to sit for a few minutes, and then scrub gently before rinsing. Avoid using chlorine bleach, as it can harm plants and may discolor your siding.
Step 6. Finish Up
Continue moving section by section until the entire exterior is clean. Once you’ve completed cleaning the siding, rinse the surrounding area, like plants or driveways, to remove any excess cleaning solution.
Using a Pressure Washer on Vinyl Siding
If you’d like to use a pressure washer to speed up the process, be sure to use it with caution. Too much pressure can crack or damage vinyl siding.
Here are a few tips if you choose this route:
- Use a wide-angle spray tip to avoid concentrated force.
- Always spray at a downward angle to prevent water from getting behind the siding, which can lead to mold or mildew growth.
- Maintain a safe distance, typically about 3 feet, between the nozzle and the siding.
Remember to check the manufacturer’s guidelines for both your pressure washer and your vinyl siding before starting.
Cleaning Vinyl Siding Safely and Effectively
Here are additional tips to ensure a successful cleaning job that leaves your siding sparkling and damage-free.
- Avoid Harsh Tools: Never use steel wool, abrasive pads, or power cleaners that can scratch or damage the siding’s surface.
- Test Cleaning Solutions: Test any new cleaning solution on a small, inconspicuous area of siding to make sure it doesn’t cause discoloration or damage.
- Clean on a Cool, Cloudy Day: Direct sunlight can cause cleaning solution to dry too quickly, leaving streaks or residue behind.
- Avoid High-Pressure Sprays: If you’re using a pressure washer, always stick to the lowest pressure setting and follow manufacturer recommendations.
How Often Should You Clean Vinyl Siding?
A good rule of thumb is to clean your vinyl siding once a year. However, if your home is near trees, a dusty road, or areas prone to mold or mildew, you might need to clean it more frequently. Regular maintenance does wonders for keeping your home looking its best.
Call the Experts if Needed
Cleaning vinyl siding is a straightforward project for most homeowners, but sometimes professional help is the best route—especially if you encounter large areas of mold, tough stains, or hard-to-reach places.
At Johnson Restoration, we specialize in restoring and maintaining home exteriors, including professional siding cleaning services. Our team has the tools and expertise to get the job done quickly and efficiently, leaving you with a spotless home exterior and peace of mind.
Expert Cleaning For Every Home
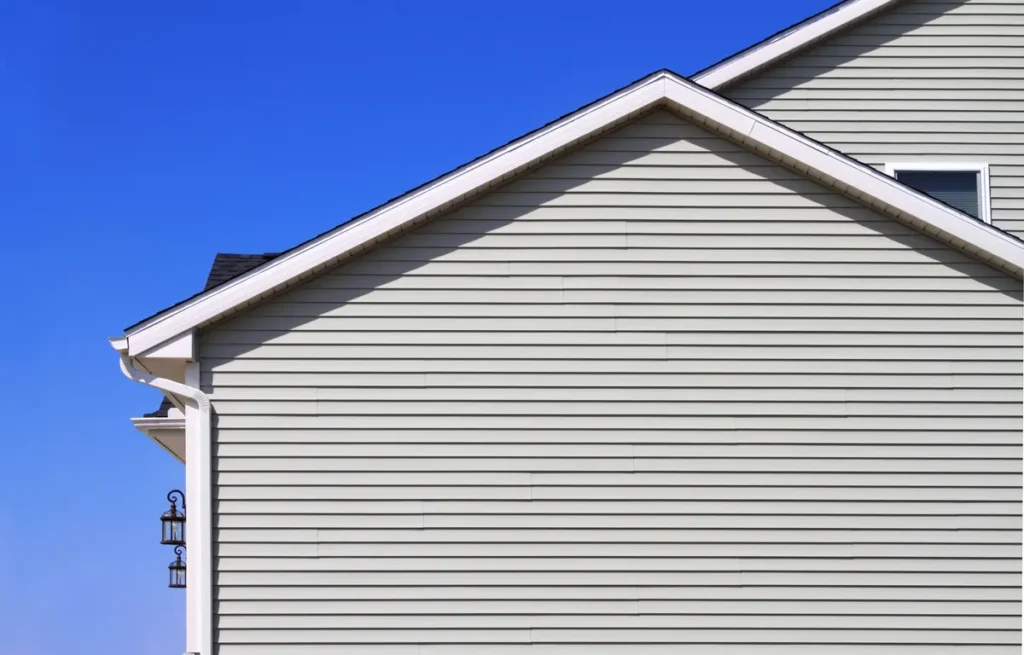
Keeping your vinyl siding clean is key to maintaining your home’s beauty, value, and longevity. By following these steps, you can handle this task like a pro and enjoy a pristine, polished home exterior.Need a hand with your cleaning project or want to ensure your siding stays in top condition year-round? Contact Johnson Restoration today to learn more about our professional services or to schedule a consultation. We’ll treat your home with the care it deserves!
