Homeownership often comes with its own set of challenges and responsibilities, especially when it comes to maintaining the integrity of your house. Among the many components that ensure your home remains safe and sound, drip edge flashing plays a crucial role.
If you’re unfamiliar with what it is and why it’s so important, don’t worry. This guide will walk you through everything you need to know aboutdrip edge flashing and its significance in safeguarding your roof. We’ll cover:
- What drip edge flashing is
- What it does
- How to install it
What is Drip Edge Flashing?
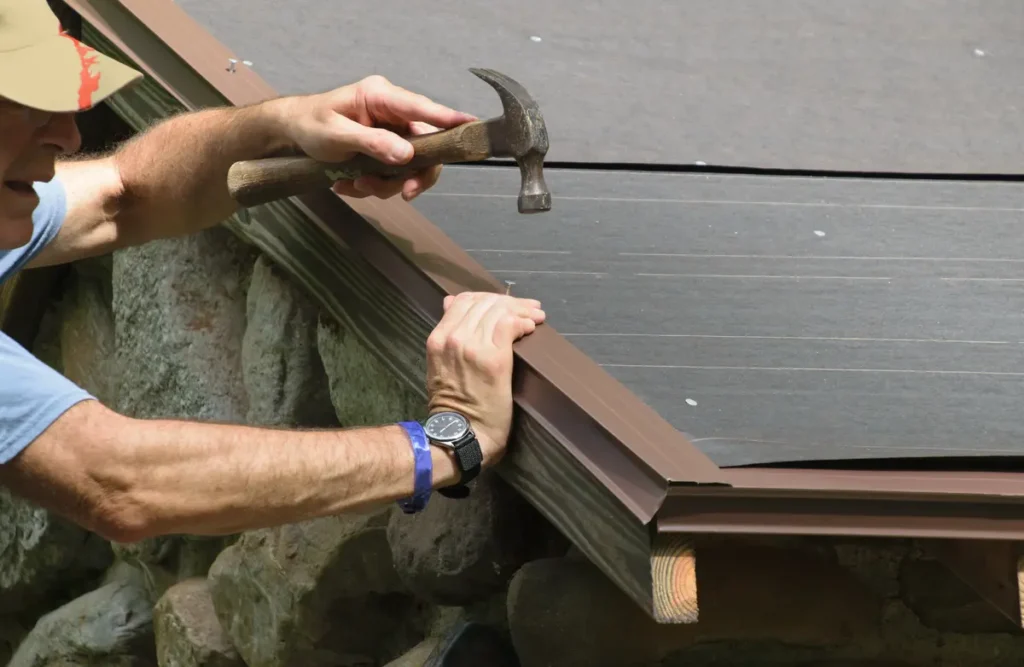
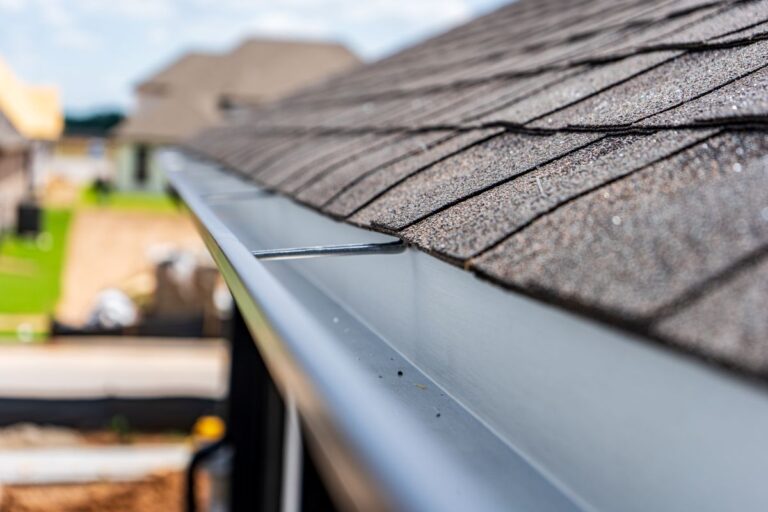
Drip edge flashing is a metal sheet, usually made of aluminum, galvanized steel, or copper, that is installed along the edges of your roof. Its primary purpose is to direct rainwater away from the fascia and into the gutters, preventing water from seeping under the roofing materials and causing damage to the structure. The design of a drip edge is simple, yet effective; it features a small flange that extends beyond the roof’s edge to “drip” water away from the fascia and underlying wood.
Types of Drip Edge Flashing
- Type C (Hemmed Drip Edge): Features a curved edge that provides extra protection against wind-driven rain.
- Type D (T-Style): Boasts a T-shaped profile that fits snugly under the shingles and offers sturdy support for heavy rains.
- Type F (Gravel Guard): Typically used on low-sloped roofs to protect against gravel displacement and water penetration.
Why is Drip Edge Flashing Essential?
Drip edge flashing is key to the overall health of your roof system. Here are some reasons why:
Water Damage Prevention
Water is one of the most damaging elements to your home’s structure. Without proper protection, rainwater can seep into the wood, causing rot and decay. Drip edge flashing acts as the first line of defense, ensuring that water is directed away from critical parts of your roof and into the gutters.
Mold and Mildew Mitigation
Moisture accumulation not only leads to structural damage but also fosters the growth of mold and mildew, which can pose health risks to your family. By installing drip edge flashing, you minimize the risk of moisture build-up, thus safeguarding your home’s indoor air quality.
Pest Deterrence
Open gaps at the roof’s edge can become entry points for pests like insects and rodents. Drip edge flashing seals these openings, keeping unwanted visitors at bay.
Enhancing Roof Longevity
By preventing water infiltration and the resultant damage, drip edge flashing contributes to extending the lifespan of your roof. This not only saves you money in potential repairs but also maintains the aesthetic appeal of your home.
Compliance with Building Codes
Many local building codes now mandate the installation of drip edge flashing in new constructions and roof replacements. Ensuring your home meets these requirements is essential for legal compliance and can enhance your property’s resale value.
How to Install Drip Edge Flashing: 6 Simple Steps
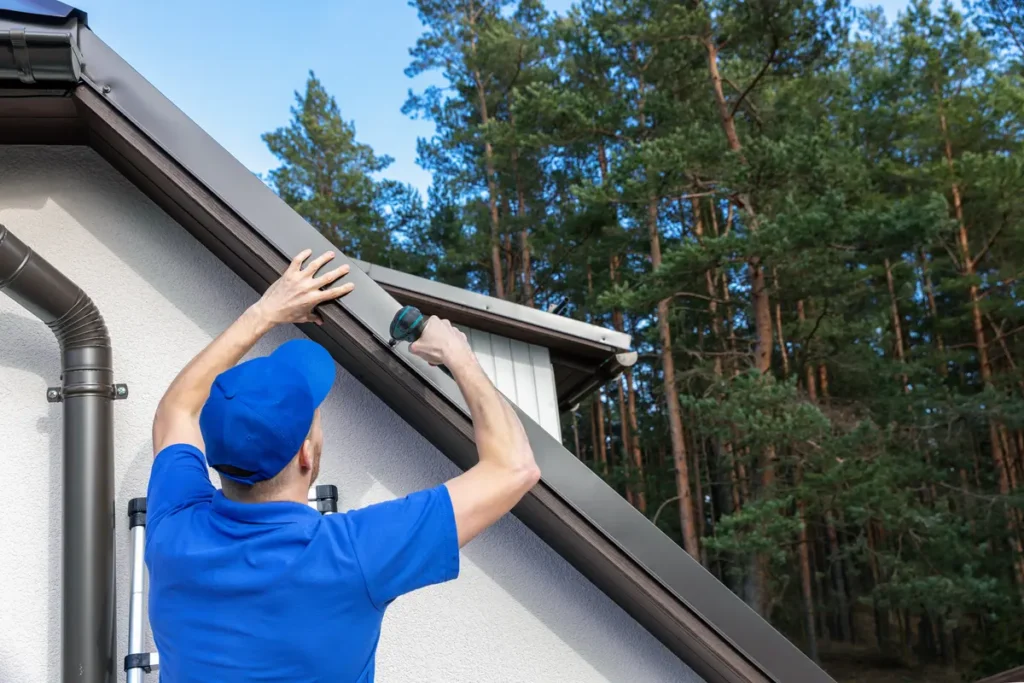
Installing drip edge flashing might seem daunting, but with some basic tools and a careful approach, it can be a manageable DIY project. Here’s a step-by-step guide for homeowners willing to take on the task:
Step 1: Gather Your Materials
You’ll need:
- Drip edge flashing material
- Roofing nails or screws
- Hammer or screwdriver
- Tin snips
- Ladder
- Safety gear (gloves, goggles)
Step 2: Prepare the Roof Edge
Ensure that the roof deck is clean and dry. Remove any existing debris or old flashing that might obstruct the installation.
Step 3: Measure and Cut the Flashing
Measure the length of your roof’s edge and cut the drip edge flashing to fit, using tin snips. Make sure to account for overlap sections at corners or where two pieces meet.
Step 4: Position and Secure the Flashing
Start at one corner of the roof and position the flashing so that it extends over the fascia and the roof’s edge. Secure it with roofing nails or screws, placing them every 12 to 16 inches for a firm hold.
Step 5: Seal the Joints
Ensure that the joints between sections of flashing are well-sealed to prevent water from seeping in. Use caulk or a compatible sealant for added protection.
Step 6: Check Your Work
Once installed, examine the flashing to ensure there are no gaps or loose sections. A thorough inspection will help guarantee that the flashing performs optimally during heavy rain.
Common Mistakes to Avoid
If you are a beginner, your roof drip edge installation is prone to accidents and mistakes. Avoid them by looking out for these problems:
- Improper Overlap: Failing to overlap the flashing properly can lead to water infiltration. Always ensure a minimum overlap of at least 2 inches where two pieces meet.
- Neglecting Sealing: Skimping on sealing exposed joints can compromise the flashing’s effectiveness. Always use a high-quality sealant to reinforce potential weak spots.
- Incorrect Placement: Placing the flashing too far from the roof edge can render it ineffective. Ensure it extends just beyond the roof to facilitate proper water drainage.
Maintenance Tips for Drip Edge Flashing
To keep your drip edge flashing in top condition, adopt the following maintenance practices:
- Regular Inspections: Examine the flashing twice a year, checking for signs of rust, bending, or gaps.
- Gutter Cleaning: Keep gutters clear of debris to prevent water from backing up and compromising the flashing.
- Prompt Repairs: Address any damage or wear immediately to prevent further issues.
- Professional Assessment: If unsure about the condition of your flashing, consult a professional for a thorough assessment.
Experts For Your Roofing System
The importance of drip edge flashing in preserving the integrity of your home cannot be overstated. By directing water away from vulnerable areas, it protects against a myriad of potential damages. Whether you’re upgrading your current system or planning a new installation, understanding and implementing drip edge flashing is a wise investment in the longevity and safety of your home.If you have questions or would like professional assistance with your roofing needs, don’t hesitate to reach out to the team at Johnson Restoration. Remember, a well-maintained roof is a key component of a safe and comfortable home.
