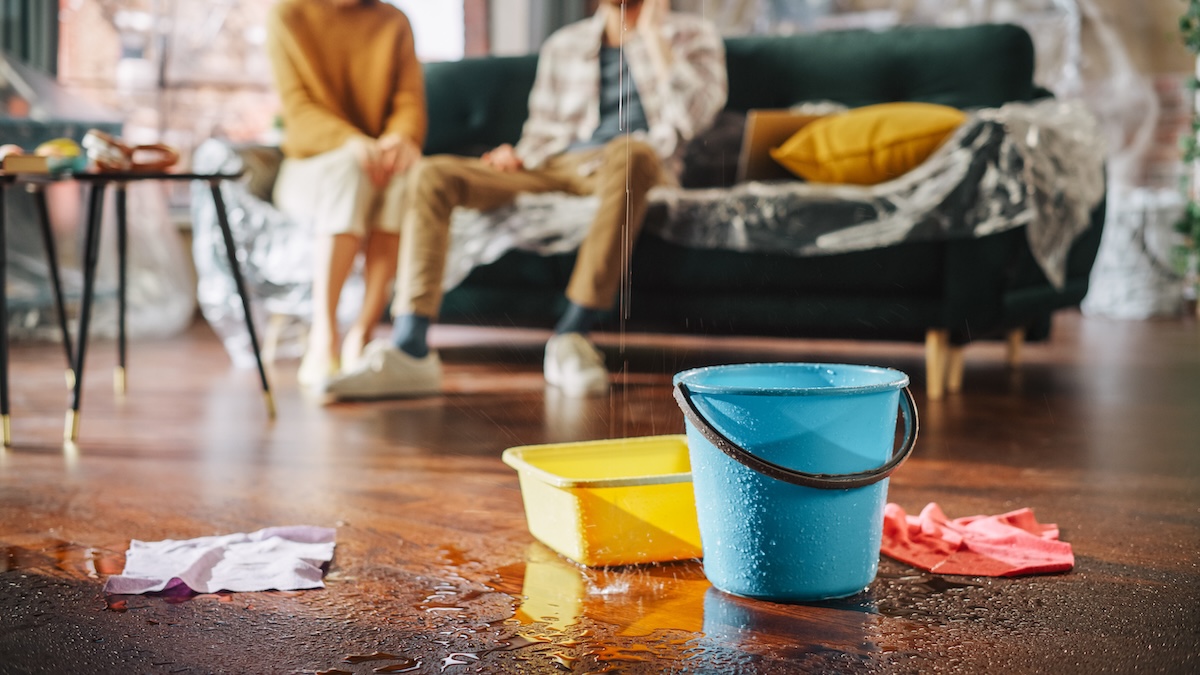

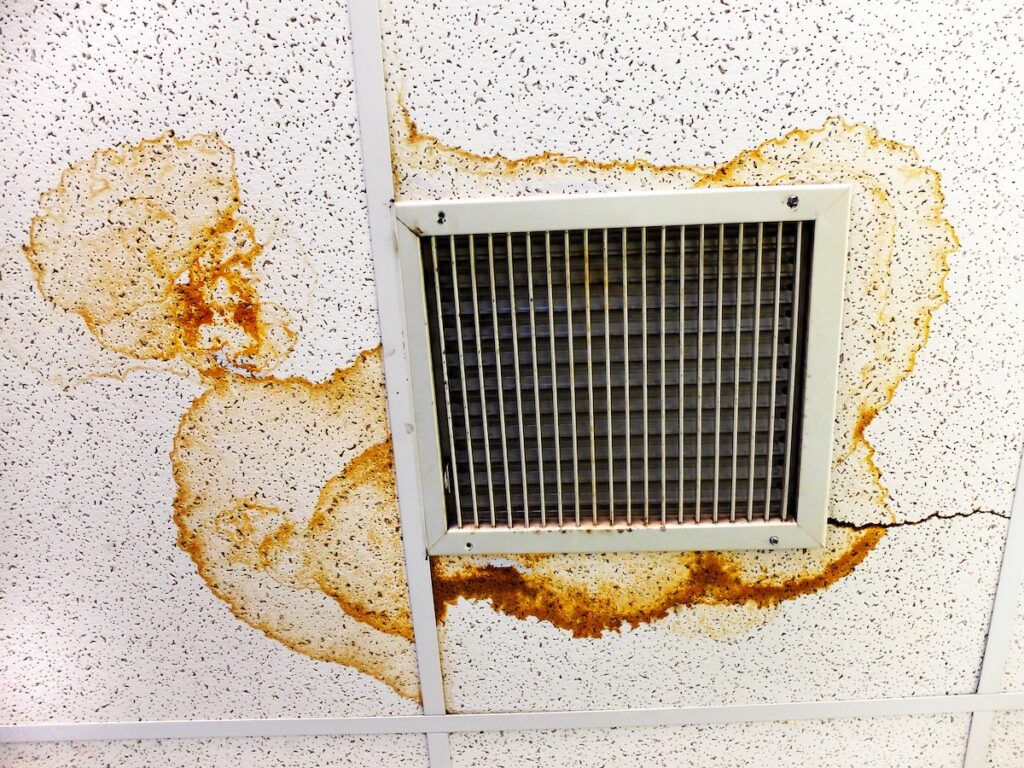
Chimney leak repair is essential for protecting your home from water damage, mold growth, and costly structural issues. Even a small leak can lead to big problems if left unaddressed, especially during heavy rain or snow.
- Water entry points: Leaks often start at flashing, mortar joints, or the chimney cap.
- Warning signs: Look for water stains, damp smells, and peeling paint around the fireplace.
- Timely repairs: Sealing the leak early can prevent extensive roof and interior damage.
In this guide, we’ll walk you through what causes chimney leaks, how to seal them properly, and when to call in the pros.
💧 What Causes a Chimney Leak?
There are several potential entry points for water around your chimney, and it’s not always obvious where the problem starts. Understanding the most common causes can help you spot leaks early.
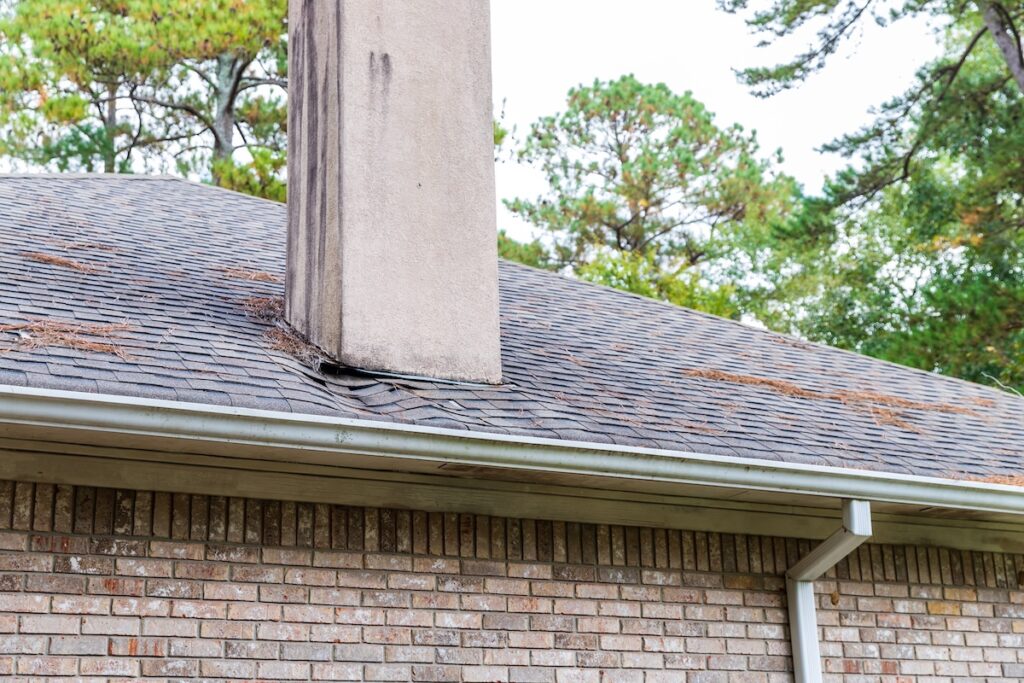
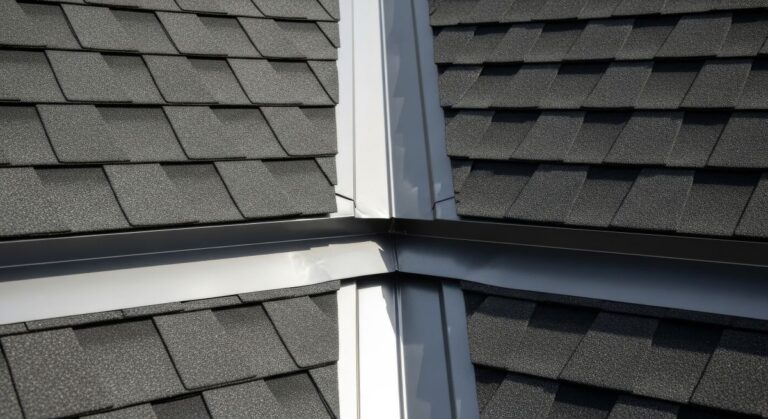
Damaged Flashing
Flashing is the metal material that seals the seam where the chimney meets the roof. Over time, it can corrode, crack, or pull away—allowing water to seep beneath it.
- Common issue: One of the leading causes of chimney leaks.
- Hard to detect: Often hidden beneath shingles or siding.
- Needs proper sealing: Should be replaced or resealed with roofing cement or a flashing repair kit.
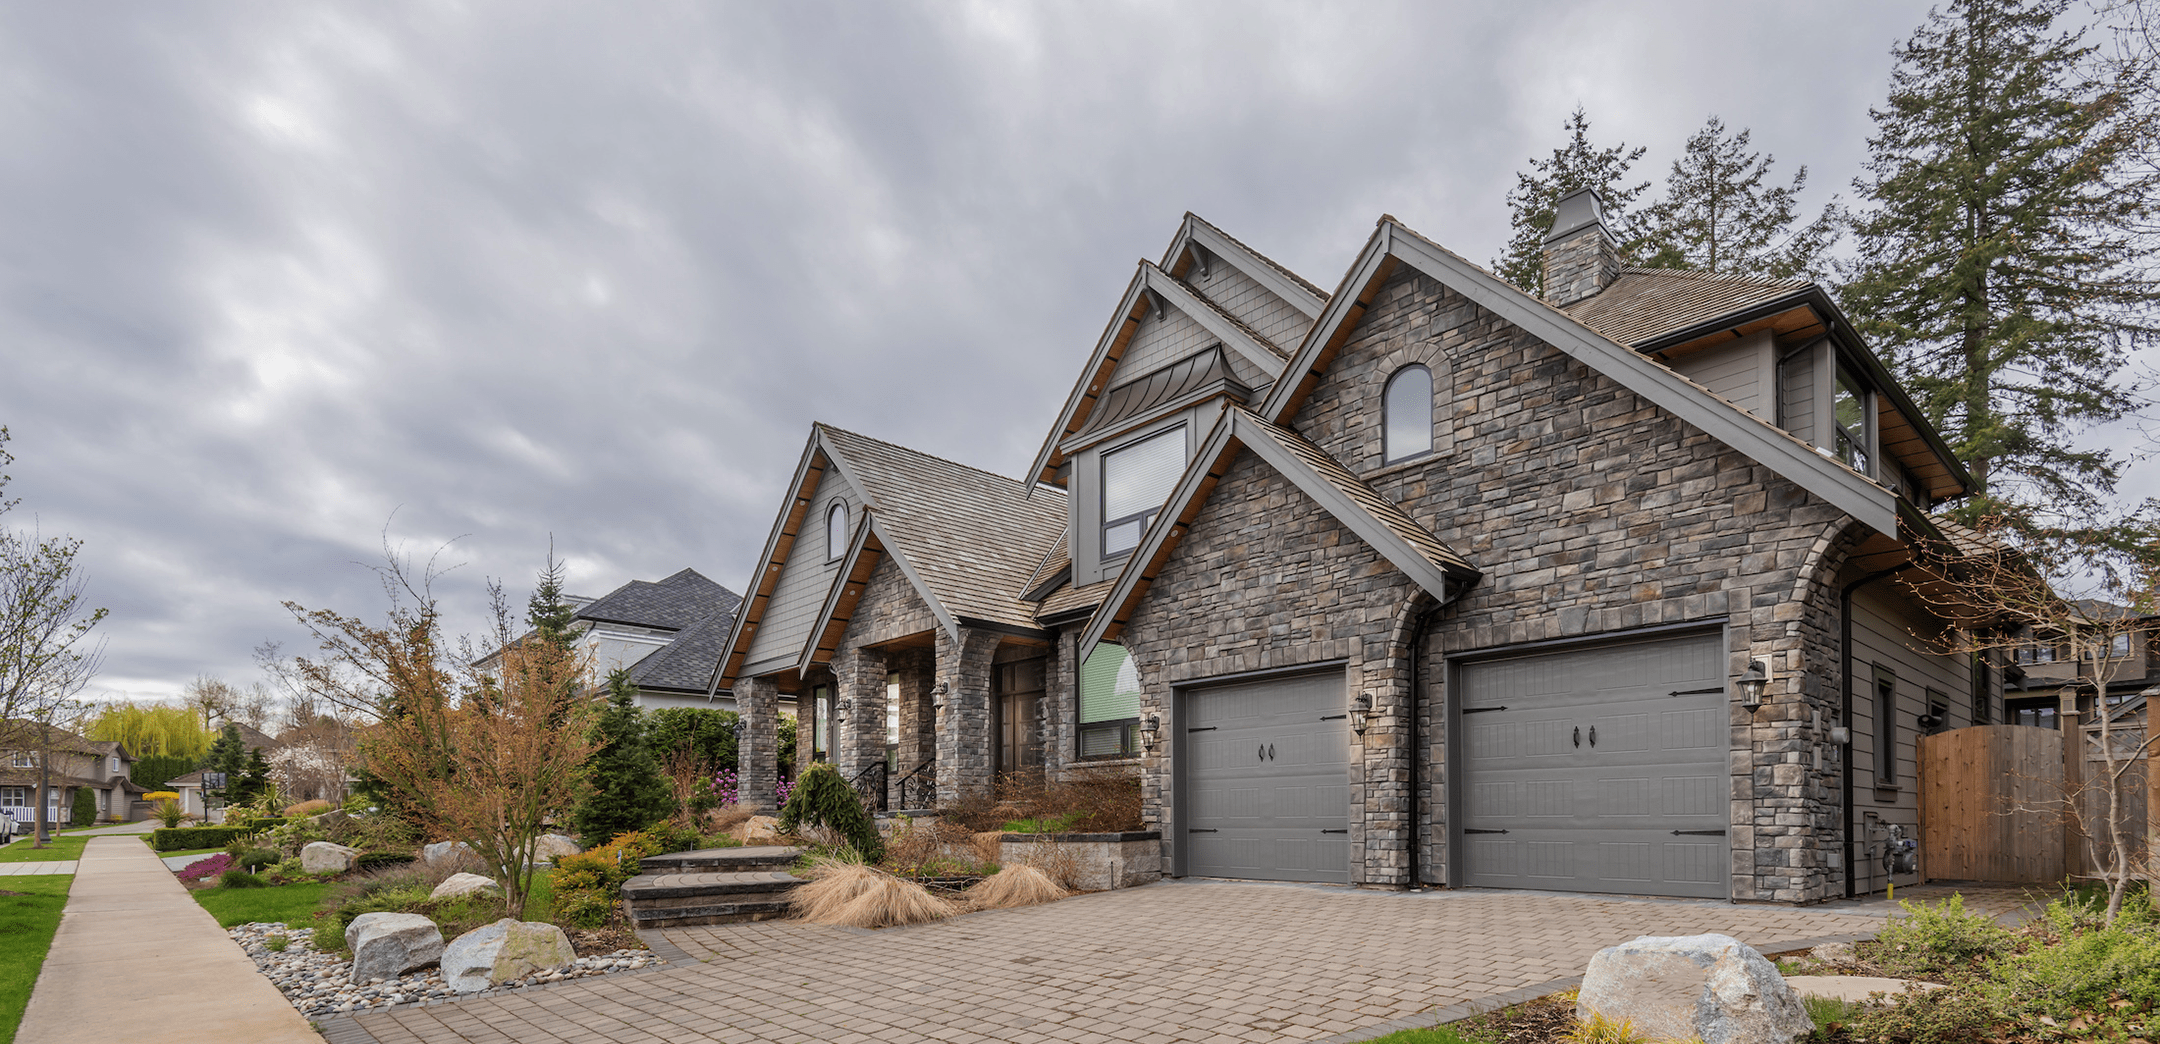
Cracked Masonry or Mortar Joints
Masonry chimneys are built from brick or stone, held together with mortar. As the structure ages, the mortar can crack and absorb water.
- Porous surface: Older bricks may retain water like a sponge.
- Freeze-thaw damage: Water expands when frozen, worsening cracks.
- Needs tuckpointing: Replacing the old mortar and sealing with a waterproofing product.
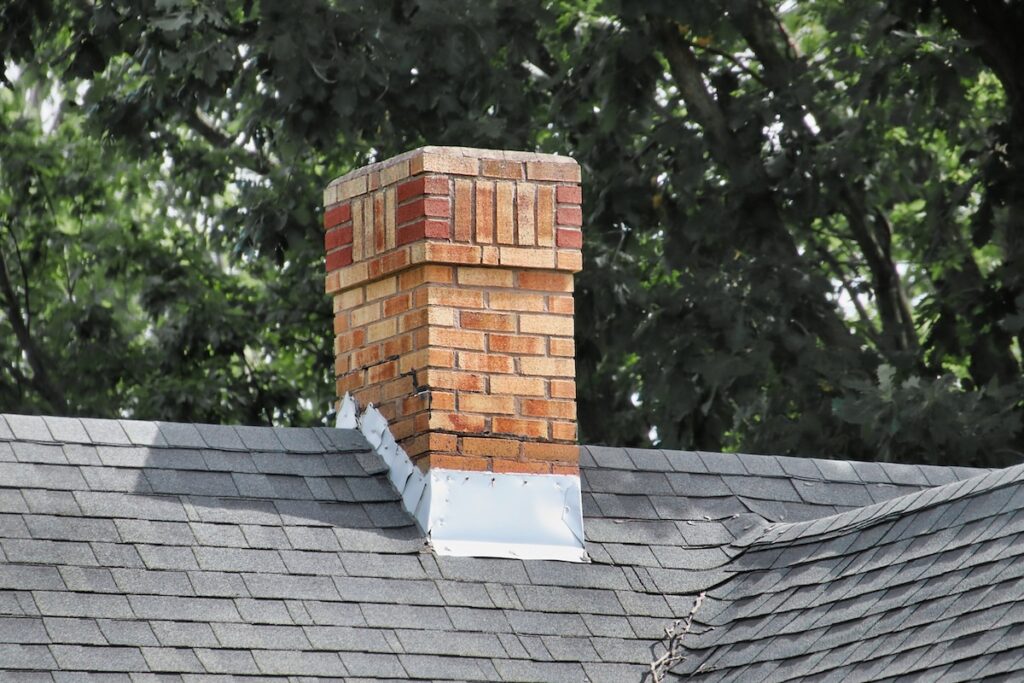
Missing or Damaged Chimney Cap
A chimney cap prevents rain from falling straight down into the flue. If it’s missing or rusted through, your chimney is wide open to water intrusion.
- Prevents direct rain entry: Acts as a mini roof for your chimney.
- Keeps animals out: Also blocks birds, squirrels, and debris.
- Replace if damaged: Stainless steel caps offer long-lasting protection.
Roof and Siding Damage Nearby
Sometimes, a chimney leak isn’t caused by the chimney itself. It could be due to nearby roof damage or cracked siding that channels water toward the structure.
- Misleading leaks: Water can travel along beams before showing up near the chimney.
- Inspect surrounding areas: Especially roof valleys and sidewall junctions.
- Fix shingles or trim: Repair or replace deteriorated materials adjacent to the chimney.
✅ How To Seal a Chimney Leak: Step-by-Step
Depending on the source of the leak, different materials and techniques may be needed. Below is a step-by-step overview of common chimney leak repair methods.
Step 1: Inspect for Signs of Damage
Start with a thorough visual inspection. Use binoculars from the ground or get on the roof if it’s safe.
- Look for gaps: Pay close attention to flashing, mortar joints, and chimney caps.
- Check inside too: Inspect attic rafters and ceilings near the fireplace for water stains.
- Use a moisture meter: Helps detect hidden damp spots in drywall or brick.
Step 2: Clean and Prep the Area
Before sealing anything, make sure the surfaces are clean and dry. Use a wire brush to remove dirt, moss, or old caulking.
- Improves adhesion: Sealants won’t stick to debris or wet surfaces.
- Brush off rust or old mortar: Clean flashing, brick, and crown thoroughly.
- Let it dry completely: Especially important for masonry sealing.
Step 3: Reseal or Replace Flashing
If flashing is loose, corroded, or cracked, you’ll need to reseal or replace it.
- Seal small gaps: Use roofing cement or urethane caulk around the edges.
- Replace if necessary: New flashing should be tucked under shingles and properly nailed.
- Add counter-flashing: Offers added protection by overlapping base flashing.
Step 4: Repoint Mortar Joints
If you find crumbling or missing mortar between bricks, repointing is essential.
- Remove loose mortar: Use a chisel or tuckpointing tool.
- Apply fresh mortar mix: Press it firmly into the joints.
- Let cure and seal: After drying, use a breathable waterproofing sealant.
Step 5: Replace the Chimney Cap
A missing or rusted cap can be replaced with a new, corrosion-resistant one.
- Choose the right size: Caps must fit snugly over the flue.
- Secure with screws or clamps: Follow manufacturer instructions.
- Optional screen mesh: Helps keep pests and debris out.
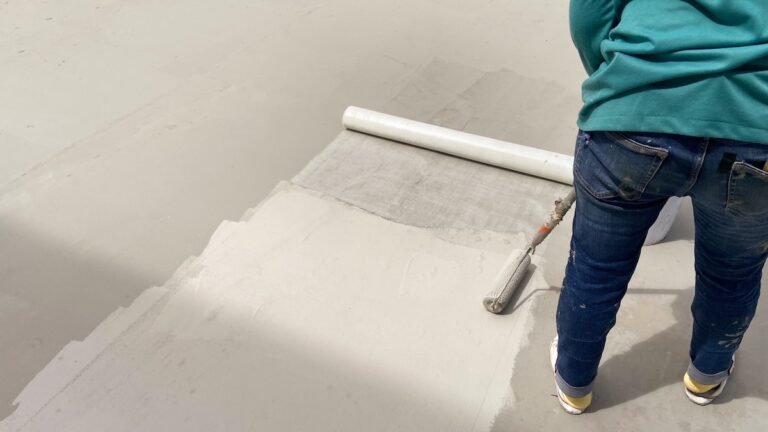
Step 6: Apply Masonry Sealant
Once mortar repairs are complete, use a water-repellent sealant on the exterior of the chimney.
- Use siloxane-based products: These allow moisture to escape while blocking water from entering.
- Avoid paint or acrylics: These can trap moisture inside bricks.
- Apply with sprayer or brush: Ensure full, even coverage.
Step 7: Check the Crown
The crown is the sloped cement top of the chimney that sheds water. If it’s cracked or deteriorated, water will seep in.
- Patch hairline cracks: Use crown repair caulk or patching compounds.
- Rebuild if needed: For severe damage, consider replacing the entire crown.
- Add a drip edge: Helps channel water away from brickwork.
📞 When To Call a Professional
Some chimney leak repairs are simple enough for confident DIYers. Others—like full flashing replacement or structural issues—require experienced hands.
- Persistent leaks: If water keeps coming back after repairs, call a pro.
- Roof access concerns: Don’t risk injury if you’re not comfortable on a ladder.
- Widespread damage: Cracked crowns, deteriorated bricks, or missing flashing demand expert attention.
Johnson Restoration offers thorough inspections and lasting chimney leak solutions to ensure your home stays dry and damage-free.
❗️ Preventing Future Chimney Leaks
Sealing a leak is only part of the equation—ongoing maintenance helps prevent issues from returning.
- Annual chimney inspections: A professional can spot early signs of wear.
- Clean gutters and downspouts: Prevent water from backing up near the chimney base.
- Reapply sealant as needed: Most waterproofing products last 5–10 years.
- Monitor for water stains: Watch ceilings and walls near your fireplace after storms.
🤝 Seal the Leak With Johnson Restoration
Chimney leak repair doesn’t just fix a current problem, it protects your home’s roof, interior, and structure from future damage. At Johnson Restoration, we combine expert diagnostics with long-lasting repairs so you can enjoy a dry, worry-free home year-round.
Not sure where the leak is coming from? Contact Johnson Restoration today for a professional chimney inspection and trusted repair solutions that keep your home protected.