When it comes to maintaining your home, some aspects are more obvious than others. One easy-to-forget component is chimney flashing.
Even though you might not think of it on a daily basis, your chimney flashing is worth paying attention to! Especially when it comes to the health and safety of your roofing system. This guide will provide you with a detailed overview of:
- Chimney flashing
- Its importance
- How to identify issues
- What to do about them
What is Chimney Flashing?
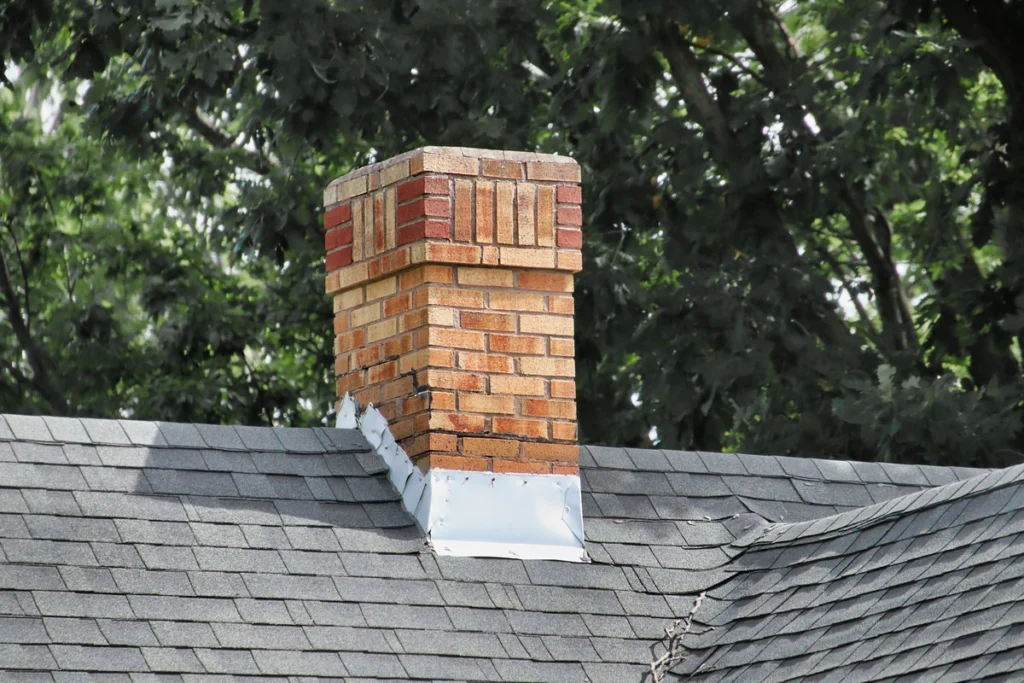
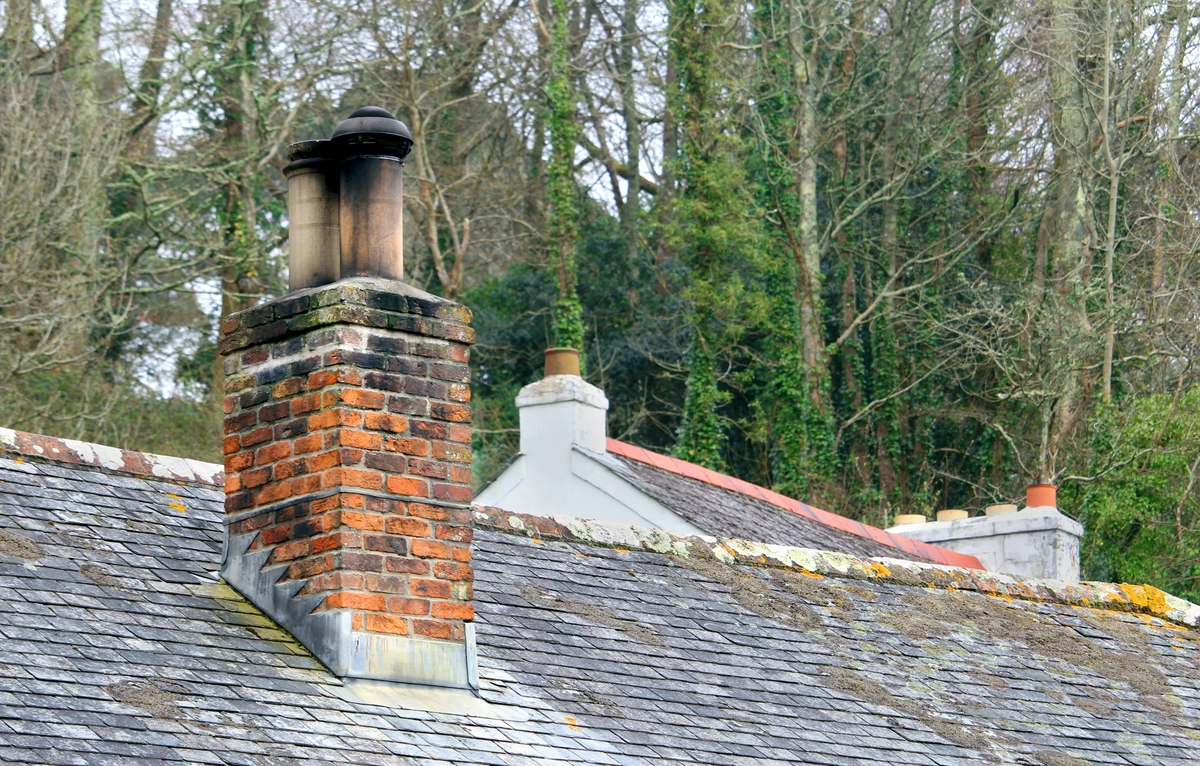
Chimney flashing is a critical component that ensures your roof remains watertight where the chimney meets the roof. Made from strips of sheet metal, typically aluminum, copper, or galvanized steel, chimney flashing is designed to prevent water from seeping into the junction between the chimney and the roof.
Why is Chimney Flashing Important?
- Prevents Water Damage: Without proper flashing, water can seep into the seams between your chimney and roof, leading to leaks, mold, and structural damage.
- Protects Against Weathering: Flashing helps protect the chimney and roof from weather-related wear and tear.
- Maintains Home Value: Effective chimney flashing contributes to the overall integrity of your home, preserving its value.
Types of Chimney Flashing
There are several types of chimney flashing, each serving a unique purpose:
Step Flashing
Installed where the chimney joins the roof, step flashing involves multiple pieces of L-shaped metal flashing that overlap each shingle. This helps to direct water away from the seam.
Counter Flashing
Counter flashing is installed on the chimney itself, covering the top edge of the base flashing to create a water-tight seal.
Apron Flashing
This type of flashing is found at the lower side of the chimney and slopes down from the chimney to direct water away from the roof.
Cricket or Saddle Flashing
Used for chimneys wider than 30 inches, cricket flashing is a peak that diverts water around the chimney, preventing pooling and leaks.
Materials Used in Chimney Flashing
Different materials can be used for chimney flashing, each with its pros and cons:
Aluminum
- Pros: Lightweight, affordable, and easy to install.
- Cons: Prone to corrosion if not properly coated.
Copper
- Pros: Extremely durable and aesthetically pleasing.
- Cons: Expensive and can develop a patina over time.
Galvanized Steel
- Pros: Strong and durable.
- Cons: Prone to rust if the protective zinc coating wears off.
Lead
- Pros: Highly malleable and long-lasting.
- Cons: Expensive and health concerns due to lead exposure.
Signs of Damaged or Faulty Chimney Flashing
Damaged or faulty chimney flashing can lead to severe issues if not addressed promptly. Here are some signs to look out for:
- Water Stains on Ceilings or Walls: Indicates water seeping through the roof.
- Visible Rust or Corrosion: Particularly on galvanized steel flashing.
- Warped or Bent Flashing: Often due to strong winds or improper installation.
- Loose or Missing Flashing: Can be caused by aging or poor workmanship.
- Mold or Mildew: Indicates longstanding moisture issues.
DIY Inspection of Chimney Flashing
Even if you’re not a roofing expert, you can still perform a basic inspection of your chimney flashing. Here’s how:
Visual Inspection
- Use binoculars or a camera with a zoom lens to get a close-up view without climbing onto the roof.
- Look for signs of rust, warping, or gaps between the flashing and the chimney.
Water Test
- Use a garden hose to spray water around the base of the chimney.
- Check the inside of your home for leaks or moisture.
Note: Always prioritize safety. If you’re uncomfortable inspecting the flashing yourself, hire a professional.
Repairing and Replacing Chimney Flashing: 5 Steps
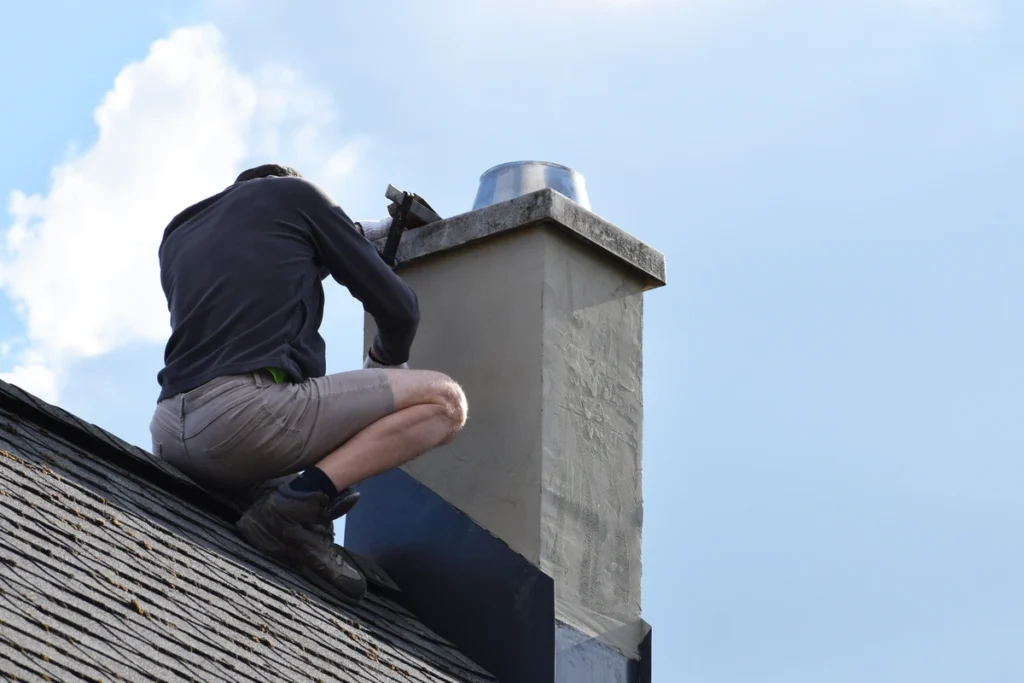
If you identify issues with your chimney flashing, you may need to repair or replace it. Here’s a step-by-step guide:
Tools & Materials Needed
- Ladder
- Pry bar
- Roofing cement
- Flashing material (aluminum, copper, etc.)
- Nails and hammer
- Caulk and caulking gun
1. Safety First
Ensure you have a stable ladder and consider using a harness for added safety.
2. Remove Damaged Flashing
Use a pry bar to carefully remove the old, damaged flashing. Take care not to damage the roof or chimney.
3. Prepare the Area
Clean the area where the new flashing will be installed. Remove any debris or old caulk.
4. Install New Flashing
- Begin with step flashing, placing each piece so it overlaps the shingles.
- Install counter flashing over the step flashing, securing it to the chimney with nails.
- Apply roofing cement around the edges to create a watertight seal.
5. Seal Joints
Use a high-quality caulk to seal all joints and edges, ensuring no gaps are left for water to seep through.
Note: If you’re unsure about any step, it’s best to consult a professional roofer. Improper installation can lead to further damage.
Preventive Maintenance for Chimney Flashing
Regular maintenance can extend the life of your chimney flashing and prevent costly repairs. Here are some tips:
- Annual Inspections: Have a professional inspect your roof and chimney flashing at least once a year.
- Clean Gutters: Ensure your gutters are clean and free of debris to prevent water backup.
- Trim Nearby Trees: Overhanging branches can damage flashing during storms.
- Check After Storms: Inspect your roof and flashing after major storms for any signs of damage.
Professional vs. DIY Chimney Flashing Repair
When it comes to chimney flashing repair, you may wonder whether to hire a professional or attempt a DIY fix. Here are some considerations:
Professional Repair
- Pros:
- Expertise and experience.
- Proper tools and materials.
- Warranty on work done.
- Cons:
- Higher cost.
- Finding a reputable contractor can be challenging.
DIY Repair
- Pros:
- Cost-effective.
- Immediate action possible.
- Learn new skills.
- Cons:
- Risk of improper installation.
- Potential safety hazards.
- No warranty.
Choosing a Professional Chimney Flashing Service
If you decide to hire a professional, here are some tips for choosing the right service:
- Check Reviews: Look for reviews and testimonials from previous customers.
- Ask for References: A reputable contractor should provide references.
- Verify Insurance: Ensure the contractor has liability insurance.
- Get Multiple Quotes: Compare prices and services from different contractors.
- Ask About Warranties: Ensure they offer a warranty on their work.
Cost of Chimney Flashing Repair and Replacement
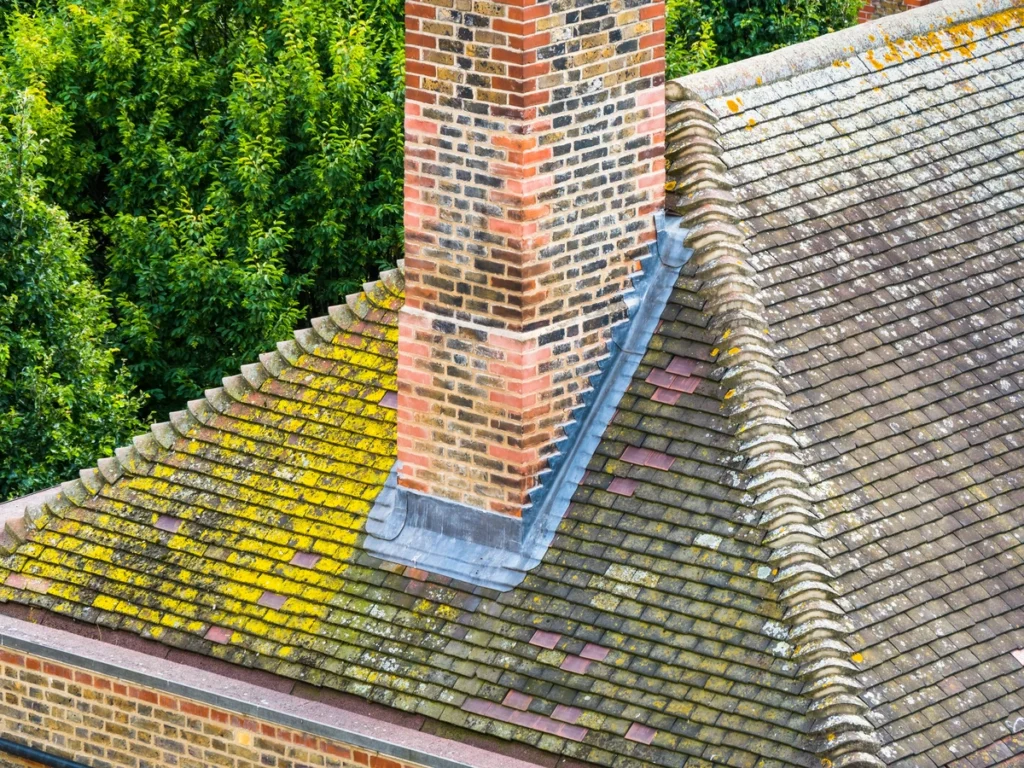
The cost of chimney flashing repair or replacement can vary based on several factors:
- Material: Copper and lead are more expensive than aluminum or galvanized steel.
- Labor: Professional labor costs vary by region and contractor experience.
- Extent of Damage: More extensive damage can require additional repairs, increasing the cost.
On average, homeowners can expect to pay between $500 and $2,000 for chimney flashing repair or replacement, depending on these factors.
Common Myths about Chimney Flashing
Think you know chimney flashing? See if you know the answers to these common myths!
All Flashing Materials are the Same
Each material has its pros and cons. Choose the one that best suits your needs and budget.
Only Old Homes Need Flashing Repair
Even newer homes can experience flashing issues due to poor installation or severe weather conditions.
Flashing Issues are Always Obvious
Some flashing problems can go unnoticed until significant damage occurs. Regular inspections are crucial.
Professional Flashing Assistance
Chimney flashing is an essential component of your home’s roofing system, protecting against water damage and ensuring the structural integrity of your property. For homeowners who prefer to leave it to the experts, hiring a professional chimney flashing service can provide peace of mind and long-lasting protection.
Ready to ensure your chimney flashing is in top condition? Contact Johnson Restoration today to schedule an inspection and keep your home safe and dry.
