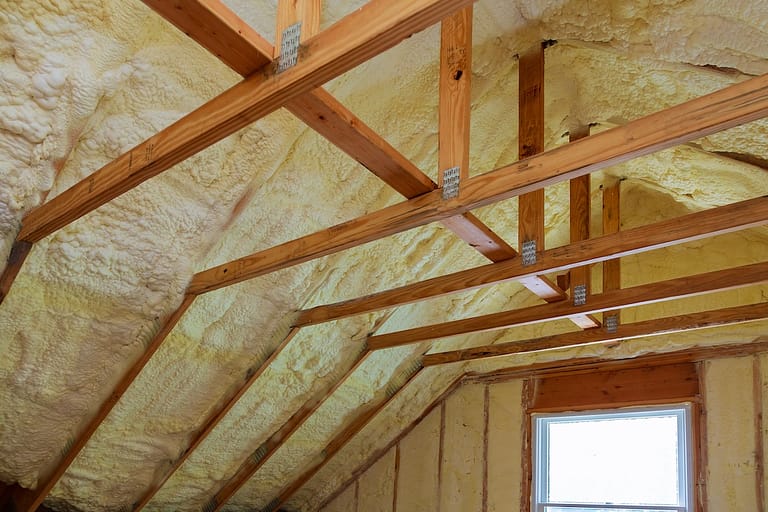

When it comes to roofing, the materials you choose can make or break the entire structure. While shingles, underlayment, and flashing often dominate the conversation, one humble yet crucial component often gets overlooked—roofing nails. These tiny but mighty fasteners play a major role in holding your roof together and ensuring it withstands harsh weather and the test of time.
At Johnson Restoration, we understand the importance of every element that goes into a durable and long-lasting roof. That’s why we’ve put together this blog post to help you better understand:
- Roofing nails
- Types,
- Uses, and
- How to choose the right ones for your project.
What Are Roofing Nails?

Roofing nails are specialized fasteners designed specifically for attaching roofing materials like shingles, felt paper, or metal panels to wood, concrete, or other roofing surfaces. They differ from standard nails in several key aspects, such as size, material, and design features that enhance their holding power and weather resistance.
Roofing nails are often overlooked because they seem insignificant compared to flashing or shingles. However, using the wrong type of nail—or improperly installing them—can lead to premature roof failure, making them a crucial component for any roofing project.
Anatomy of a Roofing Nail
To truly understand roofing nails, it’s helpful to break them down into their key components:
- Head: The flat or slightly domed top of the nail that helps secure the roofing material. It’s often broad to prevent the nail from pulling through the shingle.
- Shank: The nail’s long central body that determines its holding power and is available in a variety of designs (smooth, ring, or spiral).
- Point: The sharp tip that facilitates penetration into the roofing material and the underlying structure.
Why the Right Roofing Nail Matters
The right roofing nails help protect your investment in your roof by:
- Enhancing Stability: Proper nails secure shingles and other materials tightly in place, reducing the risk of wind damage or shifting.
- Improving Longevity: Corrosion-resistant nails ensure that your roof remains intact for decades, even in extreme weather.
- Meeting Code Standards: Many building codes specify the use of particular types of roofing nails. Choosing compliant nails helps avoid potential regulatory headaches.
5 Types of Roofing Nails

There isn’t a one-size-fits-all roofing nail. The type you choose will depend on the roofing material, the local building codes, and environmental factors like humidity and temperature. Here’s a breakdown of the most common types:
1. Galvanized Roofing Nails
Galvanized nails are coated with a layer of zinc to protect them from rust and corrosion. This makes them ideal for asphalt shingles and areas prone to heavy rainfall or high humidity.
✅ Pros:
- Affordable
- Widely available
- Rust-resistant
❌ Cons:
- May corrode over time in salty environments like coastal areas.
2. Stainless Steel Roofing Nails
For top-tier durability and corrosion resistance, stainless steel nails are the gold standard. They are especially useful in areas with severe weather conditions or salt exposure, like coastal regions.
✅ Pros:
- Excellent corrosion resistance
- Ideal for extreme weather
- Long-lasting
❌ Cons:
- Expensive compared to galvanized nails
3. Aluminum Roofing Nails
Lightweight yet durable, aluminum nails are a popular choice for metal and fiberglass shingles. However, they’re not suitable for areas with high moisture exposure, as they are prone to corrosion.
✅ Pros:
- Lightweight
- Easy to drive into roofing materials
❌ Cons:
- Susceptible to corrosion in humid climates
- May not meet building codes in certain regions
4. Copper Roofing Nails
Copper nails are primarily used for roofing projects involving slate or tile since they are both durable and aesthetically pleasing. Plus, their corrosion resistance makes them a reliable choice.
✅ Pros:
- High corrosion resistance
- Stylish appearance
- Long-lasting
❌ Cons:
- Expensive
- Primarily used for specific roofing materials like slate
5. Smooth, Ring, and Spiral Shank Nails
The shank of the nail significantly affects its holding power. Here are the main types:
- Smooth Shank: Easy to install but less holding power. Good for temporary roofing.
- Ring Shank: Enhanced grip and holding power. Commonly used for shingles.
- Spiral Shank: Twisted design that offers superior holding power, often used in windy areas.
Sizing Roofing Nails

Proper nail sizing ensures your roof is well-secured without causing damage to the materials. Roofing nails are usually classified by their length, which ranges from 1 inch to over 2.5 inches.
How to Choose the Right Size
- For asphalt shingles, 1-inch nails are usually sufficient.
- For thicker materials like slate or wood, nails should be longer to account for added thickness.
- The nail should penetrate the roofing material, underlayment, and at least 3/4 inch into the decking.
Common Uses of Roofing Nails
Roofing nails aren’t just for shingles—they can be used for a variety of purposes, including:
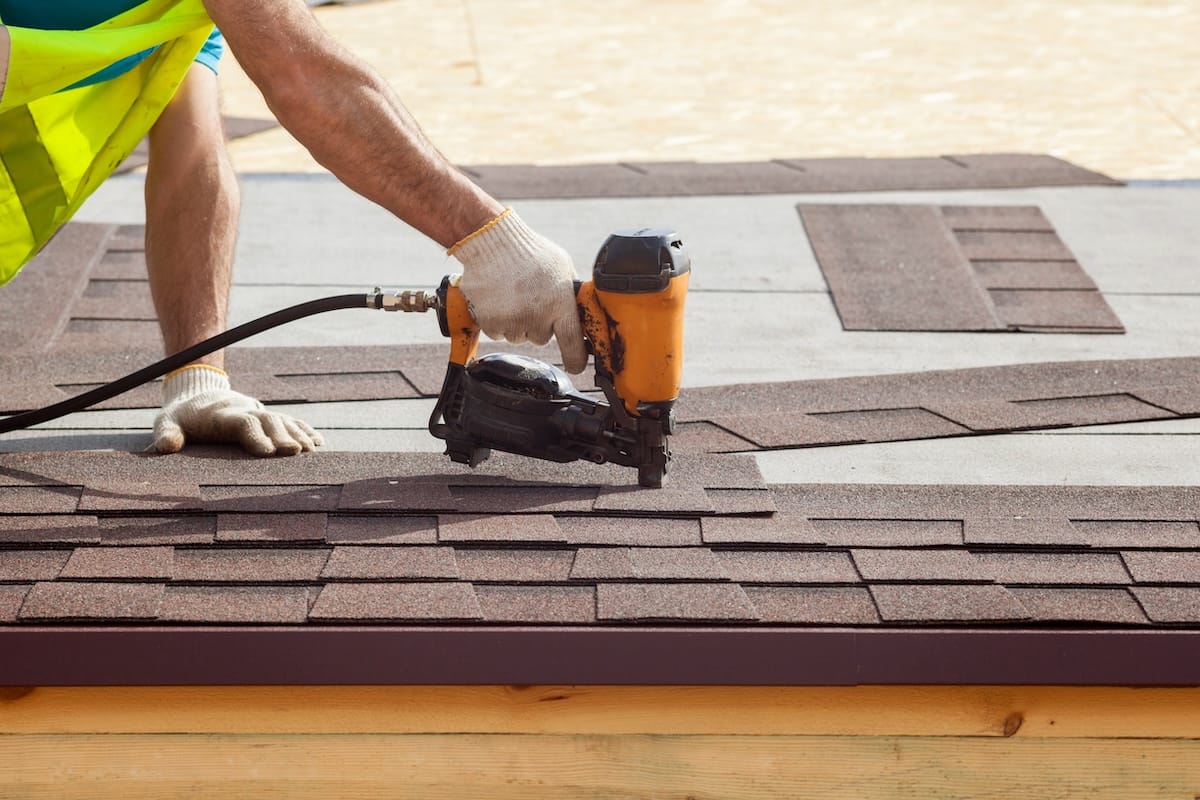
- Attaching Asphalt Shingles: The most common use, requiring nails with a large, flat head for better holding power.
- Metal Roofing Panels: Often require specific nails or screws with rubber washers to ensure a watertight seal.
- Underlayments: Nails are used to hold down roofing felt or synthetic underlayment layers.
- Fixing Repair Work: Handy for repairing damaged sections of a roof without replacing the entire structure.
Factors to Consider When Choosing Roofing Nails
Selecting the right roofing nails involves more than just grabbing the first box you see. Consider the following:
- Material Compatibility: Use nails that are compatible with your roofing material to prevent reactions and corrosion.
- Weather Conditions: Opt for corrosion-resistant nails in areas with high humidity or salty air.
- Code Requirements: Always check local building codes to ensure your choice of nail is compliant.
- Cost vs. Durability: While stainless steel nails may cost more upfront, their durability can save you money in the long run.
How to Properly Nail Roofing Materials
Even the strongest nail won’t perform well if it isn’t installed correctly. Follow these best practices:
- Use the Right Tools: A quality roofing nailer ensures consistency and speed. For DIYers, a hammer may suffice, but a nail gun speeds things up significantly.
- Avoid Overdriving: Driving a nail too deep can compromise the shingle’s integrity and invite leaks.
- Place Nails Correctly: Use the manufacturer’s guidelines to determine the number of nails per shingle and their precise placement.
- Inspect Your Work: Make sure all nails are flush with the material and not sticking out or driven too deeply.
Roofing Nail Myths to Bust
Get the facts you need, below!
Myth 1: Any Nail Will Work for Roofing
Not true. Roofing nails are engineered for specific tasks and provide the necessary durability and hold.
Myth 2: More Nails Mean Better Security
Quality trumps quantity in roofing. Proper placement and the right number of nails per shingle are more critical than using extra nails.
Myth 3: Aluminum Nails Are Just as Good as Stainless Steel
While aluminum nails are lighter, they don’t offer the same corrosion resistance, making them less suitable for certain environments.
Proper Installation Is Just A Call Away
Don’t underestimate the vital role roofing nails play in your project’s success. From material compatibility to proper sizing and weather resistance, every detail matters in ensuring a durable and long-lasting roof. Whether you’re a homeowner taking on a DIY project or a professional roofer, understanding the nuances of roofing nails is key to getting the job done right.
Still have questions? Johnson Restoration is here to help! Reach out to our team today, and we’ll guide you through your project every step of the way. From understanding materials to providing expert repairs, your roof is in the best hands with us. Contact us today for a consultation!